How to Digitize Old Family Photos (Without Losing Quality)
Digitizing your family's old prints protects them from fading, damage, and loss, and turns a shoebox of photos into files you can search, share, and restore in seconds.
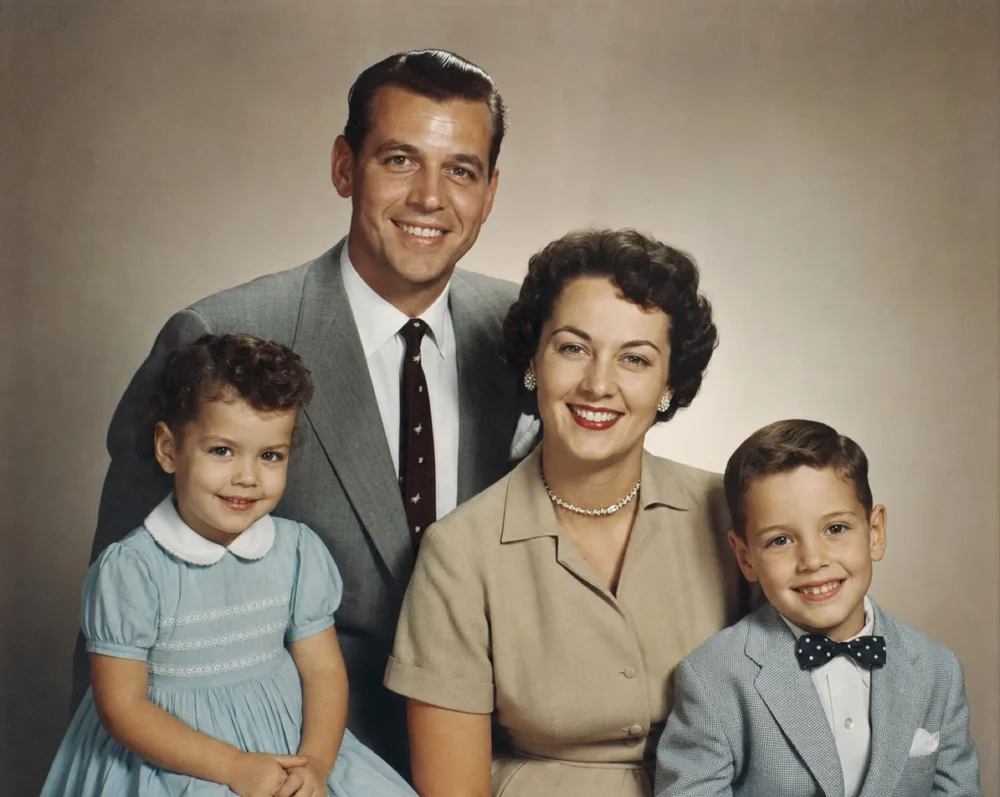
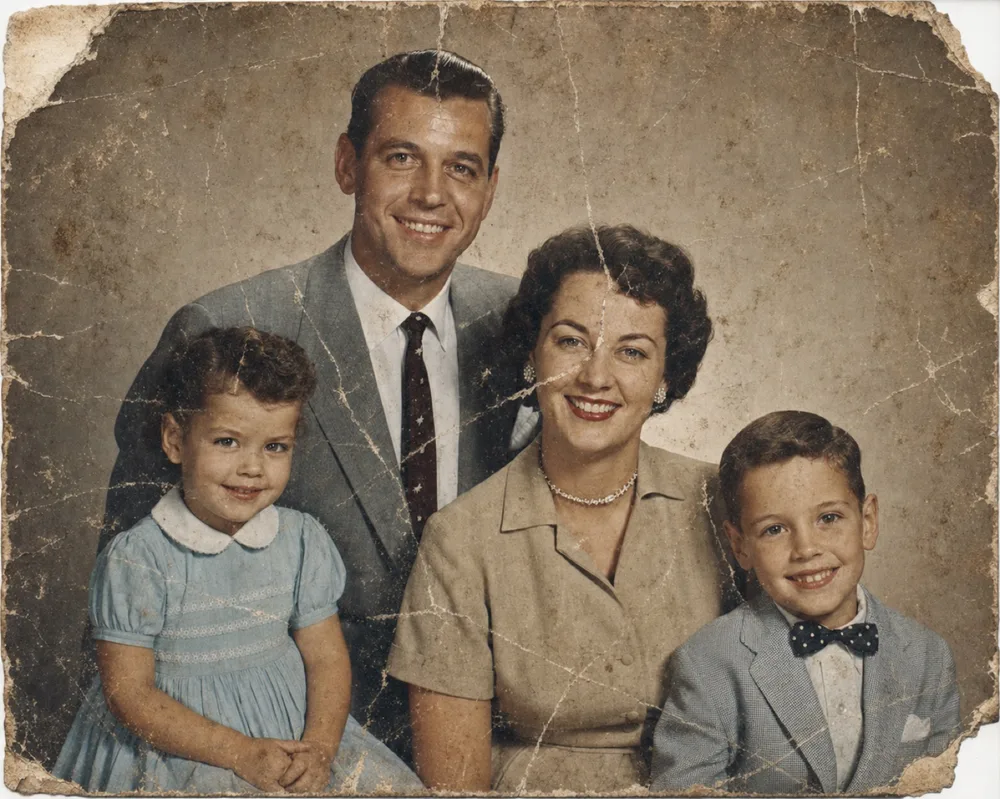
Key takeaways
- Flatbed scanning at 600+ DPI in TIFF or high-quality JPEG beats a quick phone photo for archival quality.
- Scan in full color even for black-and-white prints to preserve sepia tone, stains, and damage detail.
- A consistent file-naming and folder system matters as much as scan quality, so plan it before you start.
- Follow the 3-2-1 backup rule (cloud plus external drive plus original) so digitized files survive a hard-drive failure.
The fastest, most reliable way to digitize old family photos is to scan them flatbed-style at 600 DPI (or higher for photos smaller than 4x6) and save them as TIFF or maximum-quality JPEG files, rather than relying on a quick phone photo of the print. A flatbed scanner captures even, distortion-free detail that a camera lens, even a good one, struggles to match on glossy, curled, or textured old prints.
Not everyone owns a scanner, though, and for many families a phone-scanning app is the realistic starting point. What matters most is picking one method, working through the collection systematically, and building a simple naming and backup system as you go, because a folder of 400 randomly named .jpg files is barely more useful than the shoebox you started with.
Scanner, Phone App, or Mail-In Service: Picking Your Method
For most families, a flatbed scanner is still the gold standard, because it holds the print flat against the glass and captures light evenly across the whole image, without the glare, slight blur, or perspective distortion a handheld phone photo introduces. A basic flatbed scanner, including the kind built into many all-in-one printers, is enough for this job; you don't need specialized photo-scanning hardware unless you're digitizing hundreds of prints and want a sheet-fed model with an automatic feeder.
Phone-scanning apps like Google PhotoScan, or the built-in scan mode in Notes and Files, close much of that gap by taking several photos at different angles and stitching them into one flatter, glare-free image. They're the practical choice if you're digitizing on the go, at a relative's house, or you simply don't own a scanner — just work near a window or bright, even light and avoid direct sun, which creates hot spots and washes out detail.
If you have thousands of photos, slides, or negatives, a mail-in scanning service can process the whole collection in one batch at a set price per photo. It's usually worth the cost for volume rather than for a handful of prints you could scan yourself in an afternoon.
- Flatbed scanner: best detail and color accuracy, slower per photo
- Phone scanning app: fast and portable, slightly softer detail
- Sheet-fed scanner: fastest for large batches, riskier on curled or fragile prints
- Mail-in service: best for hundreds of photos, slides, and negatives at once
The Scan Settings That Actually Matter
Resolution is the setting people get wrong most often. Scan standard 4x6 or 5x7 prints at 600 DPI (dots per inch) — high enough to print an enlargement or run through restoration later without looking blocky, but not so high that one photo becomes an unwieldy 200MB file. For anything smaller, like wallet-size prints, tintypes, or cropped snapshots, bump it to 1200 DPI so you're not stuck with a tiny final image once you view it at full size.
Save your master scan as a TIFF if your software supports it, since TIFF doesn't compress and lose data the way JPEG does. If TIFF isn't an option, a JPEG saved at maximum quality is a fine substitute — just avoid re-saving it repeatedly, which degrades it a little more each time. Keep this master file untouched and make separate copies for editing, restoring, or sharing.
Always scan in full color, even for black-and-white or sepia photographs. A color scan captures the actual tone of the paper, along with foxing, water stains, and fading — information a grayscale scan throws away, and that you'll want later if you decide to colorize the photo or need to judge how much damage it has.
Preparing Fragile Prints Before They Touch the Scanner
Handle old prints by the edges only; oils from fingertips leave marks that show up on a scan and slowly damage the print itself over years. If a photo looks especially brittle or is flaking, don't try to flatten or force it — scan it as-is rather than risk a tear.
Photos peeled from old magnetic album pages are often the trickiest: the adhesive can be strong enough that forcing a photo off tears the emulsion. If a print won't release cleanly after a gentle attempt, it's safer to scan it still mounted on the page and deal with the background afterward than to lose part of the image.
Wipe the scanner glass with a lint-free cloth before each batch — dust and hair show up as scratches on every single scan until you clean it, meaning a whole re-scan could be avoided with 30 seconds of prep. For curled or wavy prints, weigh them flat under a clean sheet of glass or a heavy book for a day before scanning; forcing a curled photo down under the scanner lid can crease it permanently.
Naming, Organizing, and Backing Up the Files
Decide on a folder structure before you scan your first photo, not after you already have 600 files named IMG_4471.jpg scattered across your phone. A simple system that works for most families: a top-level folder per decade or per family branch, with filenames like 1962-smith-family-reunion-grandpa.jpg that include a year, event, and names — this alone makes photos searchable years later without opening each one.
Once files are organized, back them up in at least two places beyond the device you scanned onto, for example a cloud service and a separate external drive. This is the classic 3-2-1 rule: three copies of the file, on two different types of storage, with one copy kept somewhere other than your house. Old prints are usually one-of-a-kind; the whole point of digitizing them is to stop being one hard-drive failure away from losing them for good.
- Use a consistent filename pattern: year-event-names.jpg
- Group photos into folders by decade or family branch, not one giant folder
- Keep your untouched master scan separate from edited or restored copies
- Store backups in two different places: cloud plus external drive, at minimum
After Digitizing: Restoring, Coloring, and Sharing the Results
A raw scan is a faithful copy of the print, scratches and fading included — it isn't automatically a clean photo. Once your prints are digitized, that's the point to fix the damage: OldtoLife's Restore tool removes scratches, creases, and stains from the scan, Enhance sharpens detail that was soft in the original print, and Brighten corrects photos that scanned dark or washed out. Because you kept a full-color master scan, all of that damage information is still there for the AI to work with.
If your digitized photos are black-and-white or sepia, Colorize can add natural, period-appropriate color once the scan is done — worth trying on a copy rather than your archival master, since you'll likely want both versions on hand. For portraits where large sections of the original print are torn away or missing entirely, Recreate rebuilds what's gone; for a shoebox mix of individual shots you'd like combined into one keepsake image, Merge brings several photos into a single frame.
Whichever tools you use, treat the digitized file the way you treated the physical print: the restored or colorized version is a copy for sharing and printing, while your untouched master scan stays as the permanent record of the original.
Step by step
- 1
Sort and prioritize the collection
Go through your prints once and separate the ones that are fading, damaged, or irreplaceable from ordinary duplicates, so you scan what matters most first.
- 2
Prepare each print
Dust the scanner glass, handle photos by the edges, and gently flatten any curled prints before you start scanning.
- 3
Scan at 600+ DPI in full color
Scan standard prints at 600 DPI (1200 DPI for smaller originals) in color, saving a TIFF or maximum-quality JPEG as your untouched master file.
- 4
Name and file each photo
Rename files with a year-event-names pattern and sort them into folders by decade or family branch as you go, rather than after the fact.
- 5
Back up, then restore and share
Copy the finished files to a cloud service and an external drive, then use tools like Restore or Colorize on copies of the photos you want to fix up and share.