The Best Way to Scan Old Photos
A flatbed scanner set to the right resolution and color mode will capture far more detail than a phone camera — and that detail is what makes restoration actually work.
Key takeaways
- Use a flatbed scanner at 600 DPI for standard prints (1200 DPI for small or heavily cropped ones) rather than a phone camera app for archive-quality results.
- Scan in full color mode even for black-and-white photos — grayscale scanning discards sepia tones, staining, and paper texture you can't recover later.
- Save an uncompressed TIFF as your permanent master copy, back it up in two places, and export a separate JPEG for sharing.
- Scanning captures the damage on the print faithfully; that's what makes tools like OldtoLife's Restore, Enhance, Brighten, and Colorize able to fix it afterward.
The best way to scan old photos is with a flatbed scanner, in full color, at 600 DPI for standard prints and 1200 DPI for anything smaller than 4x6 inches or badly faded — saved first as an uncompressed TIFF, then exported to JPEG for sharing. A phone scanning app will work in a pinch, but it introduces glare, slight distortion, and lower true resolution that shows up the moment you try to fix scratches, sharpen a face, or bring back color.
None of this is complicated, but a few settings make the difference between a scan that holds up at full size on a screen and one that turns blotchy and soft the moment you zoom in. The details below cover the equipment, the settings, and the prep work that actually matter — plus what to do with the digital file once it's on your computer.
Flatbed Scanner vs. Phone Camera App
A dedicated flatbed scanner beats a phone camera app for one simple reason: it captures the photo as a flat, evenly lit, distortion-free image, while a phone depends on your hand staying steady, the room lighting staying even, and the lens staying perfectly parallel to the print. Any tilt introduces keystoning — a subtle trapezoid warp — and any overhead light source creates a hot spot of glare that a scanning app's auto-correction can only partially remove.
That said, a phone app is genuinely fine for a quick, casual digitization of dozens of photos where perfect fidelity isn't the goal — say, texting copies to family before a reunion. It is not the right tool if you plan to restore the photo, print it large, or archive it as the only surviving copy. For those cases, a flatbed scanner (even an inexpensive $80–120 model) will resolve more real detail in the grain of the print, which is exactly the information a restoration tool needs to work with.
If you don't own a scanner, many libraries, copy shops, and camera stores offer walk-in flatbed scanning by the page for a small fee, and it's worth the trip for photos that matter — wedding portraits, a grandparent's only childhood photo, anything irreplaceable.
What Resolution (DPI) Should You Use?
DPI stands for dots per inch — how many pixels the scanner records per inch of the original print. For a standard 4x6 or 5x7 photo you plan to keep at roughly its original size, 600 DPI is the sweet spot: it captures enough detail for restoration and moderate enlargement without producing an unwieldy file. For a small wallet-size photo, a photo booth strip, or any print you want to enlarge significantly — say, blowing a 2x3 portrait up to an 8x10 print — scan at 1200 DPI so there's enough native resolution to work with after cropping.
Going higher than 1200 DPI rarely helps. Most consumer flatbed scanners lose optical sharpness beyond that point and just interpolate extra pixels, which inflates the file size without adding real detail. It's the optical resolution, not the number on the dial, that matters — check your scanner's specs for the true optical DPI rather than the inflated "enhanced" or "software" DPI some manufacturers list.
One more setting to check: make sure the scanner isn't set to "Auto" or "Web" resolution presets, which often default to 150–300 DPI. That's fine for a quick preview but too low for a photo you intend to restore or print.
Color Mode: Scan Everything in Color
It's tempting to scan a black-and-white photo using a grayscale or "black and white" setting, but don't. Old monochrome prints are rarely pure black and white — sepia toning, yellowing paper, foxing (the brown speckles that develop on aged paper), and water stains all carry color information that a grayscale scan discards permanently. Scanning in full RGB color captures all of that, and you can always convert to grayscale afterward in an editor if you want a cleaner black-and-white look, but you can't add color information back in once it's been thrown away at the scan stage.
This matters even more if you plan to colorize the photo later. A color scan preserves subtle tonal variation in skin, fabric, and background that a colorization tool uses to judge shading and depth. A flattened grayscale scan gives it less to work with.
Also disable any "automatic color correction," "dust removal," or "photo enhancement" filters in the scanner software. These sound helpful but often soften detail, shift colors, or smear over scratches and creases — exactly the damage you want preserved accurately so it can be repaired properly afterward, rather than blurred into the image.
Preparing the Photo and the Scanner Bed
Before scanning, clean the scanner glass with a lint-free cloth — dust and fingerprints on the glass show up as marks on every single scan and are tedious to remove afterward. Handle the photo by its edges, not the surface, and if it's dusty, use a soft, dry brush rather than wiping it, since old emulsion can scratch.
Lay the photo flat and square to the scanner's edge guides to avoid having to straighten it digitally later, which softens detail. If the photo is curled, place a clean piece of glass or a heavy, clean book on top for a few minutes before scanning to flatten it — never force-flatten a brittle print, as it can crack. For photos still mounted in an album with old adhesive, don't force them off if they're stuck; scan them in place rather than risk tearing the print, and note that a slightly warped scan is far better than a torn original.
Photos under glass in a frame are the trickiest case: glass reflections rarely disappear even with careful lighting. If possible, remove the print from the frame before scanning. If you can't, angle the scanner lid open at 45 degrees with the room lights off to cut down on reflection, and expect to do some cleanup afterward.
After the Scan: Save, Back Up, and Restore
Save your working master copy as a TIFF file, which is uncompressed and won't lose quality no matter how many times you open and resave it. TIFFs are large, but storage is cheap and this file is your permanent archive. Export a separate JPEG copy at 90–95% quality for sharing, emailing, or uploading — JPEG compression is fine for viewing but degrades a little with each resave, so never treat it as your only copy.
Back up the TIFF in at least two places — a cloud drive and an external hard drive, for example — since a scanned file is just as vulnerable to loss as the original print if it only lives in one location. Name the file with the year, event, and people if you know them (e.g., "1962_wedding_grandma_grandpa.tif") rather than the scanner's default "IMG_001," which becomes meaningless the moment you have more than a handful of files.
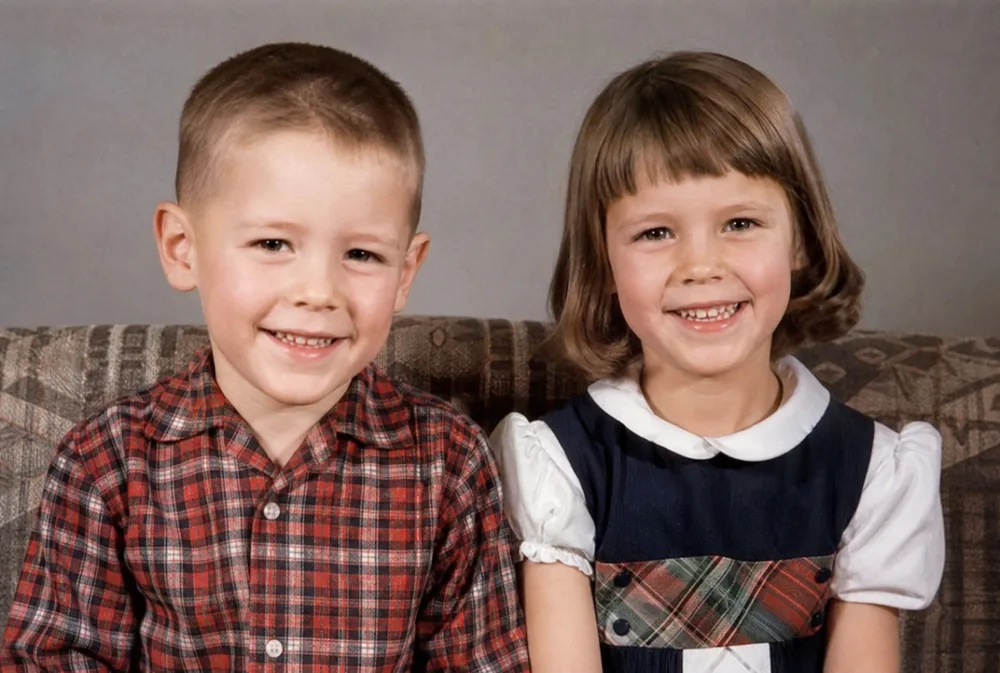
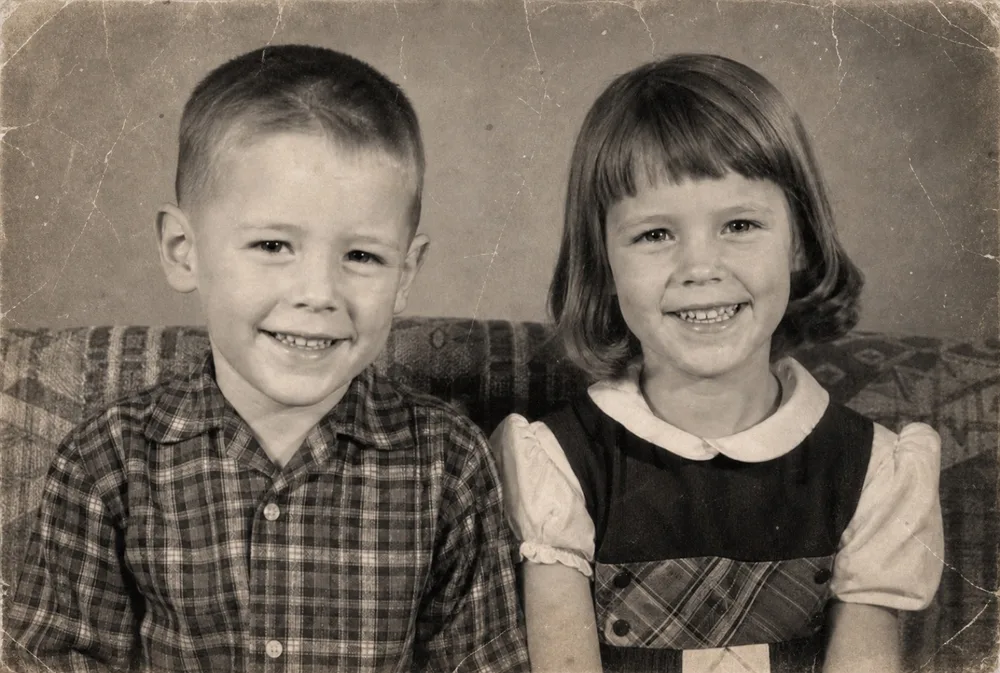
A careful scan captures what's actually on the print — including every scratch, crease, faded patch, and water stain. That's a feature, not a flaw: it gives you an accurate source to restore. From there, an app like OldtoLife can take that scan and remove scratches and tears with the Restore tool, sharpen a soft or blurry face with Enhance, correct a dark or faded scan with Brighten, or add natural color to a black-and-white scan with Colorize — each in about ten seconds, without touching the original file.
Step by step
- 1
Clean the glass and the photo
Wipe the scanner bed with a lint-free cloth and dust the print with a soft dry brush, handling it only by the edges.
- 2
Set color mode and resolution
Choose full RGB color (even for black-and-white photos) and 600 DPI for standard prints or 1200 DPI for small or heavily cropped ones, with auto-enhance filters turned off.
- 3
Lay the photo flat and square
Align it with the scanner's edge guides so it doesn't need digital straightening, and weigh down curled prints briefly before scanning.
- 4
Save a TIFF master, then export a JPEG
Keep the uncompressed TIFF as your permanent archive copy and export a 90-95% quality JPEG for sharing or uploading.
- 5
Back up and restore digitally
Store the TIFF in two separate locations, then use OldtoLife's Restore, Enhance, Brighten, or Colorize tools on the scan to repair damage the print couldn't be fixed of physically.