How to Restore Old Photos on iPhone
Restoring an old photo on iPhone no longer means a scanner, a desktop editor, and an afternoon of careful retouching — it means a clear photo of the print and a few taps.
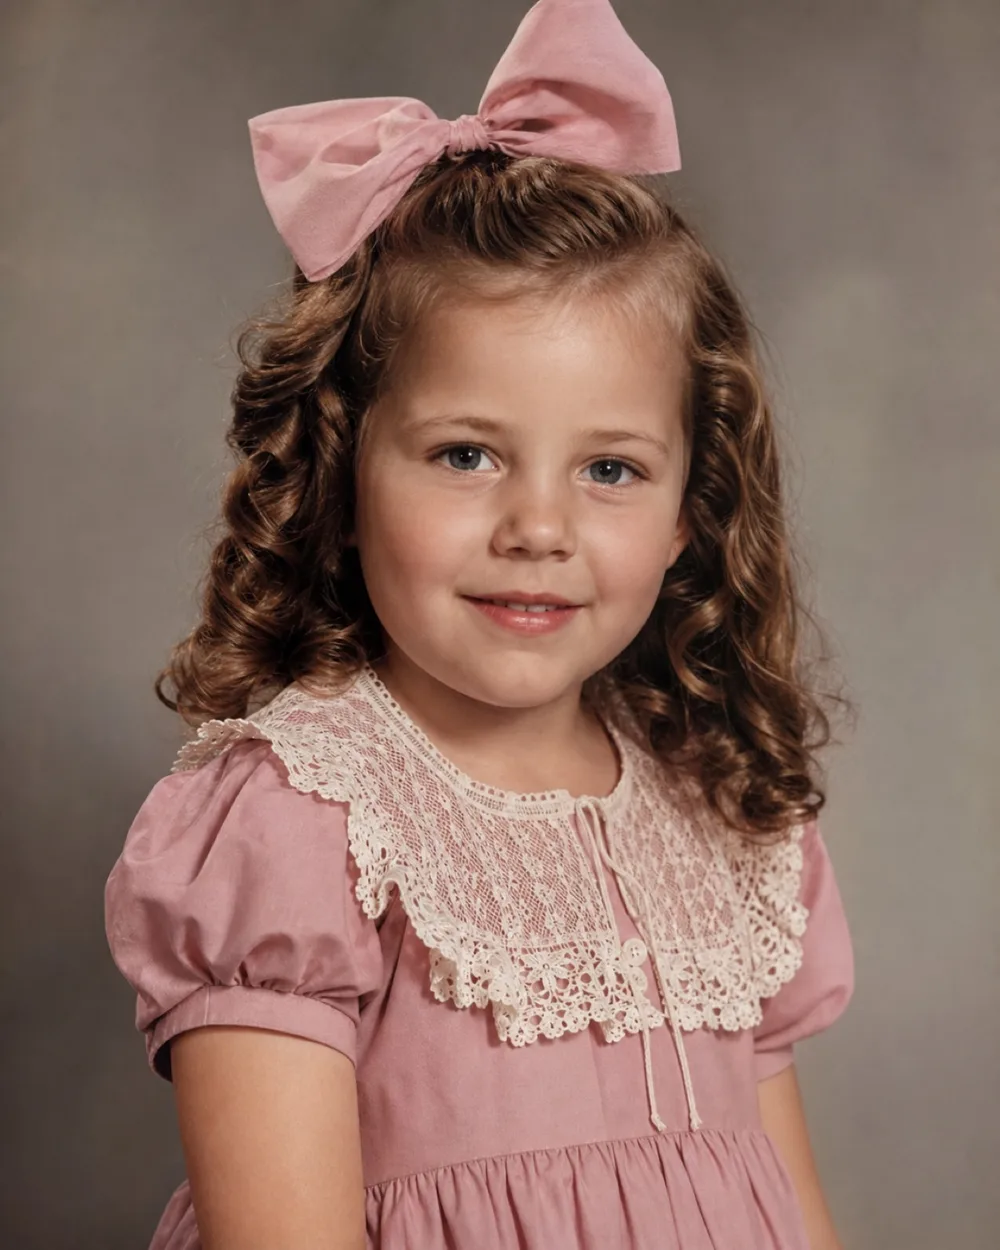
Key takeaways
- Digitize the print first with even light and no flash — scan quality sets the ceiling on what any restoration tool can recover.
- Diagnose the damage before picking a tool: physical marks need Restore, fading/dark exposure needs Brighten, black-and-white needs Colorize.
- Apps like OldtoLife process each fix on a server in about 10 seconds, and running tools in the right order (repair, then brighten, then colorize) gives cleaner results than stacking them all at once.
- For torn or missing sections, use a reconstruction tool like Recreate rather than a scratch-removal tool, and always check faces on the before/after slider before saving.
You restore old photos on an iPhone by first getting a clean digital copy of the physical print, then running that copy through an AI restoration tool that repairs scratches, fading, tears, and dullness in about ten seconds per pass — no scanner hardware or editing software required.
The part people usually get wrong isn't the AI step, it's the step before it. A blurry, glare-covered photo of a photo caps how much detail any tool can recover, no matter how good the model is. Get the digitizing right first, diagnose what's actually wrong with the print, and the restoration itself is the fastest part of the whole process.
Start With a Clean Digital Copy
An AI restoration tool can only work with the information it's given. If the photo you feed it is soft, has a glare spot across someone's face, or is shot at an angle that distorts the edges, that's the ceiling on the final result — the tool can sharpen and repair, but it can't invent detail that was never captured. This is the step worth slowing down for, even though it takes thirty extra seconds.
Shoot in even, indirect light — near a window on an overcast day works better than direct sun or an overhead bulb, which both tend to blow out highlights on glossy prints. Turn the flash off; on any print with a shine to it, flash almost always leaves a bright hot spot dead center where you least want it. Hold the phone directly above the photo and parallel to it, not tilted, so the edges stay square instead of trapezoidal.
For photos still glued into an album, or ones so curled they won't lie flat, the built-in document scanner in the iPhone's Notes or Files app is worth using instead of the regular camera — it auto-detects the edges, corrects for angle, and flattens perspective distortion better than a straight photo can.
- Use soft, indirect daylight rather than a lamp or direct flash
- Hold the phone parallel to the photo to avoid keystone distortion
- Fill the frame with the photo so you're not cropping in later and losing resolution
- Try the Notes or Files app scanner for photos in albums or that won't lie flat
- Wipe the print gently and remove dust before shooting — dust reads as texture to AI models
Know What Kind of Damage You're Dealing With
Not all old-photo problems are the same problem, and the tool that fixes one won't necessarily fix another. Physical damage — creases from being folded, scratches from handling, tape residue, water stains, small tears — is a different category from a photo that's simply faded, over-dark, or was slightly out of focus the day it was taken. Spend a minute actually looking at the print before deciding what to run.
If you can see distinct marks — a crease line, a torn corner, spotting from moisture — that's physical damage, and it's what OldtoLife's Restore tool is built to remove. If the photo is technically intact but the color has gone flat, yellowed, or dark with age, that's a fading and exposure problem, which Brighten addresses directly rather than trying to clean marks that aren't there. If it's a black-and-white or sepia print you'd like to see in natural color, that's a separate step again — Colorize — and it works best run after any physical repair, not before.
This diagnosis matters because running the wrong tool wastes a pass and can occasionally produce an odd result, like a colorization guessing at tones around a stain that hasn't been cleaned up yet. A few seconds of looking at the photo first saves a redo.
What Happens When You Run an AI Restoration Tool
Apps like OldtoLife don't process the image on your phone's own chip — the photo is sent to a server running a model trained specifically on the patterns of aged-photo damage, and a repaired version comes back in roughly ten seconds. That's why it feels closer to instant than to editing: manually cloning out a single scratch in a general-purpose photo editor can take several minutes of careful, zoomed-in work, and a photo with a dozen small scratches multiplies that.
Each tool is scoped to one kind of fix rather than trying to do everything at once. Restore targets the physical damage — scratches, tears, creases, stains. Enhance is for a different situation entirely: a photo with no visible damage that's just soft, blurry, or low-resolution because of the camera or lens it was originally taken with. Brighten corrects exposure and fading. Running them in the order the photo actually needs — repair, then brighten, then colorize, for example — tends to give a cleaner result than running every tool regardless of what's wrong.
The original file stays untouched throughout; each tool produces a new result you can compare directly against the source before deciding to keep it.
Getting the Most Out of the Result
Work through fixes one at a time rather than stacking every tool immediately. If you restore, colorize, brighten, and enhance in one sitting without checking in between, and something looks off at the end, it's hard to tell which step introduced the problem. Doing one pass, checking the result, then deciding on the next pass is slower by a few seconds but easier to correct if a step overcorrects — say, a colorization landing on the wrong skin tone because the source scan was too dark for it to read accurately.
Use the before/after slider and pull it directly across faces before saving anything. Faces are where over-processing shows up first and where it matters most — check that eyes, expressions, and any visible handwriting or text on the print are still sharp and haven't smoothed out into something generic.
Once you're satisfied, save the full-resolution version rather than a compressed preview, and keep the original digitized copy separately. If you want to revisit the restoration later with a different tool or a fresh scan, you'll want that unedited source photo on hand.
Handling Severely Damaged or Incomplete Photos
Some old photos go past scratches and fading into missing material entirely — a corner torn off, a fold that ripped a wedge out of the print, water damage that erased part of a face. That's a fundamentally different task for an AI model: instead of cleaning up marks on an intact image, it has to plausibly reconstruct an area where no image data exists at all, based on the surrounding detail and typical facial structure. OldtoLife's Recreate tool is built specifically for this case, rather than trying to stretch a scratch-removal tool to cover it.
It's worth setting expectations here: reconstruction produces a plausible, natural-looking result, not a guaranteed pixel-for-pixel match to what was actually there, particularly when a large area is missing or there's no other photo of the person to reference. For old military portraits, ancestor photos, or a wedding photo with heavy water damage across half the frame, that's usually still the difference between a photo you can put back on display and one that stays in a drawer.
Step by step
- 1
Photograph or scan the original print
Shoot the photo in even, indirect light with the flash off, holding the phone parallel to the print, or use the Notes/Files document scanner for photos in albums or that won't lie flat.
- 2
Check what kind of damage it actually has
Look for physical marks like scratches, creases, and tears versus fading, dark exposure, or a black-and-white photo you'd like colorized, since each needs a different tool.
- 3
Run Restore for physical damage
Open the digitized photo in OldtoLife and run Restore first if there are scratches, stains, tears, or creases, since repairing those before other steps gives cleaner results.
- 4
Apply Brighten, Colorize, or Enhance as needed
Add Brighten for fading and poor exposure, Colorize for black-and-white or sepia prints, or Enhance for blur and low resolution, running each one at a time and reviewing between passes.
- 5
Compare, save, and keep the original
Pull the before/after slider across faces to confirm nothing looks over-smoothed, then save the full-resolution result while keeping your original digitized copy for later.