Old Photo Restoration: A Guide to All Six OldtoLife Tools
Old photo restoration doesn't have to mean guessing which filter fixes what — this guide walks through OldtoLife's six tools and how to combine them for the best result.
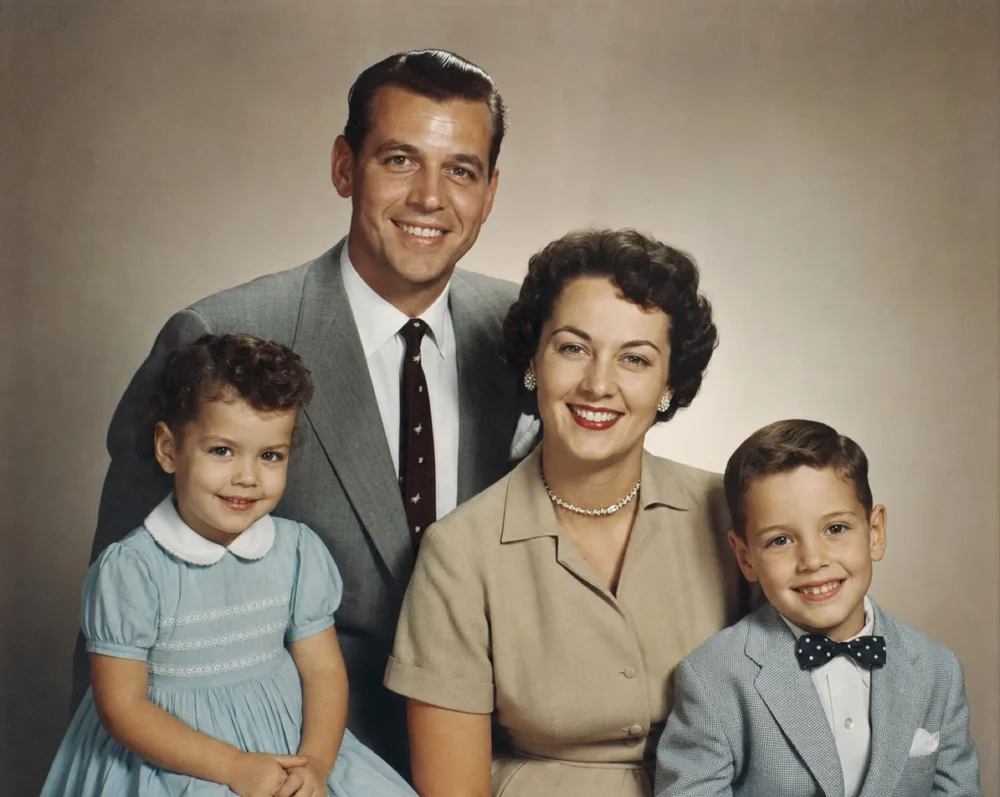
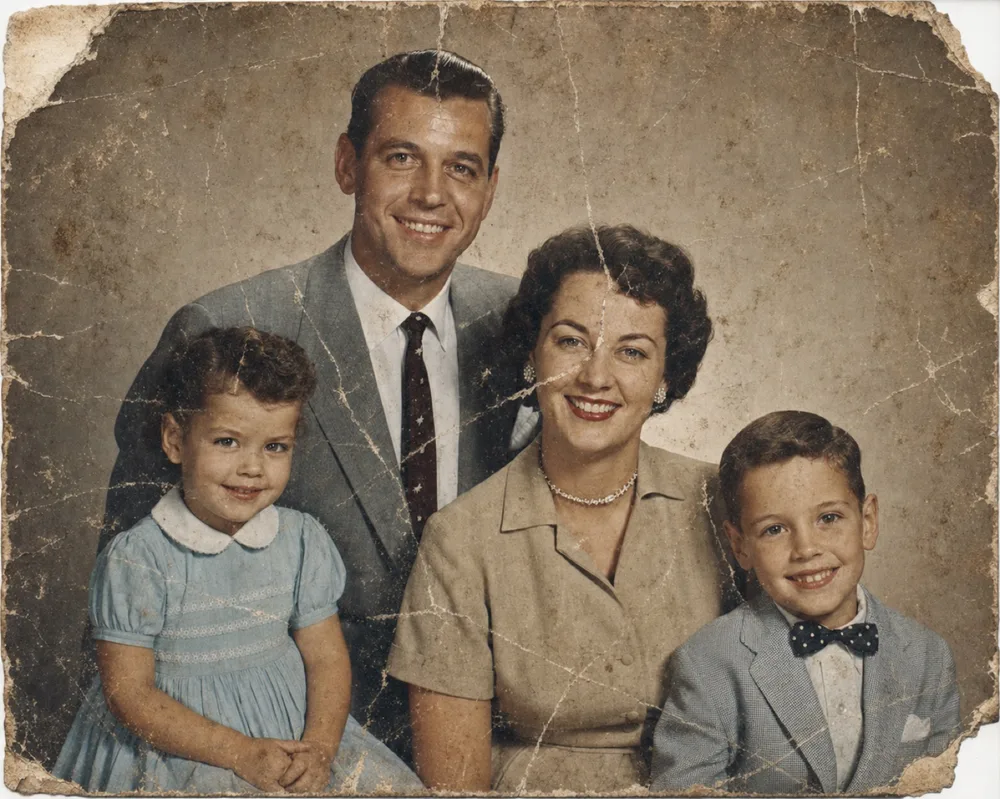
Drag to compare before & after
Old photo restoration is the process of repairing damage, recovering lost color and detail, and bringing back a photograph that's faded, torn, blurry, or missing pieces. OldtoLife handles it with six single-tap AI tools — Restore, Colorize, Enhance, Brighten, Recreate, and Merge — each built for one specific kind of damage, so you're not asking one all-purpose filter to do six different jobs.
The tools are meant to be used together, in whatever order a photo actually needs. A torn 1940s portrait might need Restore for the creases, Recreate for a missing corner, and Colorize to bring it into full color; a slightly dark family snapshot might only need Brighten. This page covers what each tool does, when to reach for it, and how to put them together into a workflow that takes a damaged print from your shoebox to a photo worth printing again.
What Old Photo Restoration Actually Involves
At its core, restoration means repairing physical damage — the creases, tears, tape residue, and water stains that build up on a print over decades. But a complete restoration usually touches more than the surface: faded color needs to come back, soft or blurry faces need sharpening, and photos that were underexposed to begin with need their light rebalanced. Treating all of that as one job is why restoration used to take real skill — a darkroom retoucher or a Photoshop specialist working frame by frame, often for hours on a single print.
OldtoLife splits that broad task into six specific tools rather than one 'fix everything' button, because a scratch, a faded color, and a blurry face each call for a different kind of correction. Running the right tool for the right problem gives you more control over the result than a single generic filter ever could, and it means you're only paying attention to the part of the photo that actually needs work.
The Six Tools, and When to Reach for Each One
Every OldtoLife tool is built to solve one problem well, rather than several problems poorly. Before opening the app, it helps to describe the photo's main issue in a single sentence — is it torn, faded, blurry, dark, missing entire sections, or spread across several separate prints? That sentence usually points straight to the tool you need:
Most photos need only one or two of these tools to look right again. A handful — the ones that survived a flood, a fire, or forty years folded in a drawer — need three or four in sequence, which is where having a plan matters more than any single tool.
- Restore — for scratches, creases, tears, tape marks, and general wear on the physical print
- Colorize — for black-and-white or sepia photos you want to see in natural, period-accurate color
- Enhance — for faces and details that came out blurry, soft, or low-resolution
- Brighten — for photos that are too dark, too pale, or unevenly lit
- Recreate — for portraits with large torn-away or missing sections that need to be rebuilt
- Merge — for combining two to sixteen separate photos into one natural group frame
Building a Restoration Workflow: What Order to Use the Tools
When a photo needs more than one fix, order matters. Start with Restore to repair the physical damage — the tears, creases, and stains — before you touch color or brightness, so the AI is working from a clean base rather than trying to colorize a crease or sharpen a scratch. If large sections of the portrait are missing outright, use Recreate first instead; it's built specifically for rebuilding areas that Restore alone can't patch.
From there, add Colorize if the photo is black-and-white or sepia, Enhance if faces or fine detail are still soft, and Brighten last, once the rest of the image is settled, to balance the final exposure. Each pass takes about 10 seconds, and you can compare the result on the before/after slider before deciding whether to run another tool or save what you have.
Merge works a little differently — it's usually the last step, not the first. It's the tool for combining photos of relatives who never had a picture taken together, or for building one family portrait out of several individual snapshots, once each source photo has already been restored on its own.
AI Restoration vs. Manual Editing
Traditional photo restoration meant either a specialist retouching the image by hand in software, often over days and at real cost, or a print conservator physically patching the original with archival materials. AI restoration compresses that into about 10 seconds per tool, with no editing skill required, done on your phone.
It's worth being clear about what that means in practice: for badly damaged photos, especially with Recreate, the AI is making its best reconstruction from the visible parts of the image and the surrounding context, not producing a forensically exact copy of what was lost. That's genuinely useful for bringing a memory back to life and putting it on a wall or in a frame — it's not meant to stand in for a legal or forensic record.
Your photo is only processed to produce the result you asked for. It isn't sold, isn't used to train unrelated models, and is kept only briefly — which matters more with restoration than with most photo edits, since these are often the only copies of irreplaceable family images.
Getting the Best Result From Any Tool
The quality of the source image still matters, even with AI doing the retouching. If you're photographing a physical print rather than scanning it, even, diffused light and a flat angle — no glare, no shadow from your own hand — give the AI more to work with than a dim or angled shot.
It's also worth keeping the untouched original safe before you start. OldtoLife works on a copy, and the before/after slider lets you check each result against the source, but holding onto the unedited scan or photo means you can always try a different tool or a different order later.
Once you're happy with a result, save it at full resolution and share it directly from the app, or move on to the next tool if the photo needs more than one pass. There's no need to get it perfect in one tap — restoration is usually a short sequence, not a single step.
How to do it, step by step
- 1
Add the photo
Import the photo from your camera roll, or photograph the physical print yourself in even, glare-free light.
- 2
Identify the damage
Decide whether the main issue is physical damage, faded color, blur, poor lighting, missing sections, or several photos you want combined into one.
- 3
Run the matching tool
Tap the tool that fits — Restore, Colorize, Enhance, Brighten, Recreate, or Merge — and let the AI process it, about 10 seconds per pass.
- 4
Compare, and repeat if needed
Check the result on the before/after slider, then run a second or third tool in sequence if the photo needs more than one kind of fix.
- 5
Save or share the result
Save the high-resolution photo to your gallery or share it directly, while keeping the original safely on your device.
Old Photo Restoration: A Guide to All Six OldtoLife Tools — FAQ
What's the difference between restoring and colorizing a photo?
Restoring repairs physical damage like scratches, tears, creases, and stains. Colorizing adds natural color to a black-and-white or sepia photo. Many photos need both — restore the damage first, then colorize.
Which tool should I use first on a badly damaged photo?
Start with Restore for general wear and tear, or Recreate if whole sections of the portrait are torn away or missing. Add Colorize, Enhance, or Brighten afterward, depending on what else the photo needs.
Can I use more than one tool on the same photo?
Yes. Most heavily damaged photos go through two or three tools in sequence, and you can compare the result after each step before moving on to the next one.
How long does old photo restoration take with OldtoLife?
Each tool processes a photo in about 10 seconds. A photo that needs several tools in sequence typically takes only a minute or two from start to finish.
Is my old photo safe when I upload it?
Your photo is processed only to produce the restored result. It isn't sold, isn't used to train unrelated models, and is kept only briefly.
Do I need editing experience to restore old photos?
No. Each tool is a single tap and the AI does the retouching — you just pick the tool that matches the damage and compare the result before saving.
Still have a question? Email us
Related tools & guides
Restore Old Photos with AI
Erase scratches, stains, creases, and tears from old prints. OldtoLife rebuilds the damaged areas of a photo so a worn picture looks whole again — in about ten seconds.
Colorize Black and White Photos with AI
Add natural, period-accurate color to black-and-white and sepia photos in about ten seconds — no manual painting, no guesswork, just a believable result you can compare side by side with the original.
Enhance Photo Quality: Sharpen Blurry Faces & Boost Resolution
Turn soft, blurry, low-resolution photos into sharp, detailed images — Enhance recovers the fine detail old cameras and scans lost, without changing the photo's original color or character.
Brighten Old Photos: Fix Dark, Faded Exposure
Recover a photo that's too dark, too pale, or unevenly lit — OldtoLife balances exposure so faces and backgrounds both come through clearly, in about 10 seconds.
Recreate a Severely Damaged Photo Portrait
When a portrait is torn or stained so badly that a whole section of a face is gone, Recreate rebuilds what's missing using AI trained on human facial structure — aiming for a natural likeness, not just a patched-over hole.
Merge Photos Into One with AI
Combine 2 to 16 separate photos into one natural frame — bring relatives who were never photographed together into a single shared portrait in about 10 seconds.
Your memories deserve to be seen clearly
Download OldtoLife and restore your first photo in seconds. Every tool is free to try — no account needed.