Enhance Photo Quality: Sharpen Blurry Faces & Boost Resolution
Turn soft, blurry, low-resolution photos into sharp, detailed images — Enhance recovers the fine detail old cameras and scans lost, without changing the photo's original color or character.
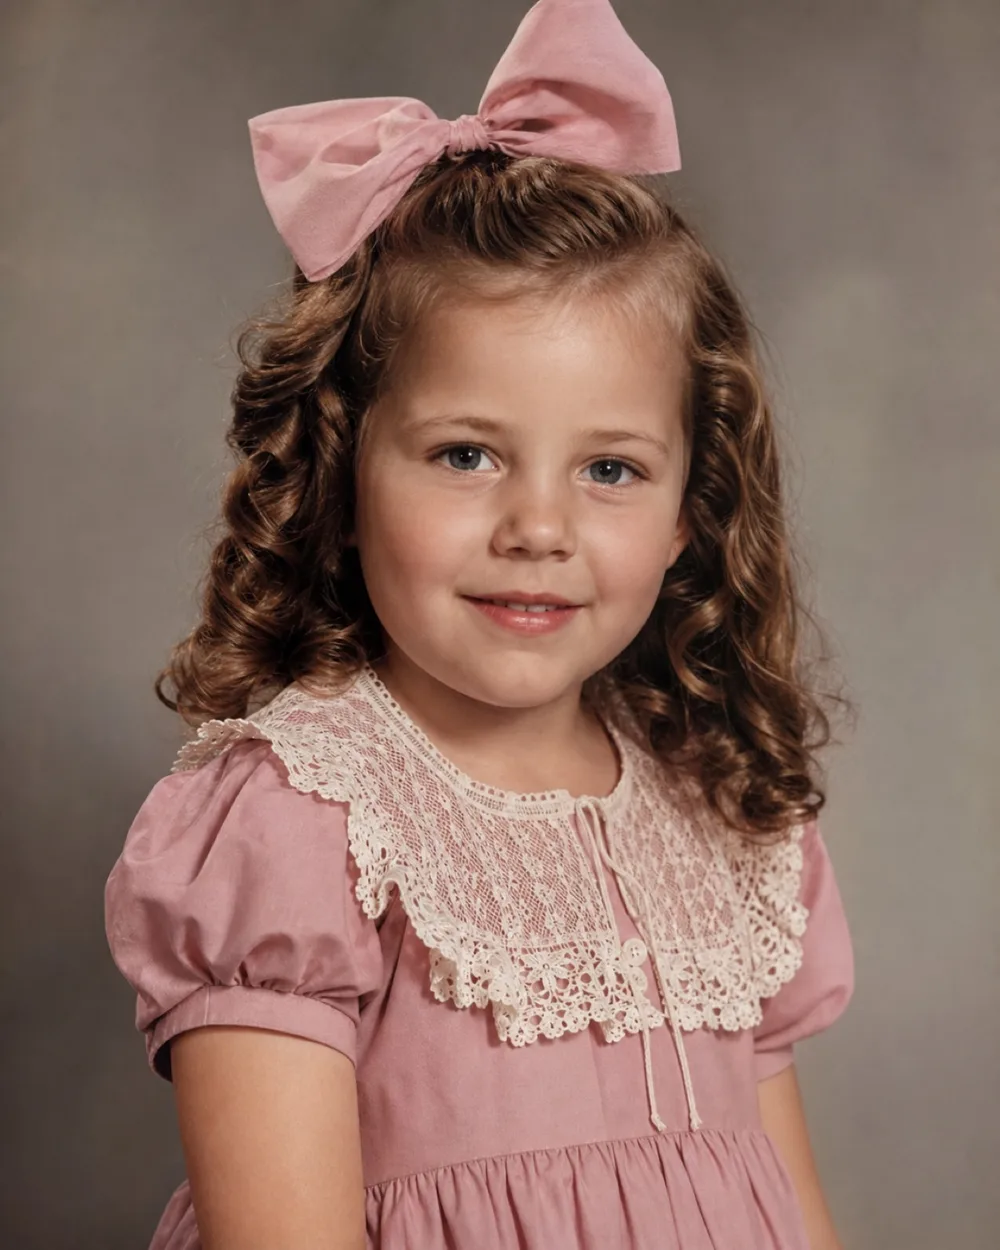
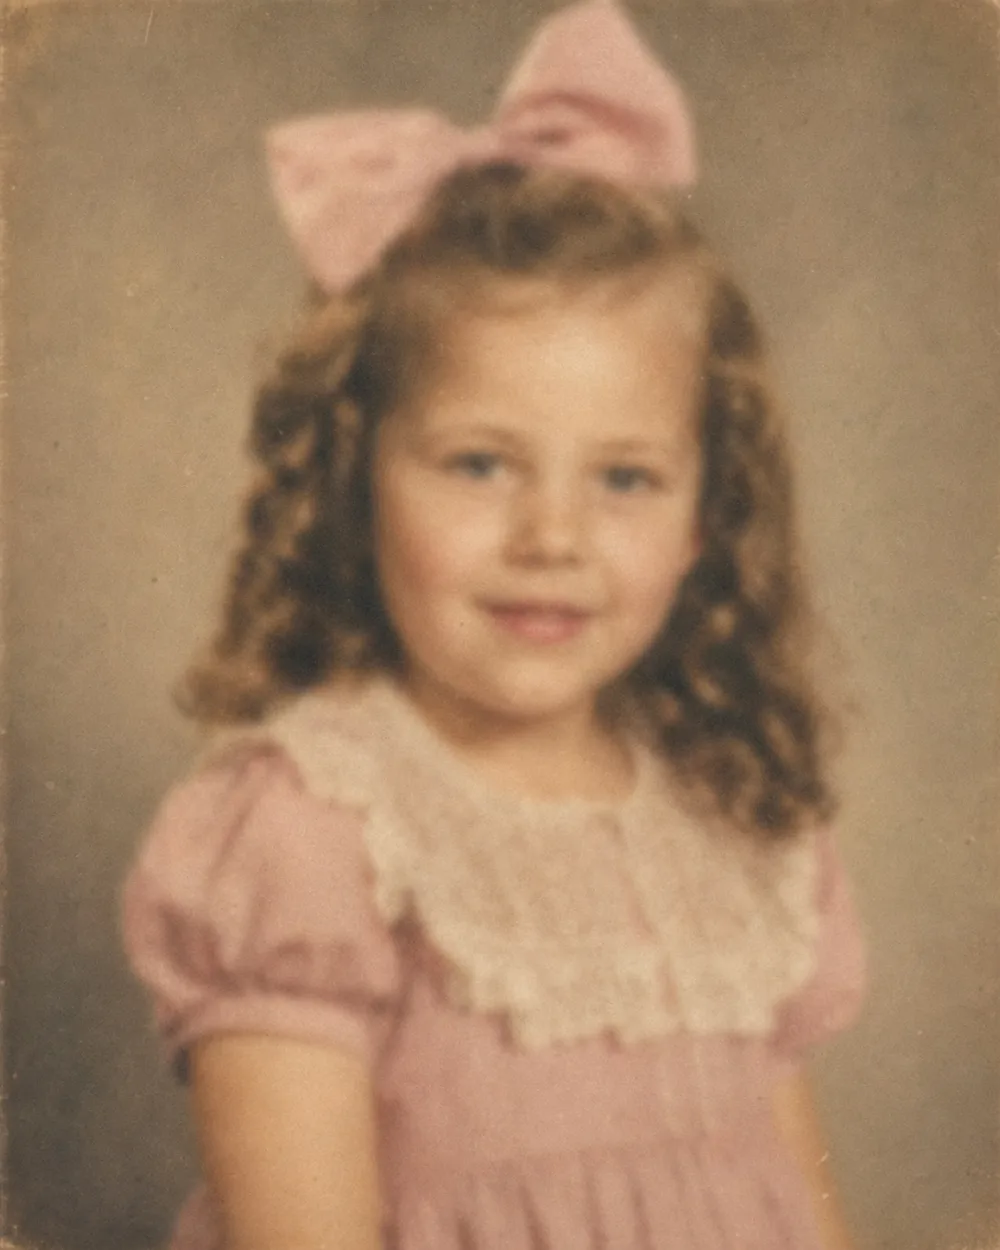
Drag to compare before & after
Enhance sharpens blurry faces, recovers fine detail, and increases the resolution of soft or low-quality old photos, using AI that runs on our servers in about ten seconds. It's built for photos that aren't damaged in the usual sense — no tears, no stains — they're just soft: a face that never quite came into focus, a scan that lost detail at low resolution, or a snapshot taken from too far away to catch any detail at all.
This is different from OldtoLife's other tools. Restore is for physical damage like scratches, creases, and tears. Brighten is for photos that are dark, faded, or poorly exposed. Enhance is specifically for sharpness, fine detail, and resolution — the tool to reach for when a photo simply looks soft or pixelated, no matter how good the lighting or how clean the print.
What Makes an Old Photo Look Soft or Blurry
Plenty of old photos were never sharp to begin with. Basic point-and-shoot lenses, a slow shutter that caught the slightest hand movement, or a subject standing a few steps too far from the flash all left faces without crisp edges. None of that is damage — the detail simply wasn't captured in the first place, and no amount of cleaning or brightening will bring it back.
Scanning adds its own softness. A flatbed scanner set to a low DPI, or a quick phone photo taken of a photo instead of a proper scan, compresses fine detail — hair strands, fabric texture, the shape of an eye — into a handful of blurry pixels. The original print might be perfectly sharp; the digital copy just wasn't captured at high enough resolution to show it.
Then there's generational loss. A photo that's been photocopied, faxed, or passed along as a screenshot of a screenshot through messaging apps loses a little more clarity each time it's compressed and re-saved. By the time it reaches you, faces that were once clear can look muddy or pixelated even though the damage is entirely digital, not physical.
How AI Enhancement Recovers Detail
A simple sharpening filter just increases contrast along edges — it makes a blurry photo look harsher without adding any real information back, and it tends to exaggerate film grain and scan noise in the process. Enhance works differently. The AI has learned what facial features, hair, and fabric typically look like at high resolution, so it reconstructs plausible fine detail rather than just amplifying what's already there, while also increasing the overall resolution of the image.
Faces get particular attention, since they're usually the part of an old photo that matters most emotionally. Enhance sharpens eyes, defines the edges of a smile, and recovers texture in skin and hair that a low-resolution scan flattened out — the goal is a face you can actually look at closely, not just a technically bigger file.
The whole process happens on our servers and takes about ten seconds. You get back a higher-resolution version of your original photo, ready to compare against the source with the before/after slider before you decide to save it.
Enhance, Restore, or Brighten: Which Tool Do You Need
OldtoLife's tools are built to solve one problem each, so it helps to know which one matches what's actually wrong with your photo. A quick way to tell: look at what's bothering you about the image, then match it to the list below.
You can also run more than one tool on the same photo. A dark, blurry photo with a torn corner might need Restore for the tear, Brighten for the exposure, and Enhance for the softness — each tool handles its own piece, and you can apply them in whatever order the photo needs.
- Scratches, tears, stains, or creases → use Restore
- Dark, faded, over- or under-exposed → use Brighten
- Blurry, soft, low-resolution, or pixelated → use Enhance
- Black-and-white or sepia photo needing color → use Colorize
- Large missing or destroyed areas of a portrait → use Recreate
When Enhance Makes the Biggest Difference
Enhance tends to help most with photos where the softness is the main problem, rather than one issue among several. It's worth trying whenever a photo looks technically fine — good exposure, no visible damage — but still feels frustratingly unclear when you look closely.
It's also useful for photos that were never going to be sharp under the best of circumstances: candid snapshots, group shots where faces are small in the frame, or anything captured on an early digital camera or camera phone with limited resolution.
- Photos from basic point-and-shoot or early digital cameras
- Group photos where individual faces are small and soft
- Snapshots taken from a distance, like at a wedding or graduation
- Low-DPI scans of otherwise well-preserved prints
- Photos passed through messaging apps and compressed repeatedly
Getting the Best Result from a Soft or Low-Resolution Photo
The quality of what you start with still matters. If you have a choice between the original print and a compressed copy someone sent you years ago, scan or photograph the original at the highest resolution your device allows before running it through Enhance — there's more real detail for the AI to work with, and the result will be noticeably better.
If a photo needs more than sharpening, order matters less than you'd think. You can run Restore or Brighten first and finish with Enhance, or enhance a blurry photo and then adjust its exposure afterward — try the order that makes sense for the specific photo and compare results with the slider.
For anything you plan to print or frame, download in full HD. Premium removes the daily limit and unlocks full-resolution downloads, which makes a real difference once a photo is enlarged for a frame rather than viewed on a phone screen.
How to do it, step by step
- 1
Open the Enhance tool
From the OldtoLife home screen, tap Enhance among the six tools.
- 2
Choose your photo
Select the blurry, soft, or low-resolution photo from your camera roll.
- 3
Let the AI sharpen and upscale it
Tap Enhance and wait about ten seconds while our servers recover detail and increase resolution.
- 4
Compare with the before/after slider
Drag the slider across the result to see exactly how much detail was recovered.
- 5
Save or share the result
Save the enhanced photo to your gallery, or share it directly from the app.
Enhance Photo Quality: Sharpen Blurry Faces & Boost Resolution — FAQ
Will Enhance fix a photo that's just out of focus, not necessarily old?
Yes. Enhance works on any blurry or low-resolution photo, old or recent — it's built with old photos and scans in mind, but the same sharpening and detail recovery applies to any soft image.
Does Enhance repair scratches, tears, or stains?
No. Enhance is only for sharpness, detail, and resolution. For physical damage like scratches, tears, or creases, use the Restore tool — you can run both on the same photo if it needs each.
Can Enhance make a small, low-res photo big enough to print well?
It increases resolution and recovers detail, but the result still depends on how much information was in the original. For prints, download in full HD with Premium, and start from the highest-quality scan or copy you have.
Will enhancing change the color or brightness of my photo?
No. Enhance focuses only on sharpness, detail, and resolution, and leaves color and exposure as they were. Use Colorize for color and Brighten for lighting.
How long does Enhance take?
About ten seconds per photo, processed on our servers, with the result ready to compare using the before/after slider.
Do I need Premium to use Enhance?
Enhance is free to try with a daily limit. Premium removes that limit and unlocks unlimited restorations plus full-HD downloads.
Still have a question? Email us
Related tools & guides
Unblur Photo: Deblur Old, Blurry Photos and Faces
Turn a soft, out-of-focus, or motion-blurred old photo into a sharp one — recover facial detail an AI trained on real photographs, right from your phone.
Restore Old Photos with AI
Erase scratches, stains, creases, and tears from old prints. OldtoLife rebuilds the damaged areas of a photo so a worn picture looks whole again — in about ten seconds.
Brighten Old Photos: Fix Dark, Faded Exposure
Recover a photo that's too dark, too pale, or unevenly lit — OldtoLife balances exposure so faces and backgrounds both come through clearly, in about 10 seconds.
How to Fix Blurry Old Photos, Step by Step
Not all blur is the same, and not all blur can be fixed the same way — the trick is matching the fix to what actually went wrong with the photo.
The Best Way to Scan Old Photos
A flatbed scanner set to the right resolution and color mode will capture far more detail than a phone camera — and that detail is what makes restoration actually work.
Restore Vintage Portraits from Your Phone
Bring back the sharp detail and true tones of a studio portrait without touching the fragile original print underneath.
Your memories deserve to be seen clearly
Download OldtoLife and restore your first photo in seconds. Every tool is free to try — no account needed.