Colorize Black and White Photos with AI
Add natural, period-accurate color to black-and-white and sepia photos in about ten seconds — no manual painting, no guesswork, just a believable result you can compare side by side with the original.
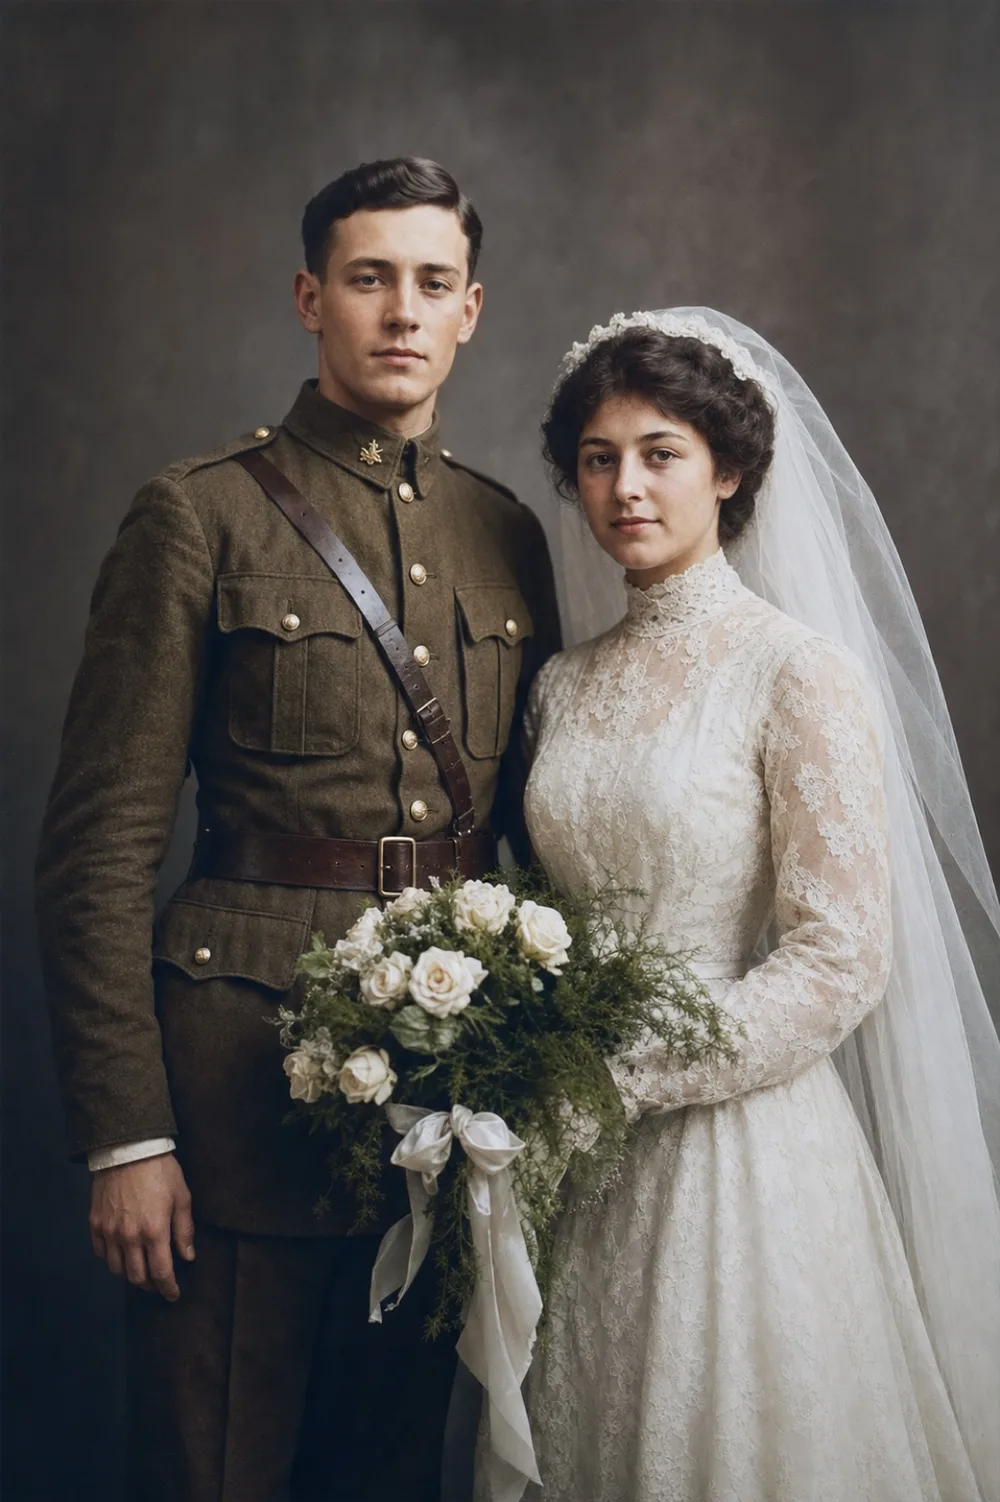
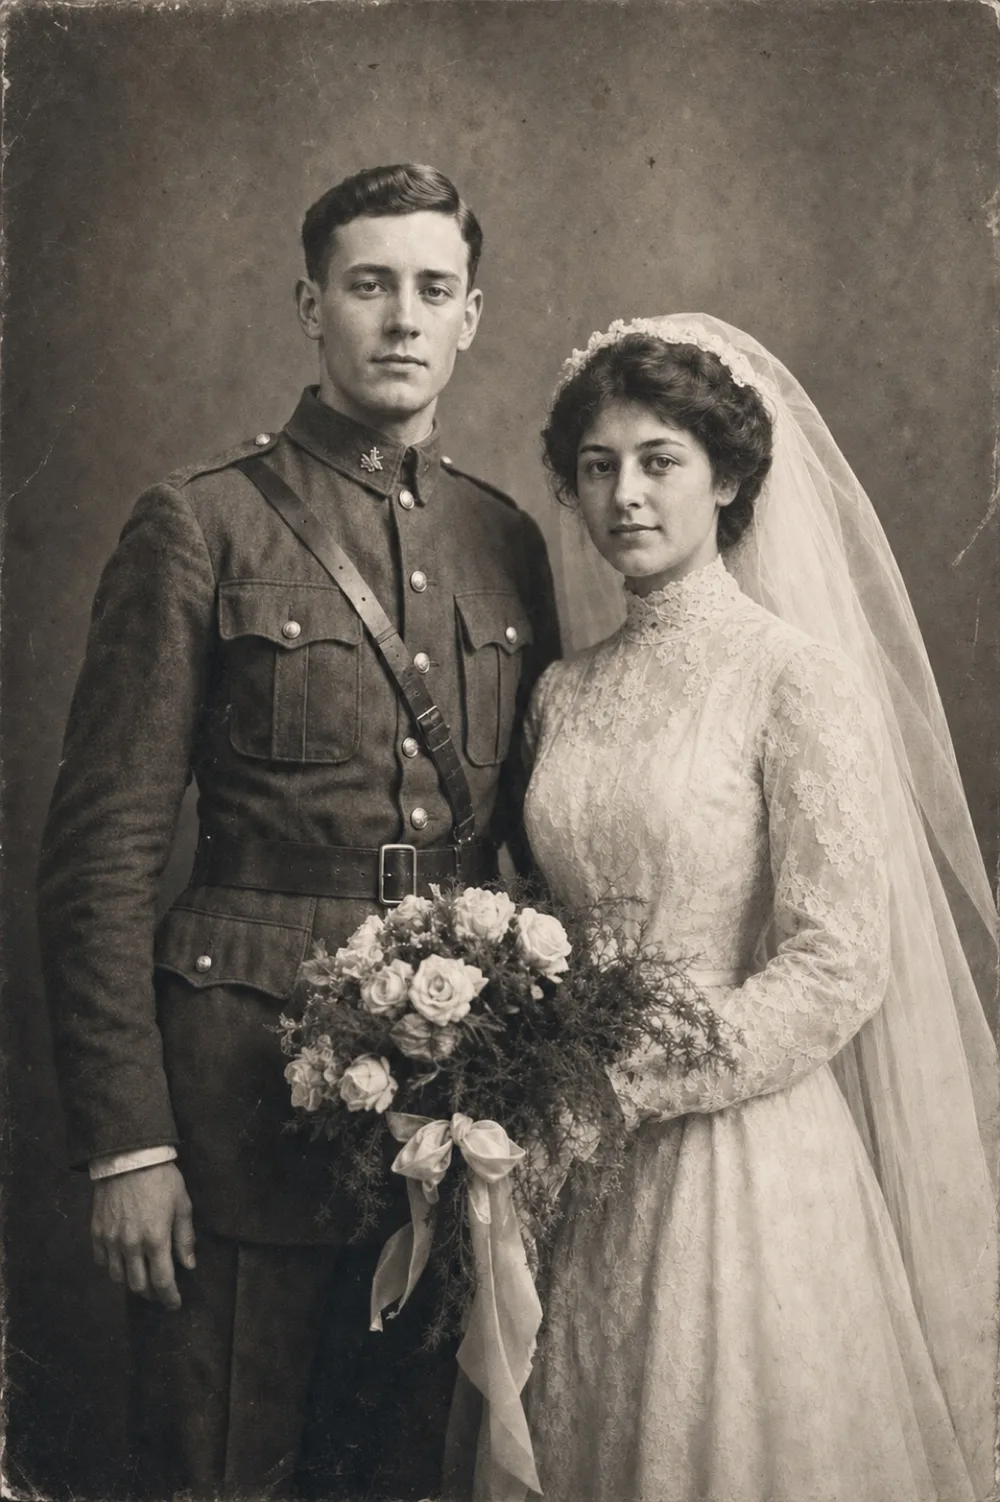
Drag to compare before & after
OldtoLife colorizes a black-and-white or sepia photo by reading its tone, texture, and context, then predicting the colors that most likely belong there — skin from facial detail and lighting, clothing from fabric texture and cut, skies and foliage from their shape and position in the frame. Rather than tinting the whole image with a single sepia-removal filter, the AI works region by region, so a face, a wool coat, and a brick wall each get color that fits what they actually are.
There's nothing to paint or select by hand. Open the photo in OldtoLife, tap Colorize, and the app returns a color version in about ten seconds. A before/after slider lets you compare the two side by side, and you can save or share the full-resolution result once you're happy with it.
How the AI infers color from a grayscale photo
A black-and-white photo already carries more information than it looks like it does. Every shade of gray encodes a real brightness value, and brightness is a strong clue to color — skin, hair, fabric, sky, and foliage each reflect light in fairly predictable ranges. OldtoLife's model has learned those patterns from a huge number of real color photographs, so when it sees a mid-gray tone in the shape of a face, it can estimate a plausible skin tone, and adjust for shadows, highlights, and the apparent lighting of the scene.
Context matters as much as tone. The model recognizes what it's looking at — a jacket lapel, a curtain, a stretch of lawn, a straw hat — and uses that recognition to narrow down likely colors. A rounded shape at head height with a lighter texture reads as hair rather than a hat, and gets colored accordingly. The same logic applies to backgrounds: a textured area behind a portrait is more likely painted wall or drapery than sky, and the AI colors it that way instead of defaulting to blue.
Keeping the result believable, not cartoonish
The easiest way to ruin a colorized photo is to oversaturate it. Cheap colorizing filters tend to push every color toward the same handful of bright, flat hues, which makes a portrait look like a poster instead of a photograph. OldtoLife aims for the opposite — muted, natural tones that sit close to what film and prints from the period would actually have shown, with enough variation in skin, hair, and fabric that nothing looks uniform or painted-on.
Where the AI genuinely can't know a color — the exact shade of a dress fabric, or a car in the background — it chooses a plausible, understated option rather than an attention-grabbing guess. That restraint is deliberate. A colorized family photo is meant to feel like a real memory, not a stylized graphic, and a slightly conservative color choice almost always reads as more convincing than a bold, wrong one.
Why colorizing works best after restoring damage
If a photo has scratches, stains, tears, or heavy fading, colorize it after you restore it, not before. Damage on a black-and-white photo isn't just visually distracting — it changes the tonal information the AI uses to infer color. A water stain across a cheek reads as an unusual brightness value in that region, and the colorization model has to guess whether it's shadow, skin, or damage. Removing that damage first gives the model a clean, accurate map of tone to work from.
Running Restore before Colorize also avoids compounding errors. A scratch that gets colored along with the skin around it is much harder to fix afterward than a scratch removed cleanly beforehand. For a badly faded print, running Restore first also recovers contrast, which gives the colorization pass sharper edges and clearer tonal boundaries — the two effects reinforce each other rather than fighting.
- Scratches and stains distort the tone the AI reads as color
- Faded, low-contrast prints give the model less to work with
- Restoring first recovers edges the colorizer relies on
- Do Restore, then Colorize, for the cleanest end result
What colorization can know for certain — and what's a best guess
Some colors are well-constrained by physics and biology, so the AI gets them right with high confidence: sky is some shade of blue or gray, healthy skin falls in a narrow range, grass and leaves are green, wood and brick are warm browns. These are the areas where colorized results tend to look immediately convincing.
Other colors simply aren't recoverable from a grayscale image, because the original information was never captured. The exact color of a dress, a car, or a painted door is genuinely unknowable from tone alone — the AI has to choose something plausible for the era and setting rather than reproduce a fact. This is true of any colorization method, AI or hand-tinted, and it's worth keeping in mind: a colorized photo restores the feeling of color, and gets the constrained details right, but small guessed details shouldn't be read as a factual record of what someone was wearing.
Getting the best colorization results
A little preparation goes a long way toward a natural-looking result. The clearer and more damage-free the source photo, the more accurately the AI can read tone and texture, and the more convincing the color it produces.
Resolution matters too. A higher-resolution scan or photo gives the model finer detail to read — individual strands of hair, the weave of a fabric, the grain of a wooden chair — and finer detail generally leads to more precise, less generalized color choices.
- Restore scratches, stains, and tears before colorizing
- Use the highest-resolution scan or photo you have
- Sepia and yellowed black-and-white photos both work well
- If faces are soft or blurry, run Enhance for sharper detail
- Compare with the before/after slider before saving
How to do it, step by step
- 1
Restore damage first, if needed
If the photo has scratches, stains, or tears, run the Restore tool first so Colorize works from a clean image.
- 2
Open OldtoLife and tap Colorize
Choose the Colorize tool from the home screen and select your black-and-white or sepia photo.
- 3
Let the AI infer natural color
The app analyzes tone and texture across the image and predicts believable color for skin, clothing, and background in about ten seconds.
- 4
Compare with the before/after slider
Drag the slider to check the colorized version against the original before deciding it's ready.
- 5
Save or share the full-resolution result
Save the colorized photo to your gallery or share it directly with family.
Colorize Black and White Photos with AI — FAQ
Will the colors be exactly accurate to the original photo?
Not exactly — no colorization method can recover colors that were never captured in a black-and-white image. The AI infers well-constrained colors like skin and sky with high confidence, and makes a plausible, period-appropriate guess for details like clothing where the true color is unknowable.
Should I restore or colorize a damaged photo first?
Restore first. Scratches, stains, and fading distort the tonal information the AI uses to infer color, so removing damage before colorizing gives a cleaner, more accurate result.
Does Colorize work on sepia photos, not just black-and-white?
Yes. Sepia-toned prints carry the same kind of tonal information as pure black-and-white photos, and the AI colorizes them the same way.
Can I undo or adjust the colorization afterward?
You can compare the colorized result with the original using the before/after slider, and you always keep your original photo untouched. If a result doesn't look right, you can run Colorize again.
Is colorizing free, or does it require a subscription?
You can try Colorize for free. A Premium subscription removes daily limits and unlocks unlimited colorizations with full-HD downloads.
Why do some colorized areas look more convincing than others?
Areas with strong, predictable color patterns — skin, sky, foliage — tend to look the most natural, since the AI has clear evidence to work from. Details like a specific fabric or object color are inherently a best guess, since that information isn't present in a grayscale photo.
Still have a question? Email us
Related tools & guides
Restore Old Photos with AI
Erase scratches, stains, creases, and tears from old prints. OldtoLife rebuilds the damaged areas of a photo so a worn picture looks whole again — in about ten seconds.
Enhance Photo Quality: Sharpen Blurry Faces & Boost Resolution
Turn soft, blurry, low-resolution photos into sharp, detailed images — Enhance recovers the fine detail old cameras and scans lost, without changing the photo's original color or character.
Colorize Historical Photos with Natural, Period-Accurate Color
Turn a black-and-white or sepia archival photograph into a naturally colored image in about 10 seconds — without the neon, plastic look that generic filters produce.
How to Colorize Black and White Photos Without Losing Detail
Turning a black-and-white photograph into natural color used to take a trained retoucher hours by hand — an AI colorizer can now do it in about ten seconds, if you know how to get the best result.
Black and White vs Colorized Photos: Which Should You Keep?
Deciding between a black-and-white original and a colorized version isn't about right or wrong — it's about which one tells the story you want to remember.
What Is Photo Colorization?
Photo colorization is the process of adding realistic color to a black-and-white or faded photograph — once a slow, hand-painted craft, now something AI can do in about ten seconds.
Your memories deserve to be seen clearly
Download OldtoLife and restore your first photo in seconds. Every tool is free to try — no account needed.