How to Preserve Family Photos for Generations
Old prints don't have to fade, yellow, or crumble in a box — a few simple storage and backup habits can keep your family's photos intact for generations to come.
Key takeaways
- Light, heat, humidity swings, and acidic materials are the four biggest threats to a printed photo.
- Store prints in acid-free, PVC-free sleeves in a stable interior room — never an attic, basement, or garage.
- Scan photos at high resolution and back up the files in at least three places, including one off-site.
- Restore torn, stained, or faded photos before archiving them, so decay doesn't get locked in permanently.
Preserving family photos comes down to three habits: keep prints away from light, heat, and moisture; handle them with clean, dry hands and archival-safe materials; and create a digital backup so a single flood, fire, or lost box can't wipe out the only copy. None of this requires special training — just a bit of intention about where photos live and how they're touched.
Most family collections lose photos slowly, not all at once — a sunny windowsill, a damp basement, or a cheap magnetic album does the damage over years, not overnight. The good news is that the fixes are simple and mostly free, and even photos that already show creases, stains, or fading can be repaired once you have a digital copy to work with.
What Actually Damages Old Photographs
Photographs rarely fail all at once. Most of the damage you see in a family collection — yellowing, brittle curling, faded color, a stuck-together stack of prints — built up slowly from the same handful of causes: sunlight, unstable heat and humidity, acidic materials touching the photo paper, and rough handling over the years.
Ultraviolet light breaks down the dyes in a photograph even through a curtain or a glass frame, which is why a print left on a windowsill or above a mantel fades faster than one kept in a drawer. Heat speeds up the same chemical breakdown, and humidity that swings between damp and dry causes the paper to expand and contract, which cracks the emulsion and encourages mold. Acidic paper — newspaper clippings, cardboard boxes, cheap album pages — leaches into whatever touches it, including the photo pressed against it.
Then there's simple wear: fingerprints leave oil that attracts dirt over decades, paperclips rust and bite into the paper, and rubber bands fuse to whatever they're wrapped around. None of this is dramatic in the moment, which is exactly why it goes unnoticed until a box of childhood photos comes out stuck together or brown at the edges.
- Direct and indirect sunlight (UV fades color and darkens paper)
- Heat and humidity swings (cracks emulsion, invites mold)
- Acidic paper, cardboard, and adhesives (yellows and stains over time)
- Fingerprints, paperclips, rubber bands, and tape
- Attics, basements, and garages (the worst storage spots in most homes)
How to Store Prints the Right Way
The single best thing you can do for a box of family photos is move it to a stable, interior room — a closet in a living space, not an attic, basement, or garage, where temperature and humidity swing the most throughout the year. Archivists generally recommend a cool, steady environment around 65–70°F (18–21°C) with relative humidity between 30 and 50 percent. You don't need a climate-controlled vault; you just need to avoid the extremes.
Use materials labeled acid-free, lignin-free, and PVC-free — these terms matter more than the price of the box. Polypropylene or polyester sleeves (sometimes sold as archival or Mylar sleeves) protect prints without reacting with them, while vinyl (PVC) sleeves can eventually stick to a photo's surface and are hard to remove without tearing it. Store prints upright in a box rather than stacked flat under their own weight, and if photos are already stuck together, don't force them apart — that's a job for a conservator, not a butter knife.
If you're reusing an old photo album, check the pages first. The 'magnetic' albums common from the 1970s through the 1990s use an adhesive strip under a plastic overlay, and that adhesive is one of the more damaging things you can store a photo in long-term. Moving prints out of those albums into acid-free sleeves is worth the afternoon it takes.
Handling and Cleaning Without Causing New Damage
Handle prints with clean, dry hands, or cotton gloves if you're working through a large collection — the oil from fingertips attracts dust and, over years, leaves visible marks. Hold photos by the edges rather than pressing on the image itself, and avoid stacking wet or freshly handled prints on top of each other.
Skip anything that seems like a quick fix but isn't reversible: tape, glue, rubber cement, and laminating all seem protective but permanently alter the print or trap moisture against it. If a print is dusty, a soft, dry brush is usually enough — water, cleaning wipes, and erasers can lift the emulsion right off older prints. When in doubt, do nothing rather than something irreversible.
If you want to label a photo, write on the back near the edge with a soft pencil or a pen specifically sold as photo-safe or archival — ballpoint pen can press through and dent the image side. Better still, keep names, dates, and locations in a separate notebook or spreadsheet keyed to a number written lightly on each print, so the information survives even if the ink or pencil fades.
Back Up Digitally So One Accident Can't Erase Everything
A physical print is one flood, fire, or move away from being gone for good, which is why digitizing is the real insurance policy for a family photo collection. Scan prints at a high resolution — generally 300 dpi or higher for anything you might want to enlarge or print again — using a flatbed scanner or a phone scanning app (our guide on the best way to scan old photos walks through both options in detail).
Once you have digital files, follow the same rule archivists use for any irreplaceable data: the 3-2-1 approach. Keep at least three copies, on two different types of storage, with one copy stored somewhere other than your home — a cloud backup and an external drive kept at a family member's house both count. A single hard drive sitting in the same closet as the original prints protects against almost nothing.
Label files as you go. A filename like '1962_Chicago_GrandmaAndDad.jpg' will still make sense to a grandchild in thirty years; 'IMG_4021.jpg' won't. This small habit, done at the time of scanning, is what actually makes a digital archive usable later instead of just a folder of unlabeled images.
What to Do With Photos That Are Already Damaged
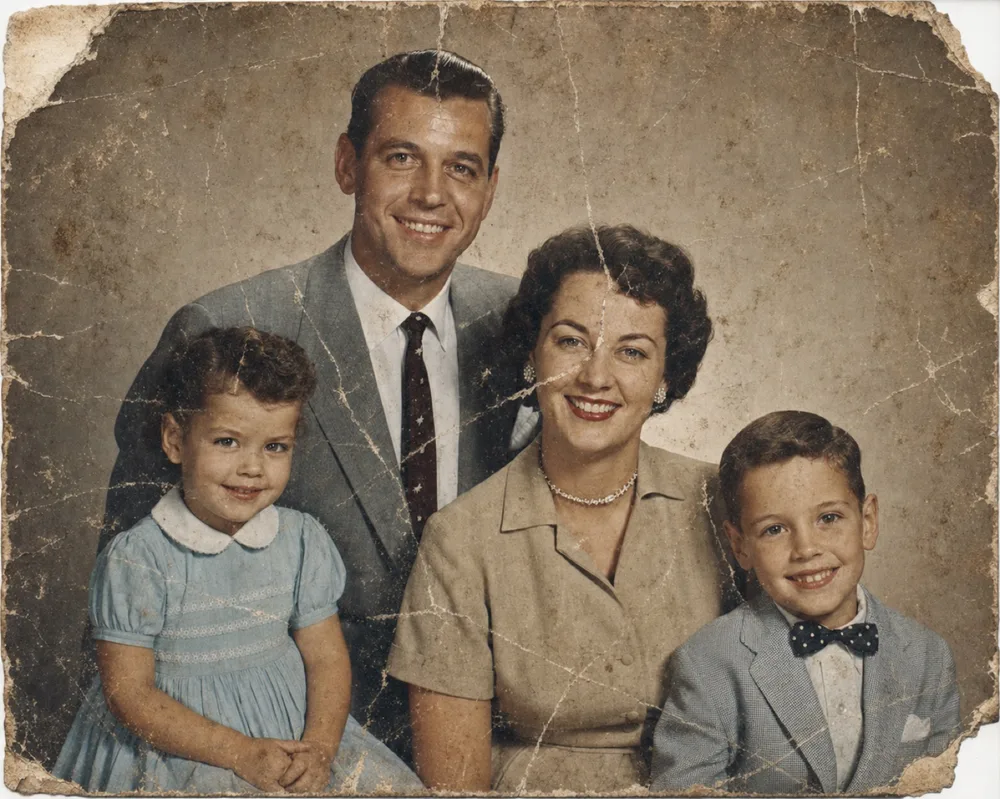
Preservation only protects a photo from further decline — it doesn't undo the creases, stains, tears, or fading that are already there. A lot of family collections include prints that were damaged decades ago, long before anyone thought about acid-free sleeves, and storing those photos carefully just locks in the damage rather than fixing it.
This is where digital restoration is worth doing before you file a photo away for good. OldtoLife's Restore tool removes scratches, creases, tears, and stains from a scanned photo in about ten seconds, and Brighten corrects the dark, faded, or unevenly exposed prints that are common in older collections. For portraits where a section of the photo is missing or torn away entirely, the Recreate tool rebuilds the missing area based on what's still visible.
The practical order is: scan the original first, store the physical print using the archival practices above, and then work on the digital copy — that way the print stays untouched while you get a clean, shareable, printable version for the family. You can compare the restored result against the original with a before/after slider before saving it, so nothing gets changed without your approval.
Step by step
- 1
Gather and prioritize
Pull together loose photos, albums, and boxes, and start with whichever prints look most at risk — anything already curling, stuck together, or stored in a damp basement or hot attic.
- 2
Scan every photo at high resolution
Digitize each print at 300 dpi or higher using a flatbed scanner or a phone scanning app, saving files with clear names that include the year, people, and place.
- 3
Move originals into archival storage
Slide prints into acid-free, PVC-free sleeves or boxes and store them in a stable interior room, away from direct light, heat, and humidity swings.
- 4
Restore and clean up the digital copies
Use a tool like OldtoLife to remove scratches and stains, brighten faded or dark shots, and rebuild any torn or missing sections before sharing or printing.
- 5
Back up in three places
Save the finished digital files to your device, a cloud service, and an external drive kept somewhere other than your home, so no single accident can wipe out the collection.