Photo Restoration Tips for Beginners
A handful of habits separate a photo that comes back looking natural from one that comes back looking wrong — and none of them require design skill.
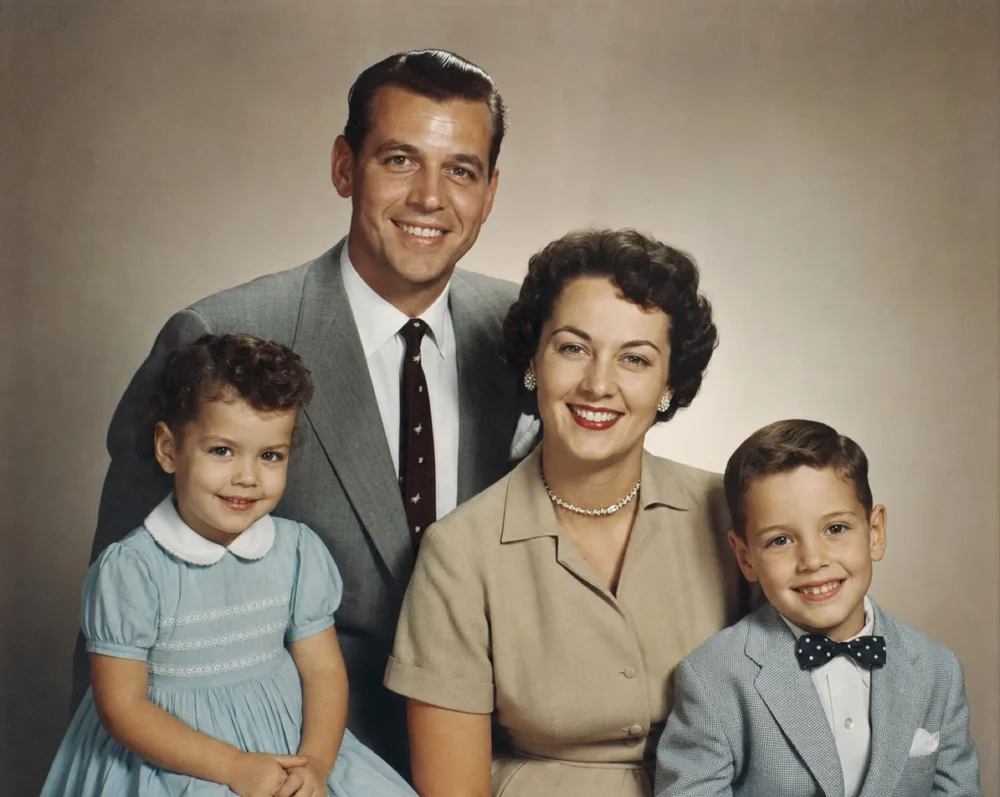
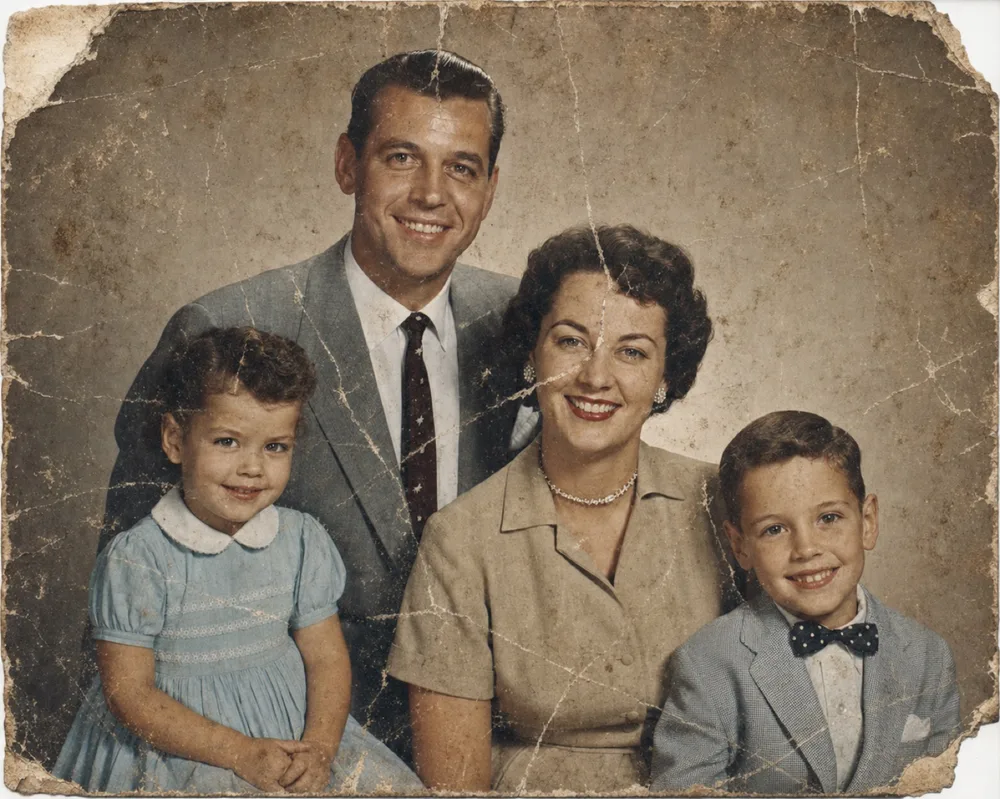
Key takeaways
- A clean, well-lit digital scan or phone photo sets the ceiling for every restoration step that follows.
- Identify the damage type first — scratches, fading, or missing sections — since each needs a different tool.
- Repair physical damage before colorizing; clean edges produce far more natural color results.
- Keep the original digital file untouched so you can always redo an edit that doesn't look right.
Start with a clean digital copy, work in the right order, and let AI handle the technical repair work instead of trying to master retouching software from scratch. Most beginners don't fail at photo restoration because they lack skill — they fail because they skip steps or tackle problems in the wrong sequence.
This guide walks through the practical habits that make the biggest difference: how to capture a usable starting image, how to read what kind of damage you're actually looking at, why order matters between repair and colorization, and which mistakes quietly ruin otherwise-fixable photos. None of it requires design experience — just a bit of patience and the right first steps.
Get a clean digital copy before you touch anything else
Every restoration starts with a digital file, and the quality of that file sets a ceiling on everything you can do afterward. No amount of AI processing can recover detail that was never captured in the first place, so this first step deserves more care than beginners usually give it.
A flatbed scanner at 600 DPI or higher is the gold standard because it captures the print evenly with no lens distortion. But a phone camera works fine too, and for most family photo boxes it's the realistic option. Lay the print flat, shoot in soft indirect light — near a window on an overcast day is ideal — and hold the camera directly overhead and parallel to the print to avoid the trapezoid distortion that comes from shooting at an angle.
Avoid direct flash or bright overhead bulbs, which bounce off glossy prints and blow out a bright patch right in the middle of the image. If you see a hotspot in the preview, tilt the print or move your light source rather than trying to fix the glare afterward — it's much easier to avoid than to remove.
- Shoot in diffused daylight, not direct sun or flash
- Keep the camera parallel to the print to prevent distortion
- Fill the frame with the photo, then crop precisely afterward
- Wipe dust off the print surface before you scan or shoot
- Save the raw digital copy before making any edits
Learn to identify what you're actually dealing with
Not all damage is the same, and treating it that way is one of the most common beginner mistakes. A photo with surface scratches needs a different approach than one with genuine fading, and a torn or partially missing print is a different problem again — one that simple retouching can't solve.
Physical damage — scratches, creases, tape residue, small tears — sits on top of the image and can usually be repaired while leaving the underlying photo intact. Fading and discoloration are different: the image information itself has degraded, often unevenly, which is why faded photos can look patchy rather than uniformly light. Water damage frequently combines both, with warping, staining, and stuck-together emulsion layers.
Once you can name the type of damage, you know what to reach for. OldtoLife's Restore tool is built for scratches, creases, and tears; Brighten targets faded or poorly exposed prints; and for photos with a torn-out or missing section — a corner gone, a face partially destroyed — Recreate is the right tool, since it rebuilds missing areas rather than just cleaning up what's there.
Work in the right order: repair, then color, then polish
Sequence matters more than most beginners expect. If you colorize a photo that still has scratches and tears, the AI has to guess at color across broken, inconsistent edges, and the result often looks patchy or unnatural. Repair the structural damage first so the colorization step has clean, continuous detail to interpret.
A sensible order for a badly damaged black-and-white photo looks like this: restore the physical damage, then colorize, then brighten or enhance if the exposure or sharpness still needs work. Not every photo needs every step — a photo that's just faded doesn't need Restore first, and a color photo obviously skips colorization entirely. The point is to fix structural problems before cosmetic ones.
This is also where beginners tend to overcorrect. Pushing brightness or sharpness too far on a photo that's already in reasonable shape introduces artificial-looking noise or an overly smoothed, plastic quality to skin and fabric. If a result looks like it, trust that instinct — it usually means one pass was enough.
Common mistakes that undo otherwise-good restorations
A few habits quietly sabotage restorations that would otherwise turn out well. The first is skipping the digitization step and editing a phone photo taken in poor light — no repair tool can fix a shadow across half the print. The second is discarding the original scan after editing; always keep the untouched digital copy so you can start over if a result doesn't look right.
A third mistake is expecting a single tool to solve every kind of damage at once. Beginners often try one pass and give up when scratches disappear but color still looks flat, not realizing that restoration and colorization are separate steps addressing separate problems. Working through the tools in sequence, checking the result after each one, produces far better outcomes than hoping one tap fixes everything.
Finally, be realistic about severely degraded photos. If a print is so faded that the image is nearly blank paper, or so damaged that most of a face is physically gone, there's a limit to what any tool — AI or human retoucher — can reconstruct with confidence. In those cases, a tool built for heavy reconstruction, like Recreate, will get closer than a general repair tool, but it's still working from a guess informed by what remains.
Step by step
- 1
Digitize the print carefully
Scan at 600 DPI or higher, or photograph in even diffused light with the camera held flat and parallel to the print.
- 2
Identify the damage type
Look closely for scratches and tears versus fading versus missing sections, since each needs a different repair approach.
- 3
Repair physical damage first
Use a restoration tool to remove scratches, creases, tape marks, and tears before making any other adjustments.
- 4
Colorize or brighten as needed
Add natural color to black-and-white prints, or correct dark and faded exposure, once the structural repair is done.
- 5
Compare, save, and keep the original
Check the before/after result closely, save the restored copy in high resolution, and keep the untouched original file as backup.