How to Restore Old Photos (Step-by-Step Guide)
A practical, no-jargon walkthrough for reviving old and damaged photographs with AI — from digitizing the print to sharing a clean, high-resolution result.
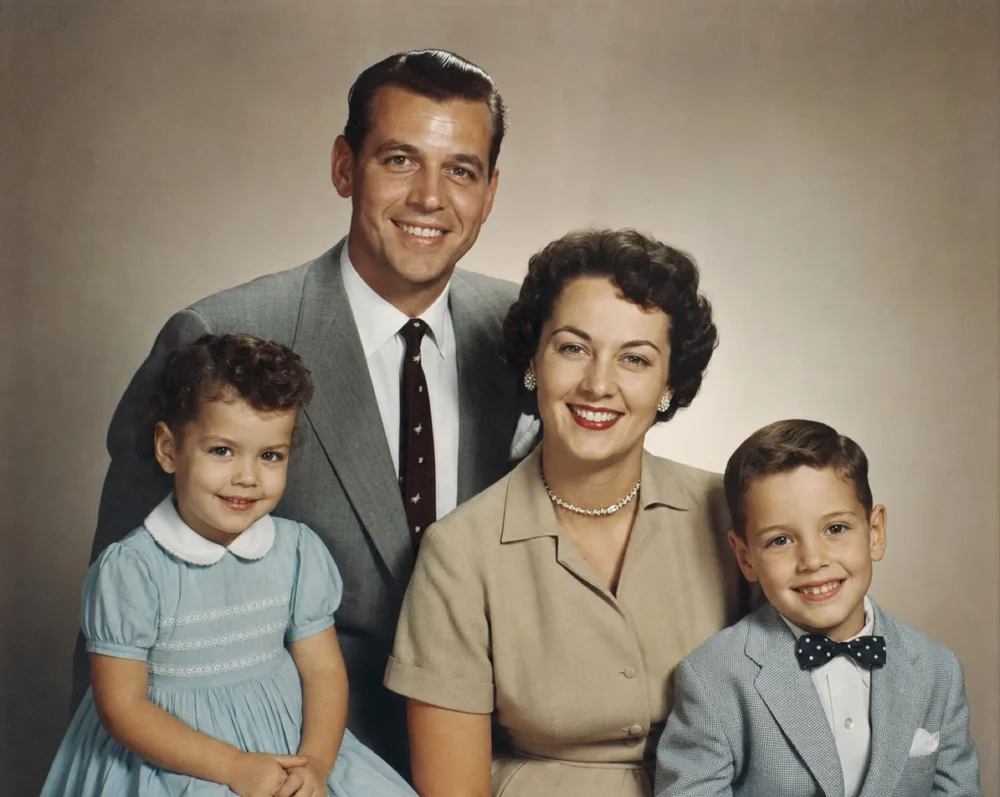
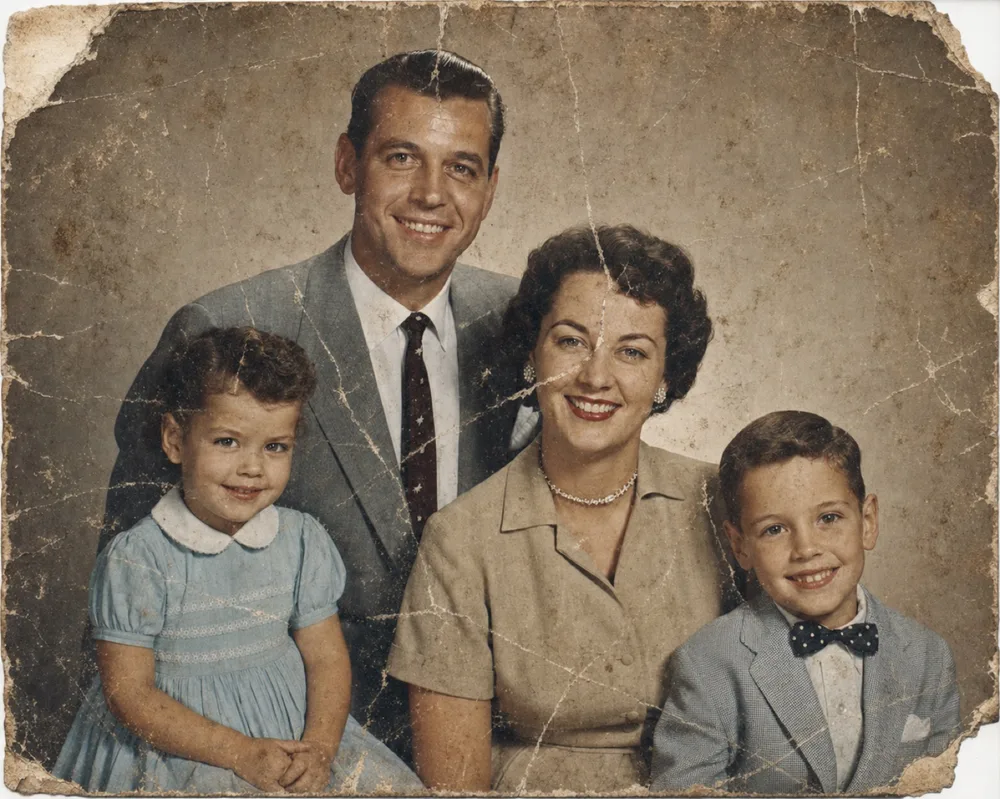
Key takeaways
- Digitize the print first — a sharp, evenly lit copy gives the best result.
- Restore damage (scratches, tears, fading) before adding color.
- Layer tools: Restore → Colorize → Enhance → Brighten as needed.
- Save the full-HD result and back it up so the memory is never lost again.
Restoring an old photo used to mean scanning it, learning complex editing software, and spending hours cloning out every scratch by hand. Today, AI does the heavy lifting — you can revive a damaged photograph in a couple of taps. This guide walks through the whole process so you get the cleanest possible result.
The short version: digitize the print, remove the physical damage, then improve color, sharpness, and lighting as needed. Below, each step is explained in plain language.
Step 1: Digitize the print properly
Everything downstream depends on the copy you start with. You can use a flatbed scanner for the highest quality, but a modern phone camera is more than good enough when used carefully.
Lay the photo on a flat, non-reflective surface. Light it evenly — near a window in soft daylight is ideal — and hold the phone parallel to the print so it isn't skewed. Avoid direct light that causes glare, and fill the frame with the photo so you capture as much detail as possible.
Step 2: Remove damage with the Restore tool
Open the digitized photo in OldtoLife and run the Restore tool. It detects scratches, stains, tears, and creases and reconstructs the areas underneath them. This is the foundation of the restoration — always do it before adding color or sharpening.
Compare the before and after with the slider. If some damage remains, re-run it; the AI often does an even better job on the already-cleaned image.
Step 3: Add color to black-and-white photos
If your photo is black and white or sepia, the Colorize tool adds natural, period-accurate color. Skin tones, clothing, and backgrounds are inferred from the content of the image, so the result looks believable rather than painted on.
Colorizing after restoring is important: adding color to a scratched photo would also color the scratches.
Step 4: Sharpen faces and fix lighting
Old scans are often soft or dark. Use Enhance to sharpen blurry faces and recover detail, and Brighten to correct exposure on photos that are too dark or washed out.
Apply these selectively — a light touch usually looks more natural than pushing every setting to the maximum.
Step 5: Save, back up, and share
Download the final result in full HD. Save it to your camera roll, then back it up to cloud storage so the restored version is protected. Share it with family — restored photos are one of the most meaningful things you can send to relatives who've never seen these images clearly.
Step by step
- 1
Digitize the print
Photograph or scan the photo flat, in even light, with no glare.
- 2
Restore the damage
Run the Restore tool to remove scratches, stains, tears, and fading.
- 3
Colorize if black and white
Use Colorize to add natural, period-accurate color after restoring.
- 4
Enhance and brighten
Sharpen soft faces with Enhance and fix dark exposure with Brighten.
- 5
Save and back up
Download the HD result, save it, and back it up so it's never lost again.