How to Restore Torn Photographs
A tear doesn't have to mean a photo is gone for good. Handle the print carefully, capture it well, and digital repair can close the gap so the tear disappears.
Key takeaways
- A torn photo needs two repairs: stabilize the physical print first, then close the gap in the image digitally, since tape alone never fully hides the damage.
- Capture the whole print as one composite image at high resolution rather than scanning fragments separately, so repair tools have full context around the tear.
- Hairline tears and creases can usually be blended in with a standard restore; a tear that carried away real content needs a rebuilding tool like Recreate instead.
- Keep the original pieces stored flat in an acid-free sleeve. The digital copy is your working file, not a replacement for archiving the physical print.
Restoring a torn photograph means solving two separate problems: stabilizing the physical print so the tear doesn't spread further, then repairing the image itself so the split is no longer visible. Tape and glue can hold the paper together, but they never fully hide the damage and often add new damage of their own over time.
This guide covers both halves of the job: how to handle a torn print before you touch it further, how to scan or photograph it so you're working from a usable copy, and how digital repair closes a gap in a way that tape never could, right down to what to do when a piece of the photo is missing entirely.
Why a Torn Photo Needs Two Separate Repairs
A tear is really two problems wearing one name. The first is physical: the paper itself is split, and every time the photo is handled, folded, or slid into an album, the tear can lengthen or the edges can curl and fray further. The second is visual: wherever the paper separated, the image is broken too, a line runs through a face, a doorway, a signature, whatever was there.
Treating only the physical side, taping the pieces back together, fixes the paper but not the picture. The tape line stays visible, often as a pale or yellowed seam, and the surface underneath keeps degrading because most tapes leave adhesive residue that darkens over years. Treating only the visual side means scanning around the tear and editing later, but that only works if you also protect the original from further splitting in the meantime.
The most reliable order is to stabilize the print physically first without permanent adhesives, capture it well, then let digital repair close the gap in the image itself. That way you keep the original as intact as it can be, and end up with a picture where the tear is no longer visible.
Handle the Torn Print Before You Do Anything Else
Before scanning or photographing anything, resist the urge to tape the pieces together, even temporarily with a kind you plan to remove later. Adhesive contacts the print surface and paper fibers immediately; even a few minutes can lift emulsion or leave a faint mark that shows up under a scanner's light.
Instead, work on a clean, flat, well-lit surface. Gather every fragment, including small slivers that seem too tiny to matter. Digital repair works better with more of the original image to reference, and a sliver near a face or a signature can matter more than its size suggests. If the print is curled from age, place it under a heavy book for a day rather than trying to force it flat by hand, which risks a fresh crease.
- Lay all pieces face-up in their approximate original position before doing anything else.
- Use tweezers, not fingers, for the smallest fragments to avoid oils and further tearing.
- Never use tape, glue, or laminate on the original print, even 'archival' tape.
- Once photographed or scanned, store the pieces flat in an acid-free sleeve or envelope.
- If the photo is brittle, support it on a piece of stiff cardboard while you move it.
Scan or Photograph the Torn Photo the Right Way
A flatbed scanner gives the most even, distortion-free capture, which matters more for a torn photo than an intact one, since any warp or shadow near the tear line can be misread as part of the damage. Arrange the pieces on the glass in their correct position, close the lid gently so you don't shift them, and scan at 600 dpi or higher. If you don't own a scanner, many local libraries, pharmacies, and photo shops offer one for a small fee.
If a phone camera is the only option, shoot straight down from directly above the print using natural window light rather than a flash, which can create a hot spot right where you need detail most. Fill the frame with the photo, hold steady, and take a couple of extra shots at slightly different exposures in case one section is under- or over-lit.
Whatever method you use, capture the whole print in one shot rather than scanning each fragment separately and merging them yourself. A single composite image gives digital repair tools full context for the area around the tear, which produces a cleaner result than stitching fragments together after the fact.
Repairing the Tear Digitally
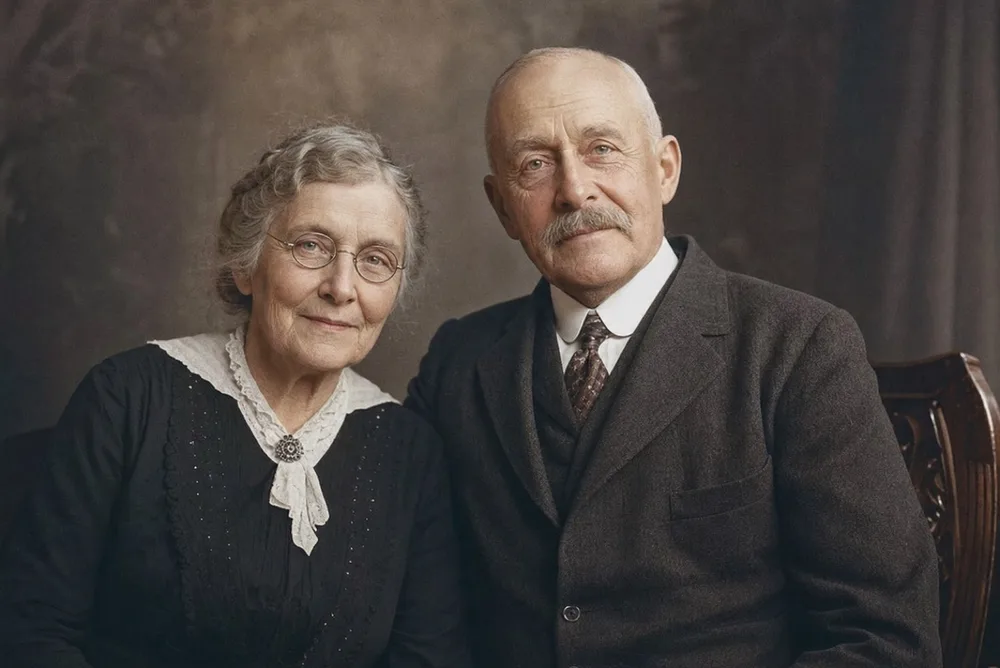
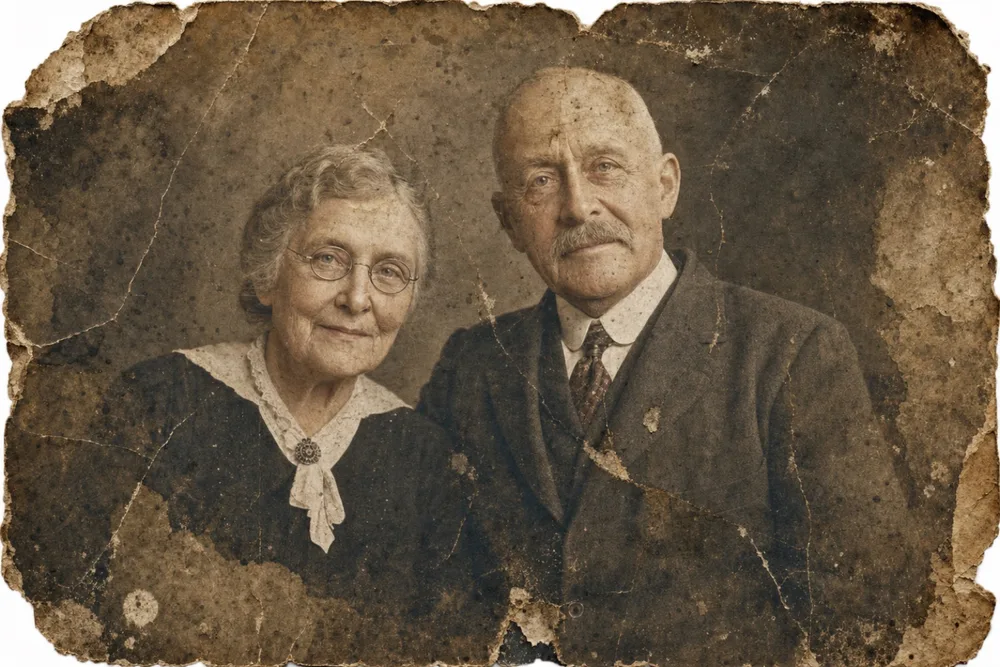
With a good scan or photo in hand, the actual repair is where a torn photo stops looking torn. OldtoLife's Restore tool is built for exactly this kind of damage. It recognizes the tear line, the crease around it, and any surface loss, then rebuilds the paper texture, tone, and detail across the gap so it reads as continuous. Most repairs like this run in about ten seconds and return a full-resolution result.
The reason capturing one full composite image matters so much is that the tool is reading the pixels on both sides of the tear to figure out what should fill the space between them. A face split down the middle, a patterned dress, a brick wall in the background, all of these have visual logic the software can extend across a narrow gap, which is very different from simply erasing the tear and hoping no one notices.
It's worth comparing the result against the original with a before/after slider rather than accepting it at a glance. Look closely at the repaired seam, at skin tones on either side of where the tear ran, and at any fine detail like eyeglasses or jewelry that crossed the tear line, since that's where a repair is most likely to need a second look.
When Part of the Image Is Completely Missing
A tear is one thing; a tear that carried away a chunk of the photo is another. If a corner is gone, if a piece of the print was lost over the years, or if part of a face or figure is simply missing rather than just split, there's nothing for a standard repair to reference on one side of the gap. It has to be invented, not just blended.
This is what OldtoLife's Recreate tool is built for. Instead of matching pixels on either edge of a thin tear, it looks at everything intact, the visible half of a face, the rest of a uniform or dress, the surrounding background, and reconstructs a plausible version of what's missing, so the photo reads as a whole portrait again. It's a heavier lift than closing a hairline tear, so it's worth reaching for specifically when real content, not just paper, is gone.
Even here, a good starting scan matters. The more of the surrounding image the tool can see clearly, the more it has to work with; an out-of-focus or poorly lit capture of what remains makes the reconstruction guess from less information than it needs.
Step by step
- 1
Gather every fragment
Find and lay out every torn piece, including small slivers, since digital repair works best with as much of the original image as possible to reference.
- 2
Flatten and stabilize gently
Place curled or folded pieces under a heavy book for a day, and avoid liquid cleaners, tape, or glue on the original print.
- 3
Scan or photograph everything at high resolution
Capture the whole print in one shot at 600 dpi or higher on a flatbed scanner, or straight-down in even natural light with a phone camera.
- 4
Work from a single composite image
Arrange the pieces in their correct position before capturing so the tear line sits within one full image rather than several separate scans.
- 5
Run the digital repair and compare
Upload the composite to Restore for a torn seam or Recreate for missing sections, then check the result against the original with a before/after slider before saving or printing.