How to Fix Blurry Old Photos, Step by Step
Not all blur is the same, and not all blur can be fixed the same way — the trick is matching the fix to what actually went wrong with the photo.
Key takeaways
- Blur has different causes—camera shake, out-of-focus shots, generational copy loss, or bad scans—and the right fix depends on which one you're dealing with.
- If the original print or negative still exists, rescanning it properly at high resolution usually beats editing a poor existing digital copy.
- AI enhancement rebuilds plausible detail using patterns from real photographs, so it typically outperforms manual sharpen filters on old, grainy scans.
- Severely blurred faces can look sharper after enhancement, but exact historical detail that was never captured can't be recovered—only reconstructed plausibly.
The fastest way to fix a blurry old photo is to first figure out where the blur came from — the camera, the film, or a bad scan — because each cause needs a different fix, and no amount of sharpening will restore detail that was never captured in the first place. A photo blurred by camera shake responds well to AI reconstruction; a photo that's simply a low-resolution scan of a decent negative often just needs to be rescanned properly.
This guide walks through how to tell the difference, what you can do before you touch any software, and how AI-based enhancement differs from the sharpen filters most people try first. If your photo has a face that's genuinely lost most of its detail, we'll also cover when reconstruction tools are the more realistic option than simple unblurring.
Why Old Photos End Up Blurry
Blur in an old photo almost always comes from one of three unrelated places, and it helps to separate them before doing anything else. The first is the original camera shot: a slow shutter speed in low light, a subject that moved, or a lens that simply couldn't focus precisely — all common with older, simpler cameras. The second is the physical photograph itself aging or being copied: a print made from a print, or a photo of a photo, loses real information at every generation, leaving an evenly soft image with no sharp edges anywhere. The third is what happened when the photo was digitized — a shaky handheld scan, a low-resolution phone photo of a print taken at an angle, or heavy JPEG compression that smeared fine detail into blocky noise.
It's worth knowing that only some of these are truly fixable in the sense of recovering real detail. Camera-shake blur and scan blur both leave patterns that AI models can learn to reverse, because the underlying photographic information is often still there, just displaced or muddled. Generational copy loss and severe out-of-focus shots are harder, since detail that was never recorded can only be plausibly reconstructed, not literally recovered.
Diagnose the Blur Before You Touch Any Tool
Zoom into the photo at full size and look closely at an edge — the rim of a collar, the line of a jaw, a doorframe in the background. If the edge looks like it's been dragged in one direction, that's motion blur, either from the camera moving or the subject moving during a long exposure. If everything is uniformly soft with no sharp edges anywhere in the frame, including the background, that usually points to an out-of-focus original or a copy-of-a-copy print rather than anything fixable by sharpening alone.
A grid-like wave pattern, sometimes called moiré, usually means the photo was scanned or photographed off a printed source at the wrong angle or resolution, which is a scanning problem, not a photo problem. If you still have the original print or negative, this is the easiest case to fix: rescan it properly before doing anything else. A better source file will do more for the final result than any software adjustment applied to a poor one.
Start With the Capture, Not the Software
If the original photo or negative still exists, the single highest-leverage fix is redoing the digitization, not editing the existing digital file. A flatbed scanner set to at least 600 dpi for a standard print (higher if you plan to enlarge it) captures far more real detail than a phone camera photo of the same print, and it avoids the perspective distortion and glare that come with photographing a glossy surface.
If a scanner isn't available and you're photographing the print instead, use even, indirect light — direct sunlight or flash creates glare and uneven exposure that reads as blur later. Keep the photo flat, the camera parallel to it, and hold steady or use a timer to avoid handheld shake. Save the result at the highest resolution and quality setting your camera allows; a heavily compressed JPEG throws away exactly the fine detail you're trying to preserve.
- Scan prints at 600–1200 dpi, higher for small or wallet-size photos
- Clean the scanner glass — dust and smudges show up as extra blur and spots
- Photograph negatives against even backlighting, not a lit room wall
- Avoid saving through multiple rounds of JPEG compression, which compounds softness
- Keep the original print flat under the scanner lid to prevent focus shift
What AI Enhancement Can Actually Fix
A traditional sharpen or "unsharp mask" filter works by increasing contrast along edges it detects — it doesn't add information, it just makes existing edges look more defined. On an old, grainy photo, that same process usually sharpens the grain and noise right along with the image, giving a harsh, gritty look rather than genuine clarity. It's a reasonable quick fix for a slightly soft modern photo, but it tends to fall apart on scans and older film.
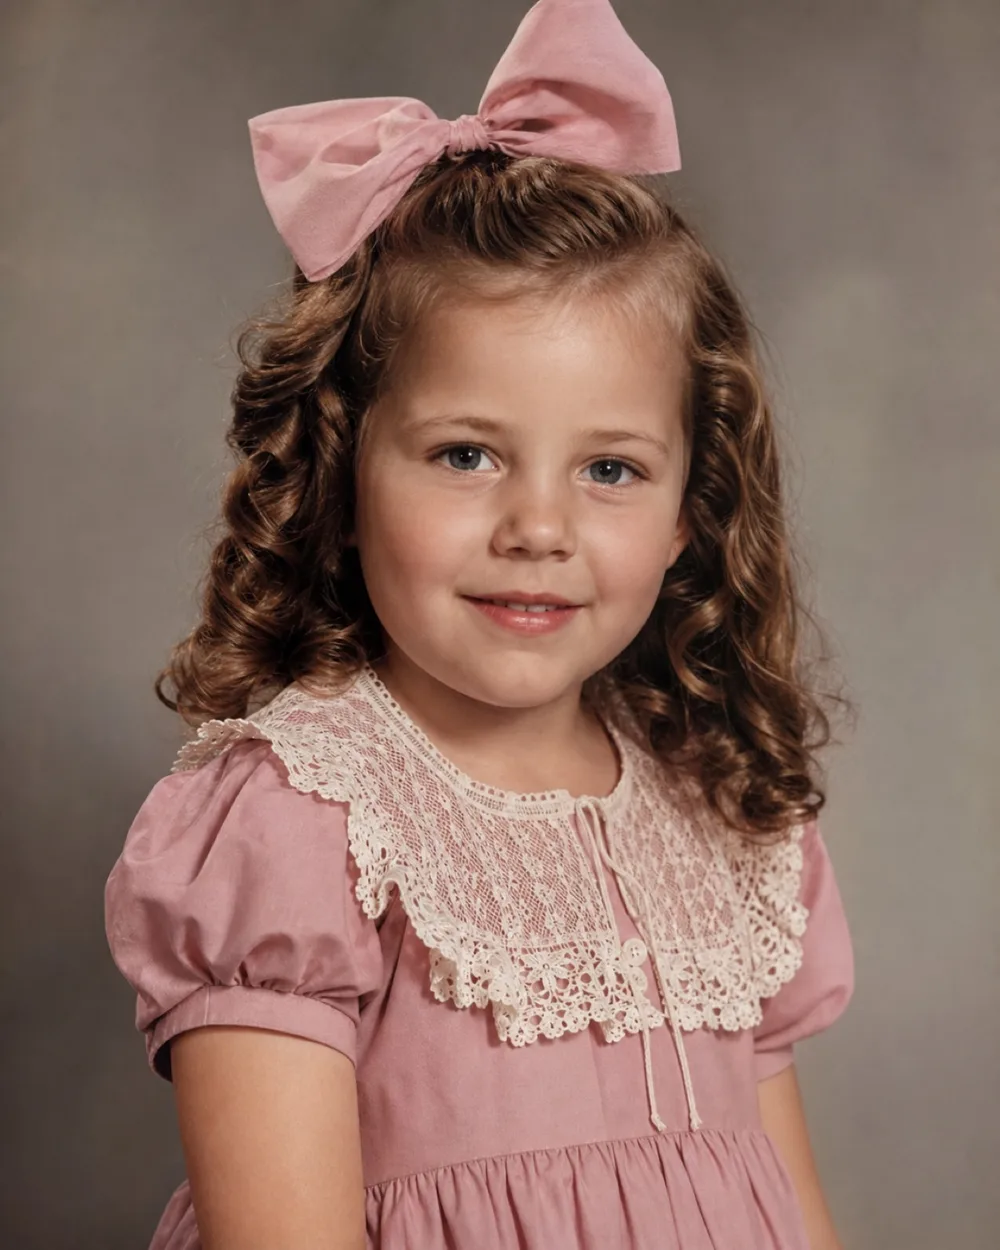
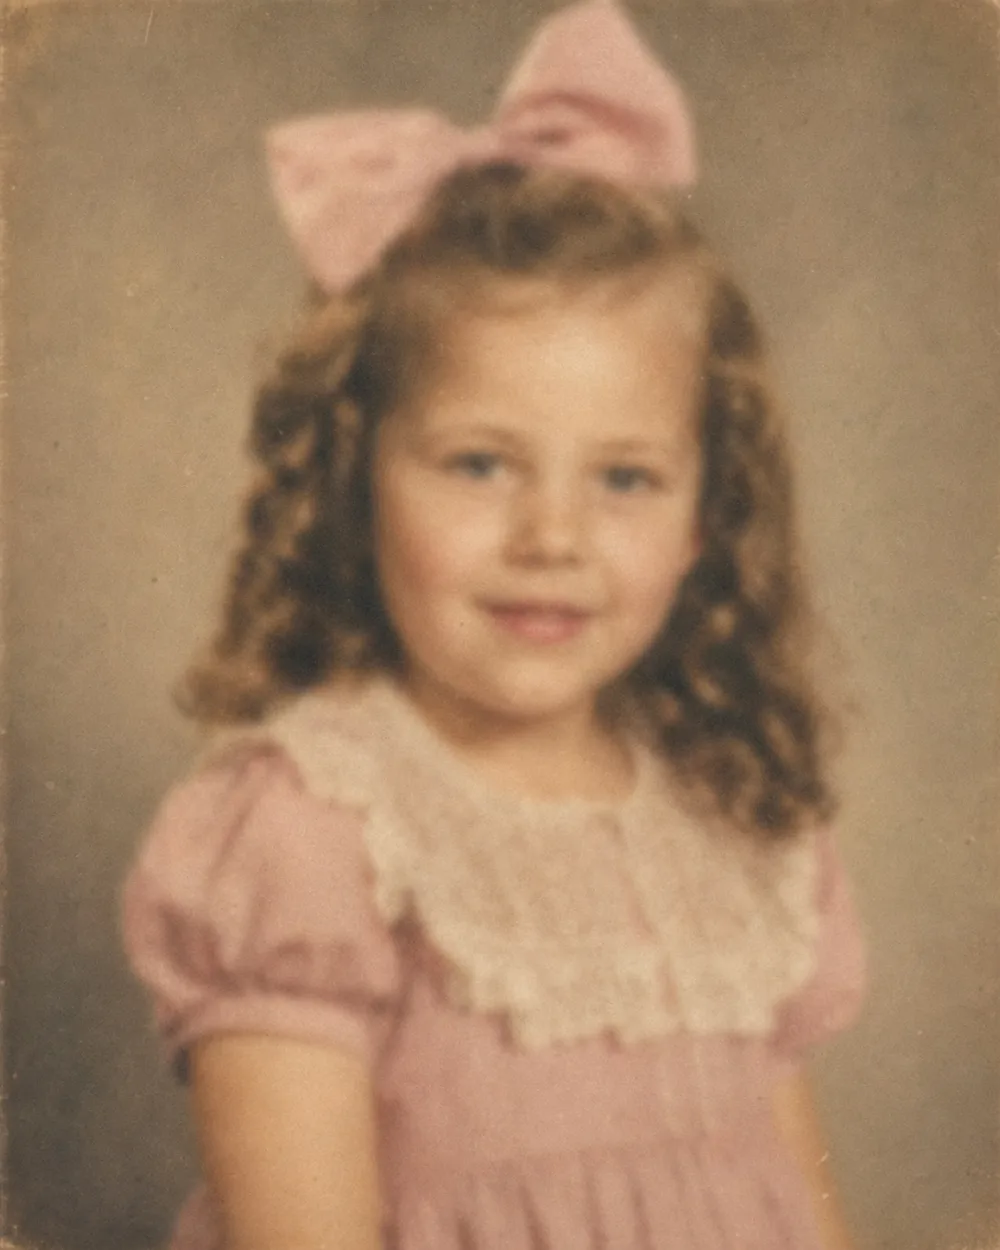
AI-based enhancement works differently. Because these models are trained on enormous numbers of real photographs, they can recognize what a face, a fabric texture, or a strand of hair typically looks like at full sharpness, and use that pattern knowledge to plausibly rebuild fine detail rather than just amplifying contrast. That's why OldtoLife's Enhance tool tends to do noticeably better on soft, low-resolution, or gently blurred faces than a manual sharpen filter — it's reconstructing detail based on real photographic patterns, not just pushing pixels harder.
It's worth being realistic about the limits, though. If a face is so blurred that features are barely recognizable, no tool can recover the exact, historically accurate wrinkle pattern or expression that was lost — it can only produce a plausible, natural-looking version. For photos where large parts of a portrait are essentially missing rather than just soft, a reconstruction tool built for that specific problem, like OldtoLife's Recreate, is the more honest option than trying to unblur something that was never fully there.
Getting the Best Result Once You Enhance
Always start from the highest-resolution source you have — a good scan run through enhancement will outperform a great enhancement run on a poor scan every time. If the photo needs more than one kind of fix, such as scratches or fading in addition to blur, it usually helps to address restoration and enhancement as separate passes rather than expecting a single adjustment to solve everything at once.
Use a before/after comparison rather than judging the result in isolation — it's easy to over-sharpen a photo until it looks artificial, with harsh edges around hair or clothing, and a side-by-side view makes that easier to catch. When you're happy with the balance, save the full-resolution version rather than a compressed preview, especially if you intend to print the photo or enlarge it for framing.
Step by step
- 1
Diagnose the blur type
Zoom into an edge in the photo to see whether the softness looks like directional streaking (motion blur), uniform softness everywhere (out-of-focus or generational copy), or a wavy grid pattern (a scanning issue).
- 2
Get the best possible source
If the original print or negative still exists, rescan it at 600 dpi or higher with clean glass and even lighting rather than editing a poor existing digital copy.
- 3
Run AI enhancement on the digital file
Use an AI enhancement tool, such as OldtoLife's Enhance, to rebuild fine detail in faces and textures rather than relying on a manual sharpen filter that mostly amplifies grain.
- 4
Compare before and after
Check the result against the original using a slider view to make sure the enhancement looks natural and hasn't introduced harsh, artificial edges.
- 5
Save the full-resolution version
Download or save the highest-quality output available, especially if you plan to print or enlarge the photo, since compressed previews lose the detail you just recovered.