Unblur Photo: Deblur Old, Blurry Photos and Faces
Turn a soft, out-of-focus, or motion-blurred old photo into a sharp one — recover facial detail an AI trained on real photographs, right from your phone.
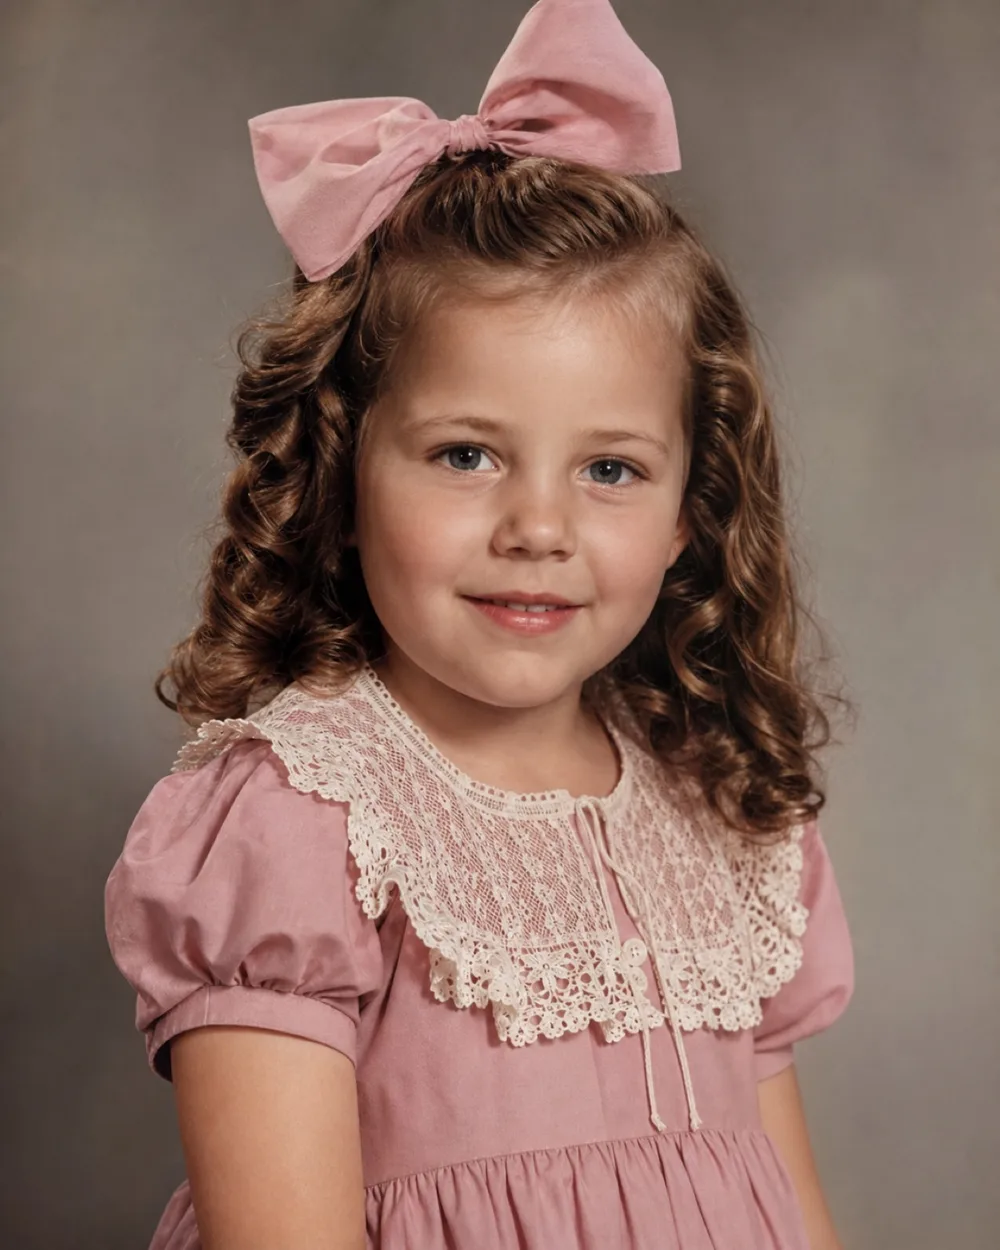
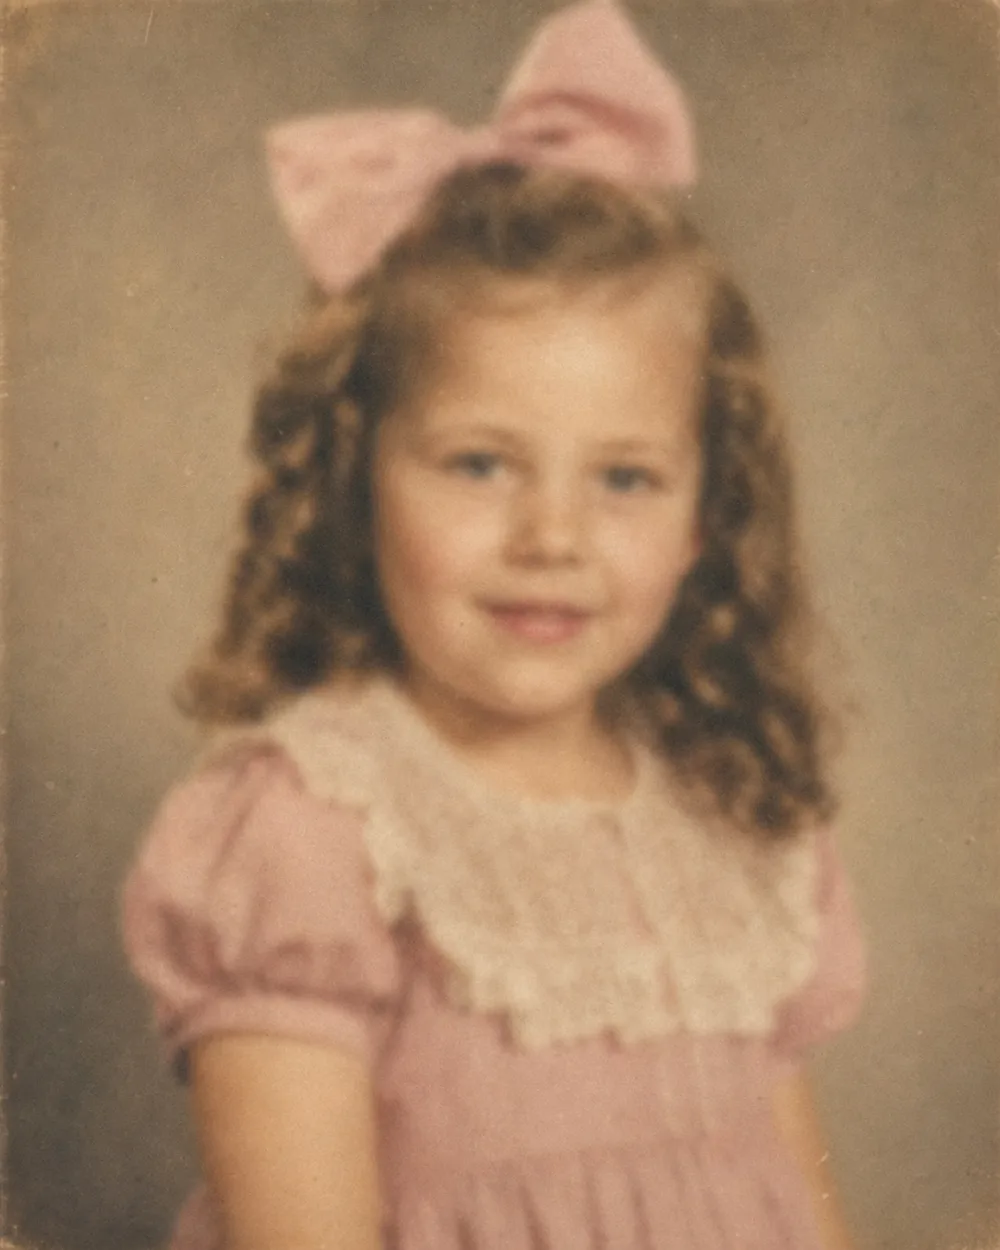
Drag to compare before & after
To unblur a photo, OldtoLife's Enhance tool analyzes the blurred areas and reconstructs realistic detail — eyes, hair, fabric texture, facial edges — instead of just applying a sharpening filter that makes noise and grain worse. Old snapshots blur for a lot of reasons: a shaky hand on a cheap camera, a subject who moved half a second before the shutter closed, a lens that never quite focused, or a scan of a print that was already soft. Whatever caused it, the result is the same — a face you can't quite make out clearly.
Open the photo in the app, tap Enhance, and the tool gets to work rebuilding what the camera missed. It runs in about 10 seconds and gives you a full-resolution result you can compare against the original with a slider before you save or share it. It won't invent a face that isn't there at all, but for the common case — a slightly soft or motion-blurred portrait — it typically recovers enough definition to see the person clearly again.
Why old photos end up blurry
Blur in an old photograph almost always comes from one of three places, and it helps to know which one you're dealing with. Motion blur happens when the camera's shutter stayed open a fraction too long while the subject or the photographer moved — common in candid family shots, kids running, or photos taken indoors without enough light, where older cameras had to use slower shutter speeds. The blur usually shows up as a directional smear, most visible around the edges of a face or hands.
Focus blur is different: the lens simply never locked onto the subject, so the whole frame is uniformly soft rather than smeared in one direction. Cheap point-and-shoot cameras from past decades, especially ones without autofocus, produced a lot of these. Then there's generational blur, which isn't about the original shot at all — it comes from copying. A photo of a photo, a scan of a faded print, or a picture taken of a picture hanging on a wall all lose sharpness with each step removed from the original negative.
Knowing the type doesn't change which button you tap, but it does set expectations. Motion blur and focus blur respond well to AI reconstruction because the underlying detail is still partially there, just smeared or softened. Generational blur from repeated copying can be tougher, since some detail may be genuinely gone rather than just displaced.
How AI deblurring differs from a sharpening filter
A basic sharpening filter, the kind built into most photo editors, works by increasing contrast at edges it detects. That can make a photo look crisper at a glance, but it doesn't add any real information back — it often exaggerates grain, halos, and scan artifacts along with whatever actual edges exist. On a badly blurred face, a sharpening filter mostly just makes the blur look harsher.
OldtoLife's Enhance tool takes a different approach. It's trained on a large number of real photographs to recognize what facial features, hair, clothing, and backgrounds typically look like, so when it processes a blurred region it reconstructs plausible detail rather than exaggerating existing pixels. That's why the result looks like a sharper photo rather than an over-processed one — eyes regain a visible iris, hairlines separate from the background, and skin texture reads as skin rather than a smudge.
This is also why the before/after slider matters. Because the tool is reconstructing detail, not just amplifying contrast, it's worth checking the result against the original to make sure the recovered features look right, especially around the eyes and mouth where small changes are most noticeable.
Getting the best result on a blurry face
The single biggest factor in how well a blurred photo unblurs is how large the face is in the original frame. A close-up portrait that's soft has more pixel information for the AI to work with than a tiny, blurry face in a wide group shot — the tool has to reconstruct detail out of very little data in the second case. If you have the option, crop in on the face before uploading so the tool is working with as much resolution as possible.
If the photo is a print rather than a digital file, scan it rather than photographing it with your phone at an angle — a flat, well-lit scan avoids adding a second layer of blur on top of the original. And if the photo combines multiple problems — it's blurry and torn and faded — running Restore first to address the physical damage, then Enhance to sharpen, generally gives a cleaner result than tackling everything in one pass.
- Crop closer to the face when possible so there's more detail to work with
- Scan flat prints instead of photographing them at an angle
- Fix tears, creases, and stains with Restore before deblurring
- Compare the before/after slider closely around eyes and mouth
- Save the full-resolution result rather than a compressed copy
What deblurring can and can't do
It's worth being honest about the limits. If a face is so blurred that no facial structure is visible at all — just a flesh-colored smear with no hint of eyes, nose, or mouth — the AI has nothing to reconstruct from and can't reliably recreate a specific person's features. In that situation, Recreate is the better tool, since it's built for rebuilding portraits where large areas of information are genuinely missing, drawing on the parts of the photo that are still intact.
For the much more common case of a photo that's soft, smeared, or slightly out of focus but where you can still make out the general shape of a face, Enhance typically produces a clear improvement. The goal isn't to guess at a stranger's face — it's to sharpen the real detail that's degraded but still present in the image data.
How to do it, step by step
- 1
Open the blurry photo in OldtoLife
Import the photo from your camera roll or scan a print directly into the app.
- 2
Crop in if the face is small
For group shots or wide photos, crop closer to the face so the tool has more detail to reconstruct from.
- 3
Tap Enhance
The AI analyzes the blur and rebuilds facial and texture detail in about 10 seconds.
- 4
Check the before/after slider
Drag the slider across the eyes and mouth to confirm the recovered detail looks accurate before saving.
- 5
Save or share the full-resolution result
Download the sharpened photo to your gallery or share it directly at full quality.
Unblur Photo: Deblur Old, Blurry Photos and Faces — FAQ
Can AI actually unblur a photo, or does it just sharpen it?
It reconstructs detail rather than just increasing edge contrast. OldtoLife's Enhance tool is trained to recognize what faces, hair, and textures typically look like, so it fills in plausible detail in blurred areas instead of exaggerating existing pixels the way a basic sharpening filter does.
Will it work on a photo that's blurry and faded or torn?
Yes, but for the cleanest result, run Restore first to fix tears, creases, and fading, then run Enhance to sharpen. Tackling one problem at a time generally produces a more accurate result than expecting a single pass to fix everything.
What if the face is too blurry to make out at all?
If there's no visible facial structure left — just an indistinct smear — Enhance has nothing to reconstruct from. Recreate is built for that situation, since it can rebuild a portrait using whatever parts of the photo and face are still intact.
Does cropping the photo before deblurring help?
Yes. A face that fills more of the frame gives the AI more detail to work with. If you're unblurring a face from a wide group shot, crop in closer before running Enhance for a sharper result.
How long does it take to deblur a photo?
About 10 seconds per photo. You'll get a full-resolution result you can compare against the original with a before/after slider.
Do I need any editing experience to unblur old photos?
No. It's a single tap — import the photo, tap Enhance, and the AI handles the reconstruction. There are no sliders or manual settings to learn.
Still have a question? Email us
Related tools & guides
Enhance Photo Quality: Sharpen Blurry Faces & Boost Resolution
Turn soft, blurry, low-resolution photos into sharp, detailed images — Enhance recovers the fine detail old cameras and scans lost, without changing the photo's original color or character.
Restore Old Photos with AI
Erase scratches, stains, creases, and tears from old prints. OldtoLife rebuilds the damaged areas of a photo so a worn picture looks whole again — in about ten seconds.
Recreate a Severely Damaged Photo Portrait
When a portrait is torn or stained so badly that a whole section of a face is gone, Recreate rebuilds what's missing using AI trained on human facial structure — aiming for a natural likeness, not just a patched-over hole.
How to Fix Blurry Old Photos, Step by Step
Not all blur is the same, and not all blur can be fixed the same way — the trick is matching the fix to what actually went wrong with the photo.
How AI Photo Restoration Works
Understanding what actually happens under the hood — detection, reconstruction, and color prediction — explains why AI-restored photos look natural instead of painted on, and why the source image you start with still matters.
Restore School and Graduation Photos
Class pictures, yearbook portraits, and graduation snapshots fade, blur, and crease faster than most keepsakes because they were printed cheaply and handled for decades. OldtoLife sharpens the faces, repairs the damage, and corrects the color so your classmates and that day come back into focus.
Your memories deserve to be seen clearly
Download OldtoLife and restore your first photo in seconds. Every tool is free to try — no account needed.