How AI Photo Restoration Works
Understanding what actually happens under the hood — detection, reconstruction, and color prediction — explains why AI-restored photos look natural instead of painted on, and why the source image you start with still matters.
Key takeaways
- AI restoration works by pattern recognition: a neural network trained on millions of photos predicts what damaged or missing areas should look like.
- Detection and reconstruction are separate steps — the model identifies damage first, then fills it in using learned patterns, not a memory of the original scene.
- Colorization uses a different model that infers likely color from tone and texture, not a historical record of the actual colors.
- Input quality still matters: a sharp, well-lit scan gives the AI more real detail to work with than a blurry, dim photo.
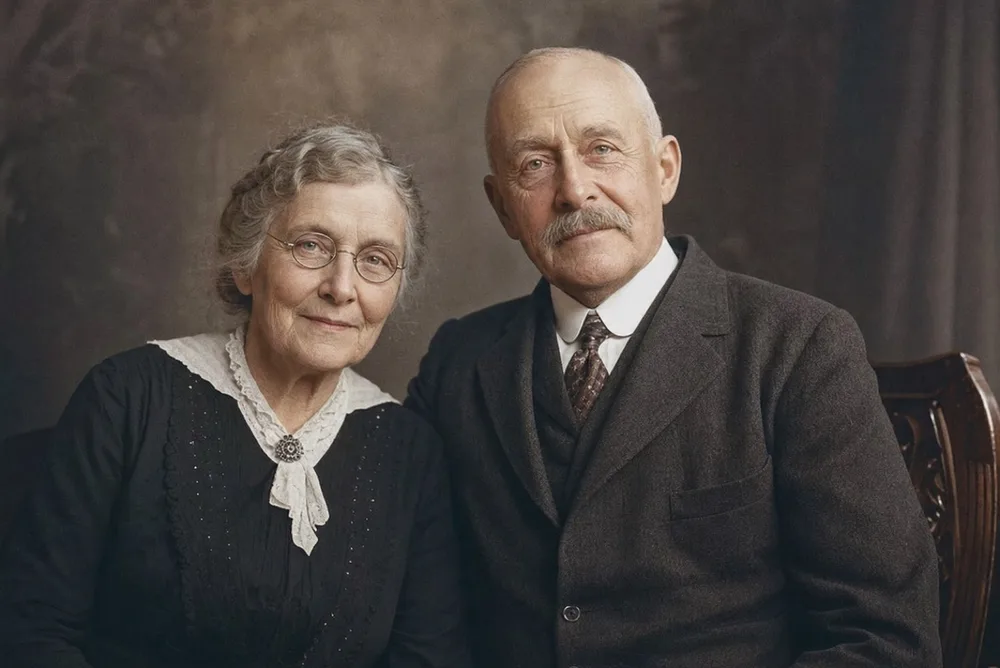
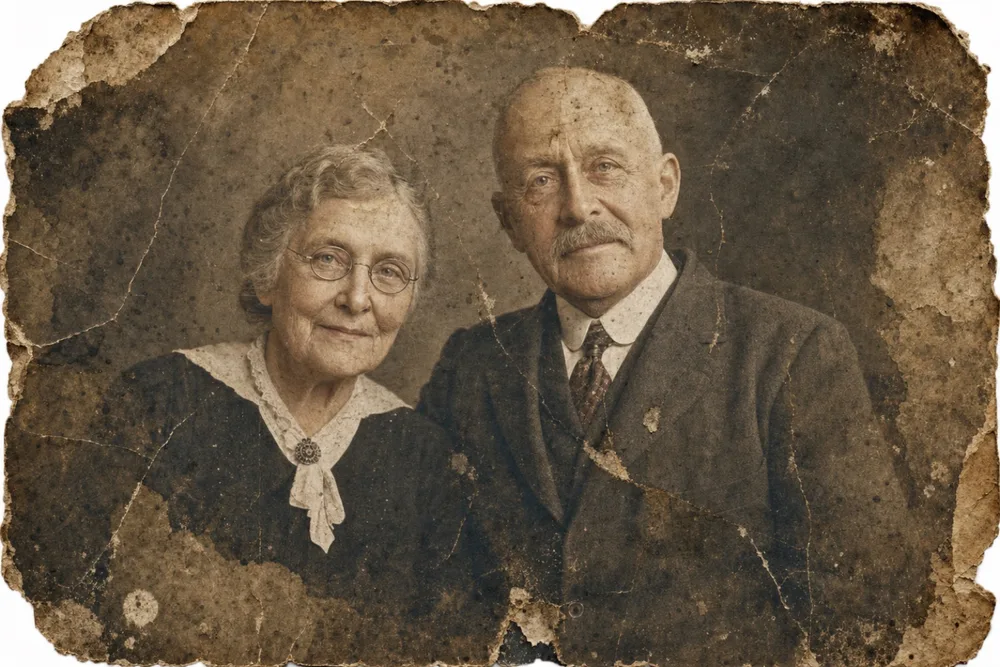
AI photo restoration works by using a neural network trained on millions of photographs to recognize what damage looks like, predict what should be underneath it, and reconstruct that missing detail — without a human manually retouching a single pixel. The model doesn't apply the same fixed adjustment everywhere the way an old-school filter does; it makes a different judgment call for a scratch on a plain wall than it does for a tear through someone's face, because it has learned the difference from real examples.
The same underlying approach extends to color: a related model predicts plausible color for black-and-white photos, and a separate pass sharpens detail and increases resolution. Together, these steps run on a server GPU in about ten seconds — a process that used to take a skilled retoucher hours with cloning and painting tools. Here's what actually happens at each stage, and why it explains what OldtoLife's Restore, Recreate, and Colorize tools each do differently.
What "AI" actually means in photo restoration
AI photo restoration usually means a deep learning model, most often a convolutional neural network or a newer diffusion model, that has been trained on enormous datasets of photographs. During training, the model is shown a clean image, a version of it with synthetic damage added, and is scored on how closely its reconstruction matches the original. It repeats this across millions of examples until it has learned, statistically, what real photographs look like: how skin, fabric, hair, and light behave, and what a scratch or a water stain looks like by comparison.
This is a fundamentally different approach from the sharpening filters and clone-stamp tools in older photo editors. A filter applies the same fixed math to every pixel regardless of content. A trained model instead makes a judgment call for each region of the photo, based on patterns it has seen before, which is why the same tool can remove a scratch from a sky and rebuild a torn corner of a face without being told the difference.
Step one: detecting what's damage and what's real
Before anything can be repaired, the model has to work out which parts of the image are damage and which parts are the actual photograph. Scratches, tape residue, mold spots, creases, and torn edges each have visual signatures — sharp lines, unnatural texture, abrupt color breaks — that differ from normal photo content like skin or fabric. The model is trained specifically to recognize these signatures and flag the affected pixels.
This detection step matters because it decides how aggressively the model intervenes. A shallow scratch across an even background needs only a light touch; a large tear through a face needs the model to treat a much bigger region as reconstructable. Uniform, whole-image problems like heavy fading are handled differently again, since there's no clear boundary between damaged and undamaged pixels — the whole photo is adjusted rather than patched.
Step two: reconstructing missing detail
Once damage is identified, the model fills it in using a process called inpainting: predicting what should occupy the missing or corrupted pixels based on the surrounding context and everything it learned during training. For a scratch running through a plain sky, this is close to interpolation — the model has plenty of undamaged pixels nearby to guide it. For a torn photo missing a whole ear or shoulder, the model has to infer plausible structure from cues like facial symmetry, lighting direction, and the pose of the rest of the body.
It's worth being clear about what this means: the AI isn't remembering the actual person or retrieving a lost original. It's generating the most statistically plausible reconstruction given what remains. For small, well-defined damage, that prediction is usually close to indistinguishable from the truth. For extensive damage — say, half a face missing from a torn photograph — the result is a well-informed reconstruction rather than a certainty, which is why OldtoLife separates this into its own Recreate tool rather than folding it into ordinary restoration.
How AI predicts color for black-and-white photos
Colorizing a black-and-white or sepia photo is a related but separate problem, handled by a different model trained specifically for that task. Instead of filling gaps, a colorization model looks at the grayscale values, textures, and shapes in the photo and predicts likely color for each region — skin tones from facial texture and shading, sky from position and gradient, foliage and wood from characteristic patterns.
The model learns these associations from being shown millions of color photographs converted to grayscale and back, learning the statistical relationship between luminance patterns and real-world color. When you run Colorize on an old portrait, it isn't looking up a historical record of what color a dress was — it's inferring the most probable color given everything it has learned about how people, fabric, and light typically look in photographs. The result is usually natural and believable, though it's an informed estimate rather than a guarantee of historical accuracy.
Why restoration quality varies from photo to photo
Not every photo restores equally well, and understanding the process explains why. The model can only work with the information present in the image you give it, so a sharp, evenly lit scan gives it far more real detail to reason from than a blurry, dim phone photo of a print. The extent of damage matters too: light, well-defined scratches are close to a solved problem for these models, while severe, irregular damage leaves more for the model to infer rather than recover.
Processing speed is one advantage the AI approach has clearly delivered on. A human retoucher working with cloning and painting tools might spend hours carefully rebuilding a damaged portrait by hand. A trained model running on a server GPU performs the equivalent detection, reconstruction, colorization, and sharpening passes in about ten seconds, which is why an app like OldtoLife can return a finished result almost as fast as you tap the button.
- A sharp, evenly lit source scan or photo gives the model more real detail to work from
- Minimal glare and no skew when digitizing a print preserves detail near the edges
- The type of damage matters — light scratches reconstruct more reliably than large missing areas
- Resolution of the original print limits how much real detail exists to recover in the first place
Step by step
- 1
Damage and content are detected
The model scans the photo and separates real image content from scratches, tears, stains, tape marks, and fading.
- 2
Missing detail is reconstructed
Using patterns learned from millions of training photos, the model fills damaged or missing regions with plausible, context-aware detail.
- 3
Color is predicted for black-and-white photos
A separate colorization model infers natural, period-appropriate color from the textures, tones, and objects it recognizes in the scene.
- 4
Detail is sharpened and resolution increased
A final pass sharpens soft or blurry areas, especially faces, and increases resolution so the result holds up at full size or in print.
- 5
The result returns in seconds
All of this runs on a server GPU in about ten seconds, and you compare the before and after with a slider before saving.