Colorize Historical Photos with Natural, Period-Accurate Color
Turn a black-and-white or sepia archival photograph into a naturally colored image in about 10 seconds — without the neon, plastic look that generic filters produce.
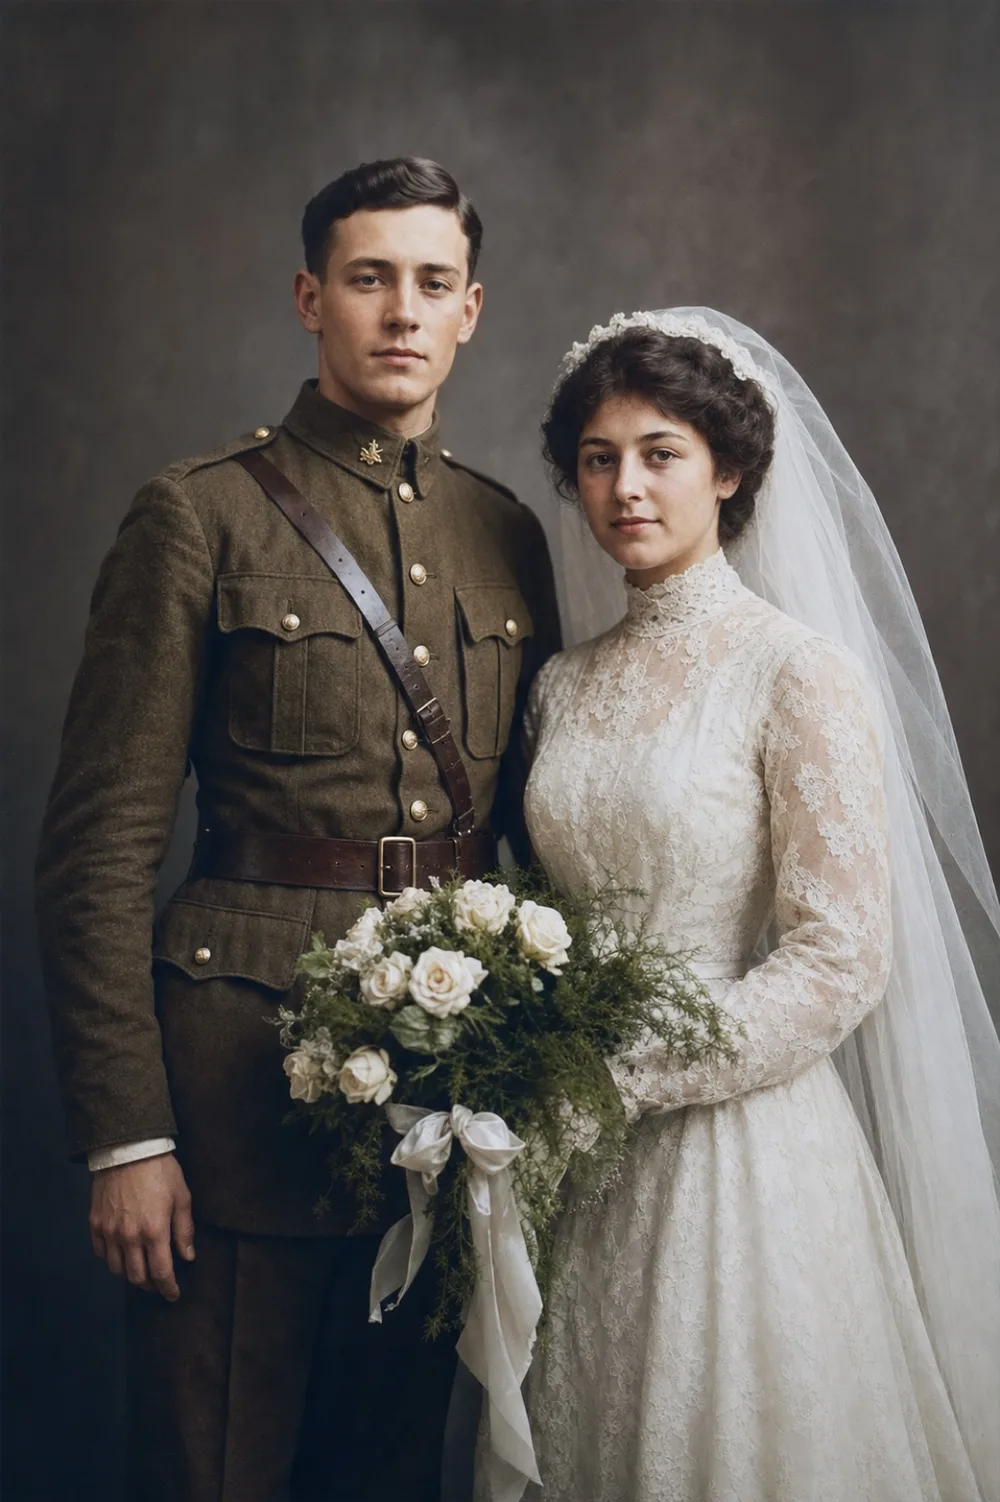
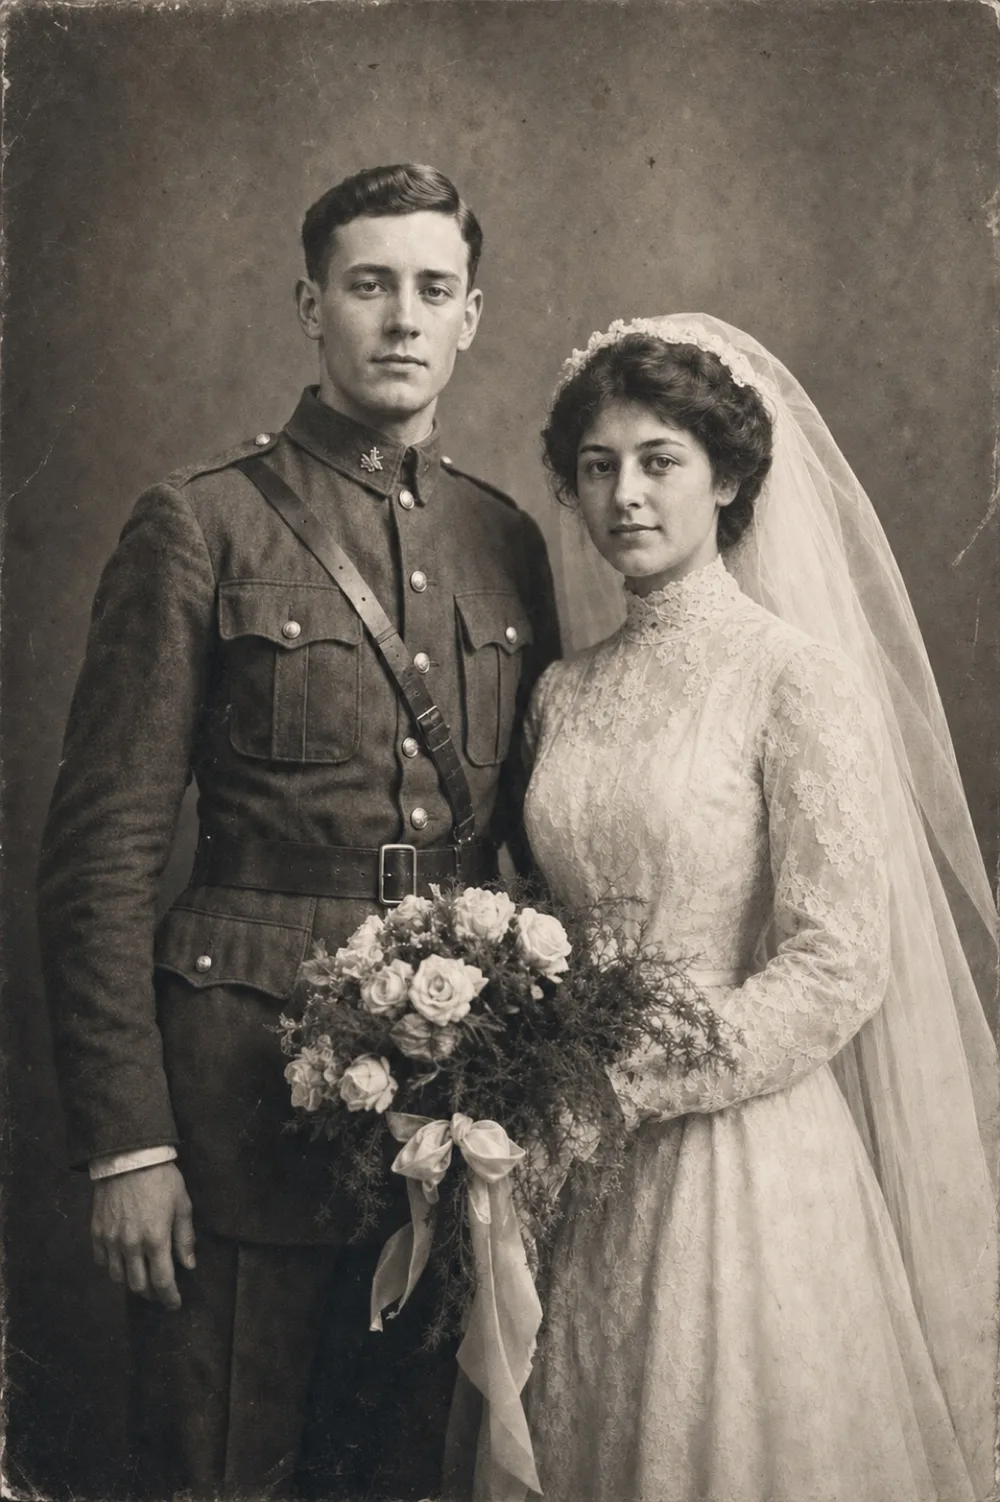
Drag to compare before & after
Colorizing a historical photograph means adding believable, natural color to an image from the era before color film was common — roughly the 1900s through the 1960s — based on what the tones, textures, and context in the photo suggest was really there. A studio portrait from 1915, a tintype from a family album, or a faded newspaper clipping of a small-town street can all be colorized, but each starts from a different kind of black-and-white or sepia original, and the AI reads that starting material to build a plausible palette rather than guessing at random.
This matters most to people who care about the photo as a record, not just a picture: family historians building out a genealogy tree, local history and genealogical societies digitizing donated collections, and hobbyists who scan estate-sale photo boxes because no one else will. For this audience, color is not decoration. It is a way to make a distant relative or a vanished street corner feel present again, while the original black-and-white file stays intact as the historical document it always was.
What Counts as a 'Historical' Photo Here
Historical photographs differ from ordinary old family snapshots in a few practical ways. Many were made on processes that predate roll film — tintypes, cabinet cards, silver gelatin prints — and were printed small, sometimes just a few inches across, with limited tonal range. Others are sepia-toned studio portraits from the 1900s–1930s, or the slightly higher-contrast black-and-white prints common through the 1950s and into the early 1960s before color photography became standard for everyday use.
These originals carry visual clues an AI colorization tool can use: the weave and drape of period fabric, the style of a military uniform or wedding dress, the shape of eyeglasses or a hat. A studio backdrop, a horse-drawn cart, or a rotary telephone all tell the model roughly what decade it's looking at, which shapes how it assigns color to skin, hair, and clothing. The more legible those details are in the scan, the more the colorization has to work with.
- Sepia or silver-gelatin studio portraits, 1900s–1930s
- Tintypes and cabinet cards from family albums
- Small-format contact prints and snapshots, 1930s–1960s
- Faded newspaper or archive prints of streets, storefronts, events
How the AI Builds a Period-Accurate Palette
Instead of applying a single color wash across the whole image, the Colorize tool reads gray-scale tone, contrast, and surrounding context to decide what a plausible color would be for each area — skin against hair, fabric against background, sky against building. It draws on the visual patterns common to portraits and scenes from that period, which is why a well-scanned 1940s photo tends to come back with the kind of muted, natural tones typical of that decade rather than the oversaturated, almost cartoonish colors cheaper colorizing apps are known for.
It's worth being honest about the limits here. The tool cannot know that a specific dress was actually navy rather than black, or that a particular car was maroon rather than burgundy — no colorization tool can, since that information usually isn't recoverable from a gray-scale image alone. What it produces is a plausible, natural-looking interpretation grounded in tone and period convention, not a certified historical record. For most family and hobbyist use, that natural believability is exactly the point; for anyone doing formal archival work, it's worth noting the image as an AI-assisted interpretation alongside the original.
Recovering Detail Before You Colorize
A lot of historical photos are small, soft, or faded even before you consider color — a contact print that was never enlarged, a portrait scanned at low resolution, or a face that's gone slightly blurry from decades of handling. Colorizing a photo like that will still assign color correctly, but the underlying detail — the texture of a collar, the sharpness of an eye — stays as soft as the original scan.
This is where running Enhance alongside Colorize makes a real difference for this kind of photo. Enhance sharpens faces, recovers edge detail, and increases resolution, so a small or slightly blurry archival print has more actual information for the colorization step to work with, and the final high-resolution result holds up when it's printed larger or viewed on a bigger screen than the original ever was. Order doesn't need to be exact — some people enhance first, some colorize first and enhance the result — but for a soft or low-resolution original, using both tools produces a noticeably more solid result than colorizing alone.
Keeping the Historical Record Intact
Because a colorized version is an interpretation layered on top of the source material, the original black-and-white or sepia file remains the actual historical document. It's worth keeping both: the untouched scan for archival purposes, and the colorized version for sharing, printing, or simply looking at with fresh eyes. Local historical societies and genealogy groups that digitize donated photo collections often do exactly this — the grayscale scan goes in the permanent record, and a colorized copy gets used for exhibits, newsletters, or online posts where a more immediate, human connection matters.
Labeling matters too. A colorized photo of a great-grandparent or a town's original main street is more engaging to look at, but it helps to note somewhere — a caption, a file name, a note in the family tree software — that the color was added by AI rather than recorded on film. That's a small courtesy to whoever looks at the photo next, and it keeps the distinction between the historical original and the colorized interpretation clear.
What People Colorize Most From This Era
The photos that come up most often for historical colorization tend to cluster around a few recognizable categories: formal studio portraits taken for a wedding, graduation, or military enlistment; group photos from schools, churches, or workplaces; and street or event scenes that end up in local archives or historical society collections. Each benefits from color a little differently — a uniform or graduation gown becomes instantly more legible in its correct hue, and a street scene gains a sense of time and place that black-and-white can flatten out.
Faded or physically damaged originals — torn edges, water spots, deep creases — usually need attention beyond colorization. If a photo has that kind of physical damage, it's worth restoring it first so the colorization step has a clean, complete image to work from rather than color filling in around tears or stains.
- Studio and wedding portraits from the 1900s–1950s
- Military enlistment and service portraits
- School, church, and workplace group photos
- Main-street, storefront, and community event photos
- Immigration, travel, and family arrival photos
Step by step
- 1
Scan or photograph the original print
Use a flatbed scanner if you have one, or photograph the print flat under even light, filling the frame so no detail at the edges is cropped out.
- 2
Open the photo in OldtoLife and tap Colorize
The tool reads the tone and context of the black-and-white or sepia image and returns a naturally colored version in about 10 seconds.
- 3
Run Enhance if the original is small, soft, or faded
For contact prints and low-resolution scans typical of this era, Enhance sharpens faces and recovers detail so the colorized result holds up at full size.
- 4
Compare the result with the before/after slider
Slide between the original and the colorized version to check that skin tones, clothing, and background colors look natural before saving.
- 5
Save the high-resolution color version and keep the original
Download the colorized photo for sharing or printing, but keep the untouched black-and-white scan as the archival record.
Common questions
Will the colors be historically accurate?
The AI produces plausible, natural-looking color based on tone and period visual patterns, not a verified historical record — it can't know the exact original color of a specific dress or car. For family and hobbyist use, that natural believability is generally what people are looking for.
Can I colorize a tintype or daguerreotype?
Yes, as long as the image is legible in a photo or scan. Because these are on metal or glass, photograph them at an angle that avoids glare and reflections before uploading.
Should I keep the black-and-white original?
Yes. Treat the colorized version as a companion image for sharing or display, and keep the original scan as the archival file, especially for photos going into a family tree or local historical collection.
Does colorizing also fix scratches, tears, or fading?
No, colorization only adds color. If the print has physical damage like tears, creases, or stains, restore it first so the colorization step works from a clean, complete image.
How long does it take to colorize a historical photo?
About 10 seconds per photo. Running Enhance as well adds another short pass, so a soft or low-resolution original is typically ready in under a minute total.
Still have a question? Email us
Tools & guides for this
Colorize Black and White Photos with AI
Add natural, period-accurate color to black-and-white and sepia photos in about ten seconds — no manual painting, no guesswork, just a believable result you can compare side by side with the original.
Enhance Photo Quality: Sharpen Blurry Faces & Boost Resolution
Turn soft, blurry, low-resolution photos into sharp, detailed images — Enhance recovers the fine detail old cameras and scans lost, without changing the photo's original color or character.
Restore Vintage Portraits from Your Phone
Bring back the sharp detail and true tones of a studio portrait without touching the fragile original print underneath.
How to Restore Military and Veteran Portraits
A service photo that was folded into a wallet and carried for years deserves careful repair. OldtoLife smooths the creases and fading while keeping every stripe, medal, and face true to the original.
What Is Photo Colorization?
Photo colorization is the process of adding realistic color to a black-and-white or faded photograph — once a slow, hand-painted craft, now something AI can do in about ten seconds.
Black and White vs Colorized Photos: Which Should You Keep?
Deciding between a black-and-white original and a colorized version isn't about right or wrong — it's about which one tells the story you want to remember.
Your memories deserve to be seen clearly
Download OldtoLife and restore your first photo in seconds. Every tool is free to try — no account needed.