What Is Photo Colorization?
Photo colorization is the process of adding realistic color to a black-and-white or faded photograph — once a slow, hand-painted craft, now something AI can do in about ten seconds.
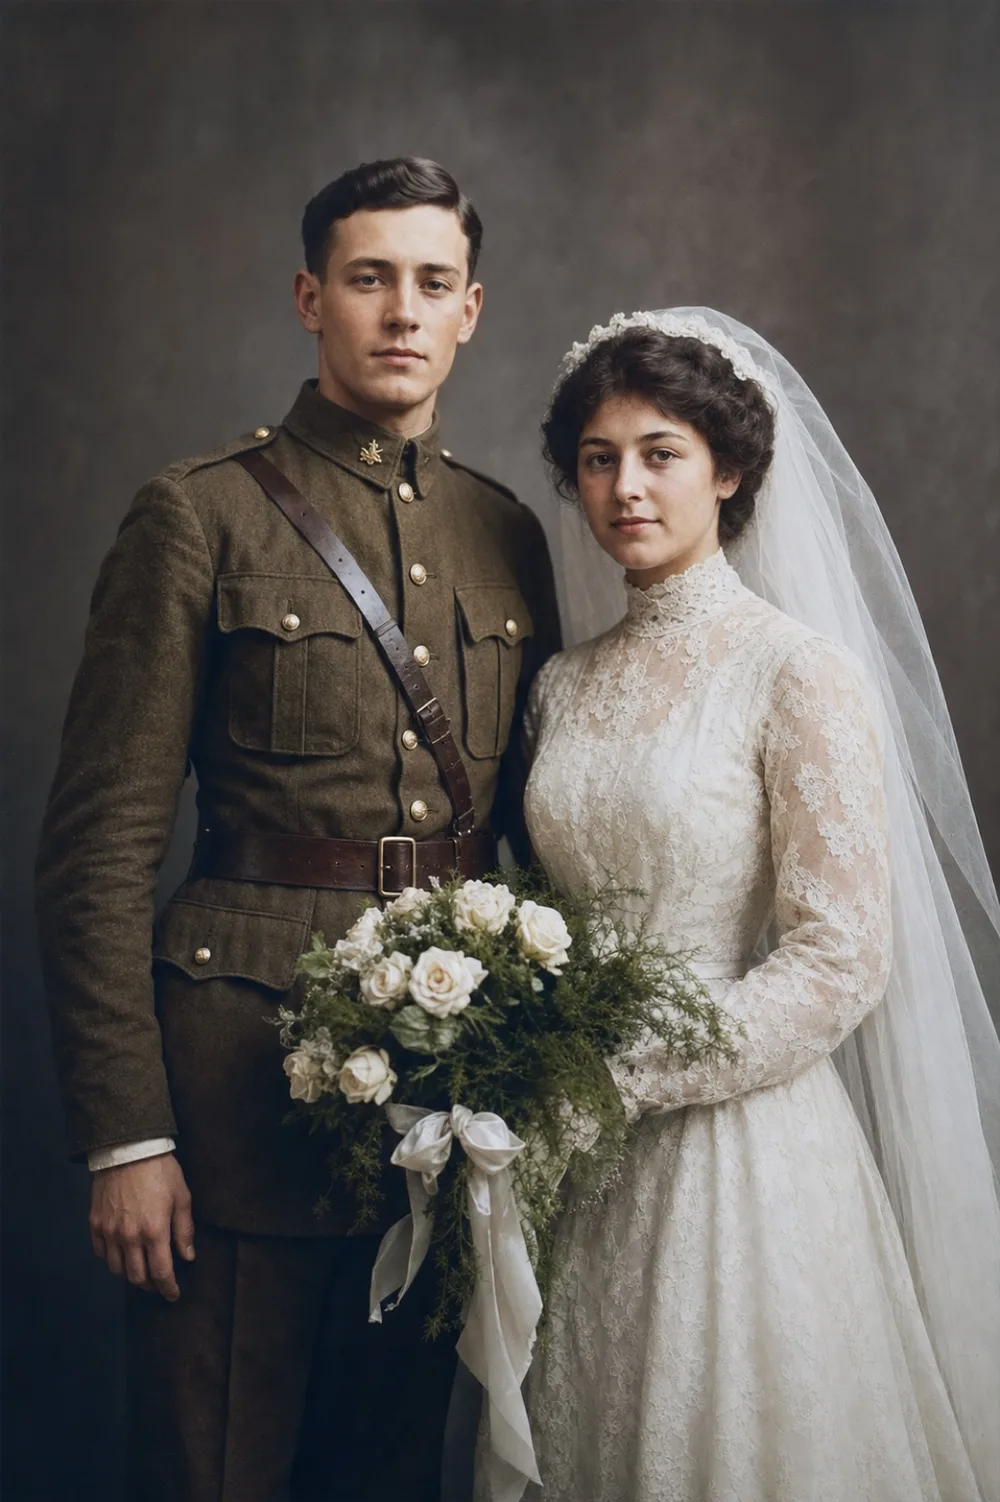
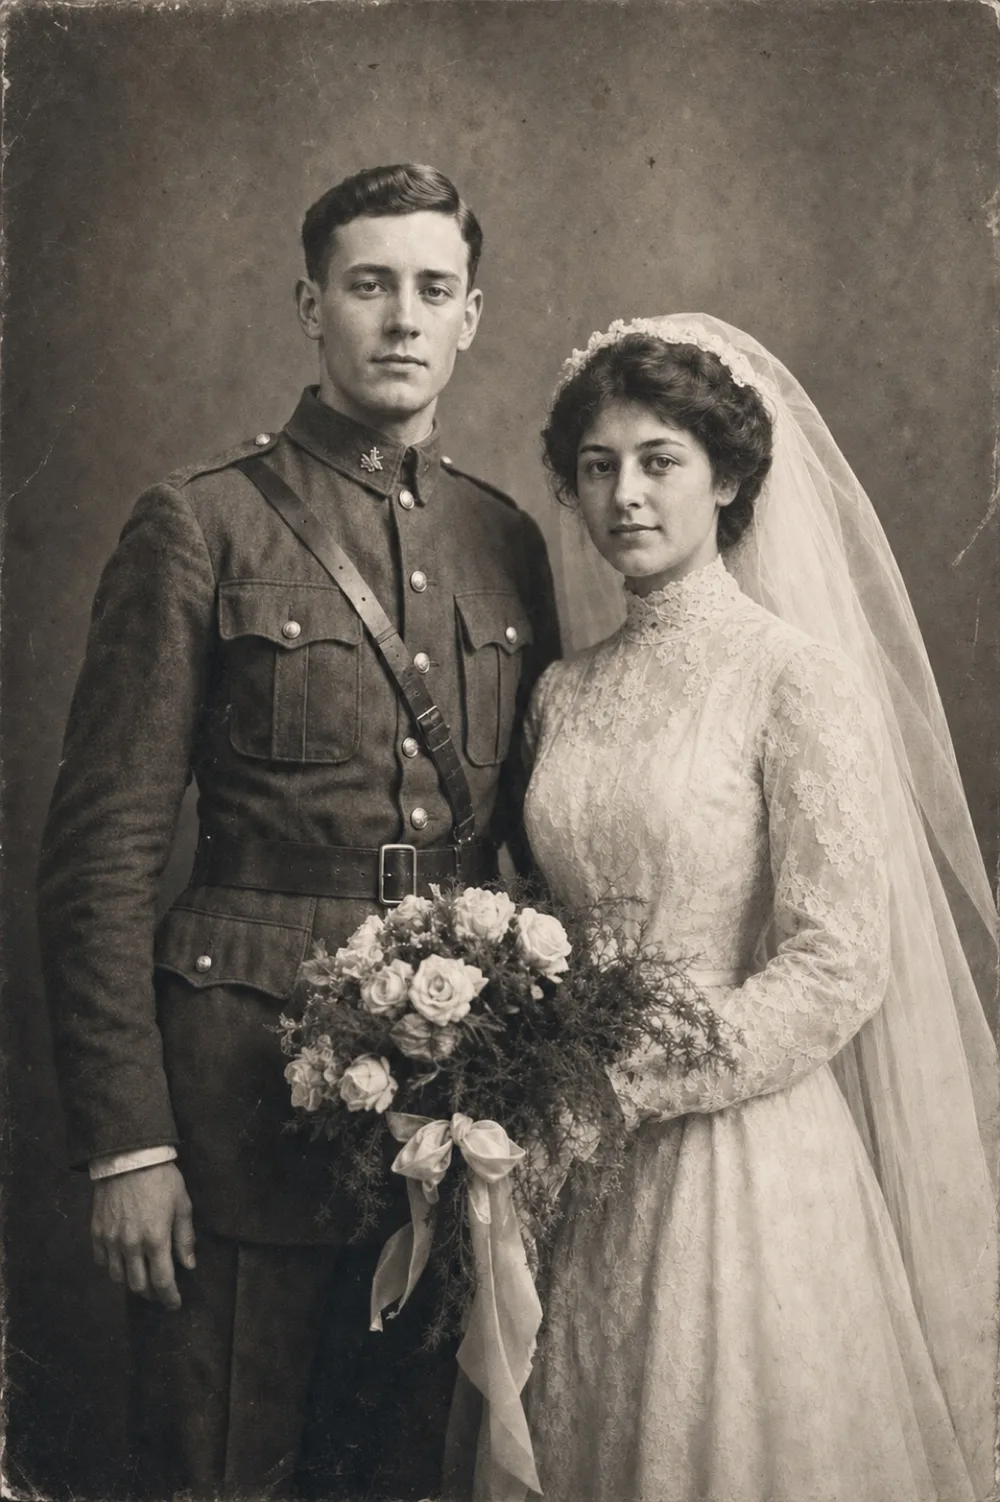
Key takeaways
- Photo colorization adds realistic color to a black-and-white or faded photo; it doesn't repair scratches, tears, or other physical damage on its own.
- Modern AI colorization predicts plausible colors from patterns learned across millions of reference photos in about ten seconds, versus the hours hand-tinting once took.
- The most convincing results come from restoring damage first, then colorizing — cleaner detail gives the AI better information to work with.
- Colorized photos are informed interpretations, not verified historical fact, so specific colors like uniforms or flags are worth double-checking against another source.
Photo colorization is the process of adding color to a black-and-white, sepia, or faded photograph, turning a monochrome image into something closer to how the original scene likely looked. It doesn't recover a photo's "true" colors so much as generate a plausible, well-informed guess about them — done today by AI in seconds, and for more than a century before that, by hand.
The technique dates back to the earliest days of photography, when studio artists painted pigment directly onto portraits and tintypes. Today it's mostly automated: AI models trained on millions of photographs recognize patterns — skin, sky, foliage, fabric — and predict the colors that typically belong there. This guide explains how the process actually works, how it differs from photo restoration, and what to realistically expect from the results.
How Does Photo Colorization Actually Work?
A black-and-white photo already contains most of the information a colorization tool needs — not the hues themselves, but the brightness, texture, and shape data that hint at what those hues probably were. A gray gradient with the soft texture of skin is very likely a face. A flat, light gray band above a horizon line is very likely sky. Modern AI colorization tools are built on neural networks trained on huge sets of paired images — a color photo and its desaturated twin — until the model learns which colors statistically belong with which patterns of light, shadow, and texture.
When you feed the model a new black-and-white photo, it isn't recalling a fact, it's making a prediction. It scans the image region by region, identifies familiar structures, and assigns colors that are the most statistically probable fit based on everything it has seen before. That's why results tend to be strongest on common subjects — faces, clothing, outdoor scenes — and shakiest on unusual or ambiguous objects the model has fewer reference points for.
In OldtoLife's Colorize tool, this entire process runs on the server in about ten seconds. You upload the photo, the AI analyzes and colors it, and you get a high-resolution result you can compare against the original with a before/after slider before saving or sharing it.
A Short History: From Hand-Tinted Portraits to AI
Colorization is nearly as old as photography itself. In the mid-1800s, studio artists hand-tinted daguerreotypes and tintypes with fine brushes and powdered pigments, adding a blush to cheeks or a hint of color to a dress, one photograph at a time. It was slow, skilled work, and it was often the only way a family could have anything resembling a color portrait.
That craft carried into the 20th century as photo studios offered hand-coloring services using transparent oil dyes brushed onto black-and-white prints — a common choice for wedding and portrait photography before color film became affordable and reliable for everyday use. Each print still took a trained colorist real time and a steady hand.
The shift to digital tools sped things up but didn't eliminate the manual effort — early digital colorization in image editors still meant painting in colors layer by layer. What's changed in just the past several years is automation: deep learning models can now do in seconds what once took an artist hours, without anyone manually selecting a single region.
What Makes a Colorization Look Realistic (vs. Fake)?
A convincing colorization tends to share a few traits: skin tones with natural variation rather than one flat shade, colors that make sense for the setting and season, and clean edges where color doesn't bleed onto neighboring objects. Because the AI is drawing on patterns from millions of real photographs, common scenes — a person outdoors, a family portrait, a building facade — usually come out looking plausible and coherent.
Where colorization gets uncertain is anything the AI has no way of actually knowing: the specific color of a dress, a car, a flag, or a painted wall. In those cases the model defaults to the most statistically common option it has learned — which is often right, but is still a guess rather than a verified fact. This matters most for photos with historical or genealogical significance, where a specific uniform color or family heirloom's true shade may not match what the AI produces.
It helps to view a colorized photo as an interpretation rather than a restoration of a documented fact. If a particular color matters — for research, for accuracy about a military uniform, or for a family story — it's worth cross-checking against another source rather than treating the AI's choice as certain.
- Natural variation in skin tones, rather than one uniform flat color
- Colors that stay within object edges, without bleeding into the background
- Lighting and shadow that still look consistent with the original photo
- Reasonable choices for era-appropriate clothing, cars, and settings
- Caution around specific colors — flags, uniforms, dyed fabric — that can't be verified from the image alone
Colorization vs. Restoration: What's the Difference?
It's easy to lump colorization and restoration together, but they solve different problems. Colorization adds a color layer to an image — it doesn't remove scratches, repair tears, fill in missing sections, or sharpen a blurry face. A photo that's faded, torn, or covered in creases will still show all of that damage after colorizing; the AI just paints color on top of what's already there, including the flaws.
Restoration is a separate step that removes physical damage — scratches, stains, tape marks, creases, and fading — so the underlying image is clean. For photos with larger missing areas, a heavier repair tool rebuilds the damaged sections rather than just patching them. Getting the order right matters: colorizing a damaged photo before repairing it means the AI is guessing at colors for a face partly obscured by a crease or a tear, which tends to produce messier, less believable results.
The more reliable sequence is to restore first, then colorize. Cleaning up the photo with a tool like OldtoLife's Restore first gives the colorization step clearer detail to work with — sharper edges, intact texture, and no artifacts — so the color it adds lands where it should.
Where Photo Colorization Is Used Today
Family history projects are one of the most common uses — turning a great-grandparent's portrait or an old wedding photo into something that feels more immediate and personal, especially for relatives who never knew the person in color. Genealogists and family archivists often colorize a whole set of inherited photos as part of digitizing and preserving a family's history.
Museums, local historical societies, and archives have also used colorization to make historical photographs feel more accessible to modern audiences, particularly images from major historical events where black-and-white can create emotional distance. Military portraits and school or graduation photos are frequent candidates too, since color often makes faces and details easier to connect with.
On a smaller scale, colorization has become a popular way to create a meaningful gift — a colorized portrait of a parent or grandparent as a keepsake — or simply to see an old photo the way it might have looked the day it was taken.
Step by step
- 1
Start with a clean digital copy
Scan the print flat under even lighting, or photograph it straight-on without glare, so the AI has clear detail to work from.
- 2
Repair damage first, if there is any
If the photo has tears, creases, stains, or missing sections, run it through a restoration or recreation tool before adding color.
- 3
Apply colorization
Upload the photo to a colorization tool such as OldtoLife's Colorize, which analyzes the image and returns a colorized, high-resolution version in about ten seconds.
- 4
Check the result with a before/after slider
Compare the colorized version against the original to see whether skin tones, sky, and clothing colors look plausible for the scene and era.
- 5
Save or share the full-resolution photo
Download the finished image to your gallery, print it, or share it directly once you're satisfied with how it looks.