How to Colorize Black and White Photos Without Losing Detail
Turning a black-and-white photograph into natural color used to take a trained retoucher hours by hand — an AI colorizer can now do it in about ten seconds, if you know how to get the best result.
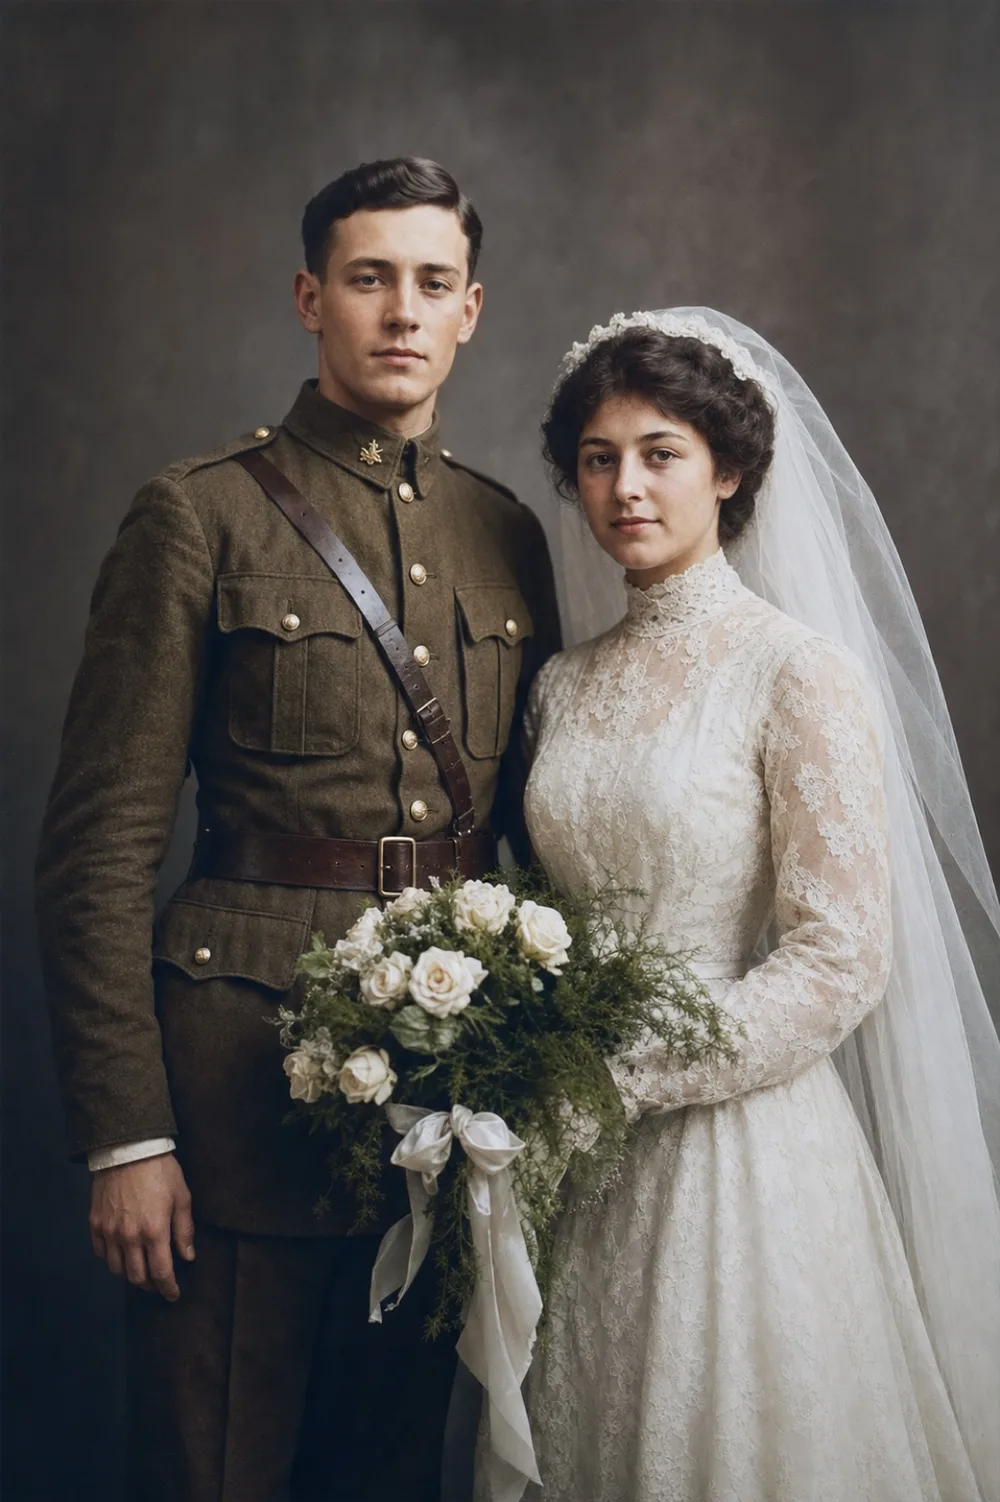
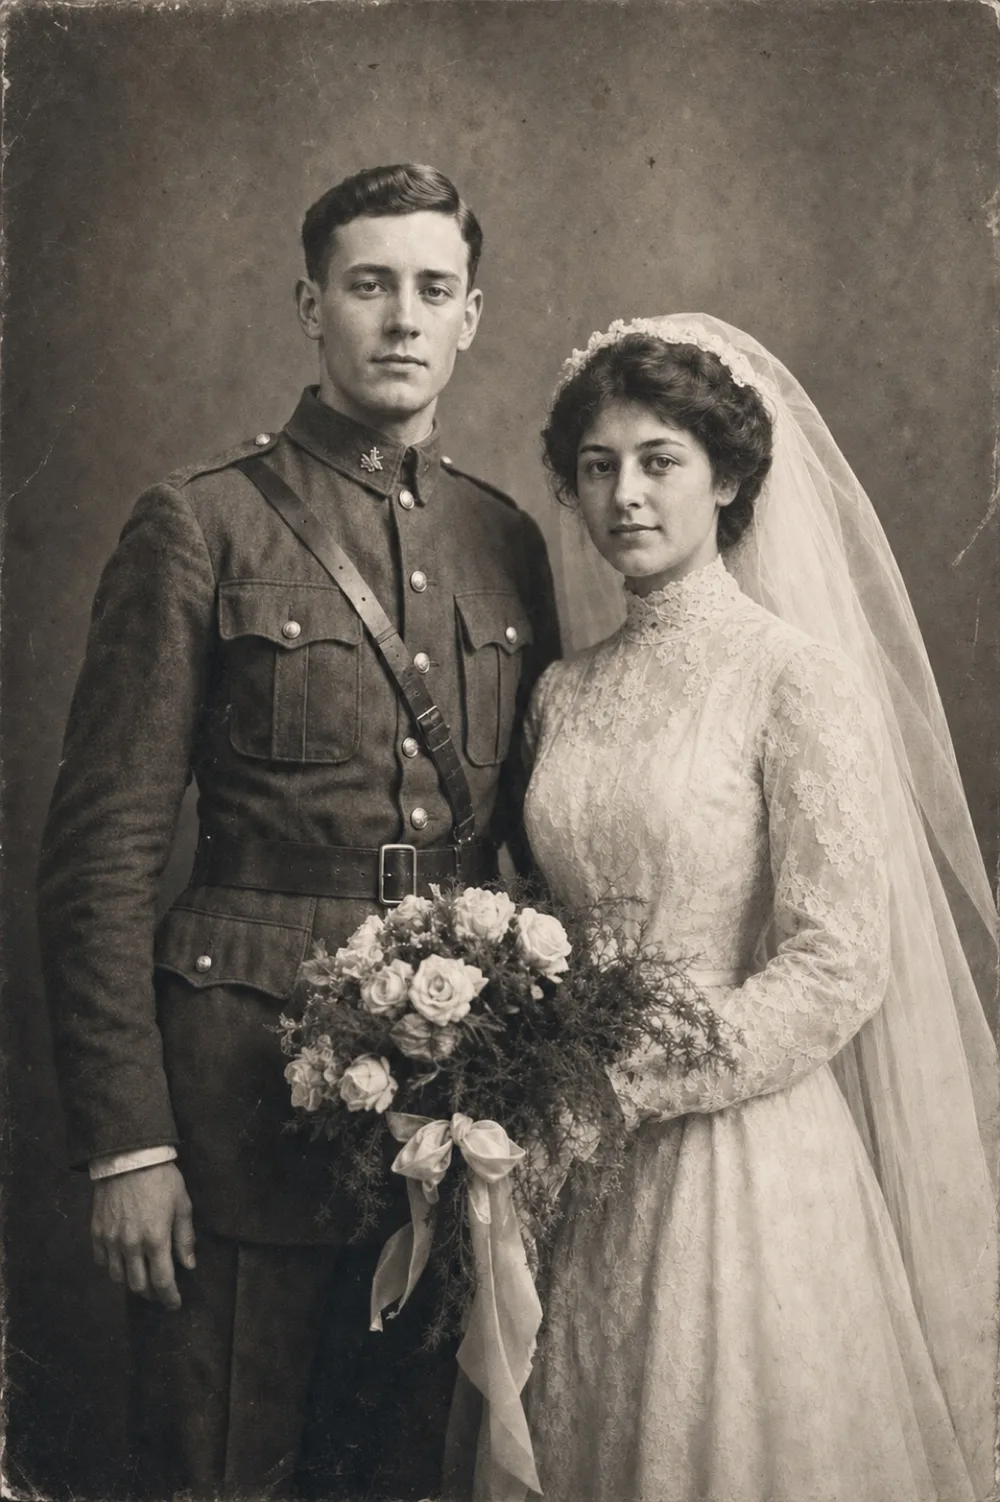
Key takeaways
- AI colorization analyzes grayscale tones to predict realistic color in seconds — it's an educated guess based on training patterns, not recovered original data.
- Clear, well-exposed photos with visible faces and detail colorize more accurately than heavily damaged, faded, or blurry ones.
- Repair scratches, tears, and creases before colorizing for the most even, natural-looking result.
- Colors for uniforms, dyes, and one-of-a-kind objects are informed guesses — check the before/after slider and cross-reference family knowledge when exact accuracy matters.
The fastest way to colorize a black-and-white photo is with an AI colorization tool: upload the image, and the model reads the grayscale tones in each region — skin, sky, fabric, foliage — and fills in the color it judges most likely, delivering a full-color version in about ten seconds instead of the hours a hand-tinting artist once needed.
But not every black-and-white photo colorizes equally well, and not every added color is guaranteed to be correct. This guide walks through how AI colorization actually works, which photos give the most reliable results, why the order you apply repairs matters, and how to judge whether the color you get back actually looks right.
How AI Colorization Actually Works
A black-and-white photograph has no color data stored anywhere in the file — only grayscale luminance, meaning how light or dark each pixel is. An AI colorizer can't recover colors that were never recorded; instead, it has been trained on a huge number of real color photographs and has learned the visual patterns that tend to go with different luminance and texture combinations. Skin tends to fall in a narrow, predictable range. Clear sky reads as blue. Healthy grass and leaves read as green. Wood, leather, and many common fabrics lean warm brown or tan.
When you upload a photo, the model reads the tone and texture of each region and fills in the color it judges most statistically likely for that kind of object, all in a single pass. That's why colorization works so well on faces, skies, and greenery — the AI has seen those patterns an enormous number of times — and why it can guess wrong on anything unusual, like a car painted a rare color, a flag with a specific meaning, or a fabric dyed in an uncommon shade with little texture to go on.
OldtoLife's Colorize tool applies this process automatically: upload a black-and-white or sepia photo, and it returns a full-resolution color version in about ten seconds, which you can then compare against the original using a before/after slider.
Which Photos Colorize Best
Colorization accuracy depends heavily on what's actually visible in the source photo. A sharp, well-exposed print with clear faces and reasonable contrast gives the AI plenty of detail to work from, so the color it adds tends to look natural and settled. A photo that's already very dark, badly faded, or so blurry that facial features are barely distinguishable gives the model much less to interpret, and the resulting color can look flat or slightly off in places.
Some types of photos are naturally easier to colorize well, and some are naturally harder to get right:
- Portraits and group photos with visible faces — skin tones are the most reliably colorized element.
- Outdoor scenes with sky, grass, or foliage — natural elements follow very consistent color patterns.
- Photos with even lighting and moderate contrast — extreme shadows or blown-out highlights leave less for the AI to read.
- Heavily faded or very low-resolution scans — colorizing still works, but results are less precise since less original detail survives.
- Objects with no fixed 'natural' color — a painted wall, a car, a dress in an unusual fabric — these are the AI's best guess, not a certainty.
Fix Damage Before You Add Color
The order you apply repairs in matters more than most people expect. If a photo has scratches, tears, tape marks, or creases, colorizing it first means the AI is trying to assign color across the damage as well as across the actual image — a scratch running through a face can end up tinted like skin, or a crease can pick up an odd color band, because the model is reading the damage as part of the photo's texture.
Running a restoration pass first — removing scratches, smoothing creases, filling in torn edges — gives the colorizer a clean, continuous image to interpret, which produces noticeably more even, believable color. With OldtoLife, that means using the Restore tool before Colorize: repair the physical damage first, then add color to the cleaned-up result. For photos where large sections are missing entirely, such as a torn corner through part of a face, the Recreate tool rebuilds the missing structure first so there's something coherent left for the colorizer to work with.
Getting Colors That Feel Historically Right
AI colorization is a prediction, not a historical record, so it's worth a second look whenever the exact color matters — a military uniform's insignia, a wedding dress's specific fabric, a car your grandfather was proud of. The model will produce a plausible color based on similar images it has seen, but plausible isn't the same as correct.
If you know something about the original — a relative remembers the dress was pale blue, not white, or the family car was maroon — treat the AI's output as a strong starting point and compare it against that memory using the before/after slider. For photos where accuracy genuinely matters, cross-checking against other color photos from the same era, family stories, or historical references is the only way to confirm details that a grayscale image simply doesn't contain.
Common Mistakes to Avoid
Most disappointing colorization results trace back to a handful of avoidable mistakes rather than a limitation of the technology itself.
Avoiding these is mostly about preparation: start with the best copy of the photo you have, repair physical damage first, and actually look closely at the result rather than accepting it at a glance.
- Colorizing a low-quality scan or a photo of a photo — glare, blur, and low resolution all reduce how much detail the AI has to work with.
- Skipping restoration on a damaged print — scratches and creases can be read as texture and colored inaccurately.
- Expecting exact historical accuracy for one-of-a-kind items like uniforms, medals, or dyed fabrics — treat these results as informed estimates.
- Not comparing before and after — the slider view makes it easy to spot an odd color choice you'd otherwise miss at a glance.
Step by step
- 1
Get a clean digital copy
Scan or photograph the print flat, in even light, so the file you start from has as much real detail as possible.
- 2
Repair damage first
If the print has tears, creases, tape marks, or scratches, run the Restore tool before colorizing so the AI is coloring a clean image rather than the damage.
- 3
Run the Colorize tool
Upload the cleaned photo and let the AI analyze the grayscale tones and return a colorized version in about ten seconds.
- 4
Check the result with the before/after slider
Look closely at skin tones, eyes, and any fabric or object whose real color you remember, since these are the details most worth a second look.
- 5
Save at full resolution and share
Once the color looks right, save the high-resolution version to your gallery or share it directly with family.