How to Brighten Dark Old Photos Without Losing Detail
Dark old photos usually come from underexposure or decades of fading, not a print that's beyond saving — here's how to correct the exposure and bring detail back without flattening it.
Key takeaways
- Dark old photos usually come from underexposure at the time, uneven fading over the decades, or a poorly lit scan — often more than one at once.
- Digitize in soft, even, indirect light before brightening anything; a bad scan compounds the original problem.
- Real exposure correction lifts shadows and midtones separately rather than raising every pixel equally, which is what keeps detail intact.
- Restore damage before brightening, and brighten before colorizing, for the most natural-looking result.
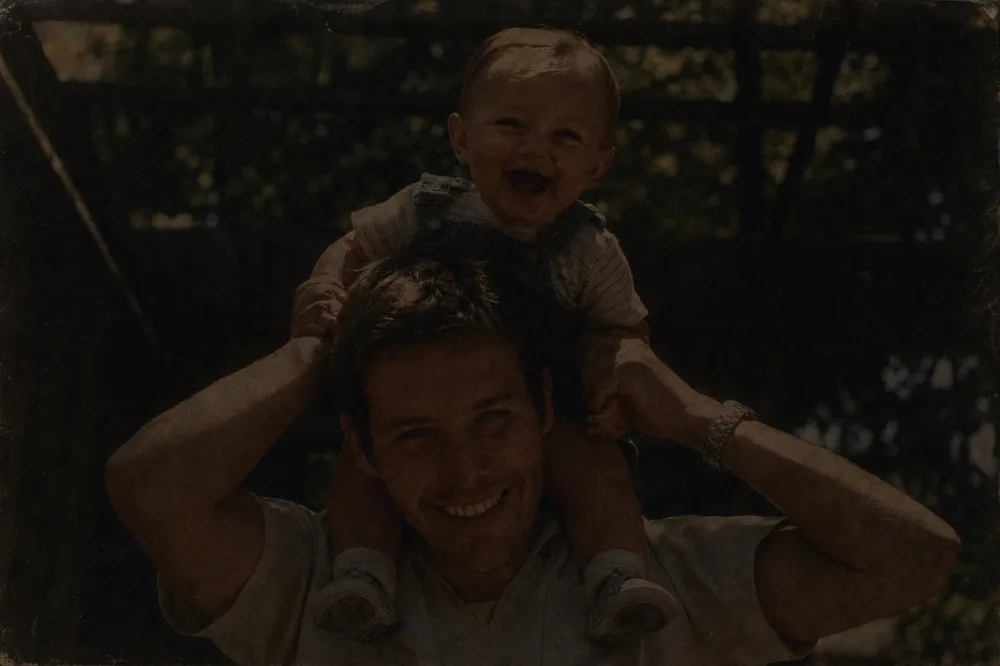
Most dark old photos are dark for one of two reasons: the shot was underexposed when it was taken, or the print itself has faded and darkened unevenly with age, and a poorly lit scan often makes either problem worse. Brightening it properly means lifting the shadows and midtones without wiping out the little detail that's left, not just sliding a brightness bar to the right.
This guide covers why old photos end up dark, how to digitize one so you're not fighting bad lighting on top of the original problem, and how to correct exposure by hand or with AI so faces and backgrounds come back without turning flat, gray, or noisy.
Why old photos end up dark
The most common cause is simple underexposure at the moment the picture was taken. Older cameras had slower lenses and film that needed more light than most indoor settings could provide, so a birthday party lit by a single ceiling bulb or a portrait taken near a window on an overcast day often came out darker than intended. There was no screen to check the result, so the mistake never got corrected.
The second cause shows up later: the print itself changes with age. Color dyes fade unevenly, silver-based black-and-white prints can darken and lose contrast in storage, and photos kept in damp basements or attics often develop an overall gray or brown cast that reads as darkness. A photo can be both underexposed and faded at once, which is why some family photos look almost featureless in the shadows no matter how the print is handled.
A third, avoidable cause happens during digitizing. Scanning or photographing a print in dim light, at an angle, or with a shadow falling across part of the image adds a layer of darkness that has nothing to do with the original photo. It's worth ruling this one out before you assume the print itself is the problem.
Digitize it in light that doesn't fight you
Before touching any brightness setting, make sure the digital copy you're working from is as clean as possible. A flatbed scanner gives the most even result because the light source is fixed and consistent, but a phone camera works fine if you're careful about how you use it.
Place the print on a flat, non-reflective surface near a window in soft, indirect daylight — not direct sun, which creates hot spots and glare, and not a single overhead bulb, which casts an uneven pool of light. Hold the phone directly above the photo, parallel to it, so the corners aren't stretched or shadowed, and fill the frame so you're not cropping away real image data you'll want later.
If you're re-digitizing an old scan that was done in poor light originally, it's worth redoing it. Every brightening step downstream works from whatever information is in that file, and no amount of correction recovers detail that was never captured in the first place.
- Use even, indirect daylight or diffused indoor light
- Avoid direct sun, flash, and single overhead bulbs
- Keep the phone parallel to the print to prevent shadow and skew
- Fill the frame so no edge detail is cropped
- Redo a poorly lit scan rather than trying to fix it later
What actually happens when you brighten a photo
A basic brightness slider raises every pixel by the same amount, which is why it looks wrong so quickly — the shadows lift, but so do the highlights, and anything that was already close to white blows out to pure white with no detail left. What a dark old photo usually needs instead is exposure correction that treats shadows, midtones, and highlights separately: lifting the dark areas where the missing detail is, while leaving whatever highlights survived mostly alone.
This is the same idea behind levels and curves adjustments in traditional photo editing, and it's worth understanding even if you never touch those tools directly, because it explains why gradual, targeted correction looks natural and a single brightness push doesn't. Old film and paper also carry grain and noise that becomes much more visible once you lift the shadows, so an adjustment that ignores this will often trade darkness for a grainy, mottled look instead.
This is exactly the gap AI-based correction is built to close: it reads the image content — where the faces are, where the background falls off, what looks like genuine shadow versus what's just faded print — and adjusts each area on its own terms rather than applying one flat curve to the whole frame.
Brightening with OldtoLife
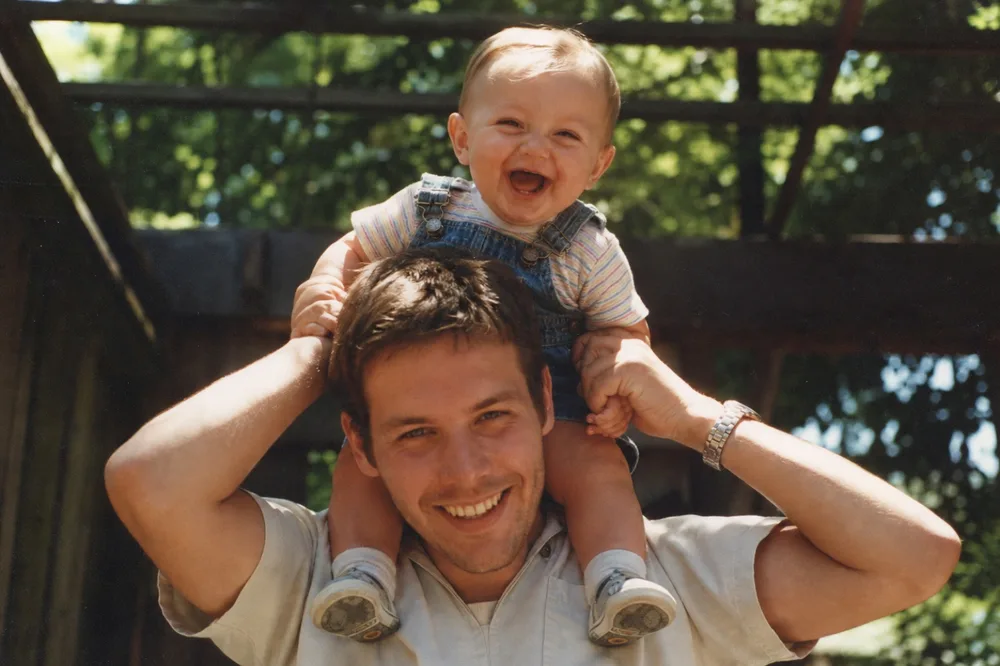
OldtoLife's Brighten tool does that shadow-and-midtone correction automatically. Open the digitized photo, tap Brighten, and in about ten seconds it returns a version with exposure balanced across the frame — dark corners and underlit faces lifted, while whatever highlight detail exists is preserved rather than blown out. A before/after slider lets you check the result against the original before you save anything.
If the photo is also scratched, torn, or stained, run Restore first. Brightening a damaged photo makes every scratch and stain more visible and gives the AI less clean detail to work from, so the damage should come out before the exposure goes up. If the same photo is also soft or blurry, Enhance afterward sharpens faces and recovers fine detail once the lighting is already corrected.
For a badly faded black-and-white or sepia print, brightening and restoring first, then colorizing last, tends to give the most convincing result — color is inferred from image content, so it reads better once the underlying detail is already clean and correctly exposed.
Mistakes that make a brightened photo look worse
The most common mistake is overcorrecting: pushing exposure so far that faces turn flat and waxy, shadows disappear entirely, and any texture in clothing or backgrounds gets erased along with the darkness. A photo that's slightly darker than ideal but still full of detail is usually a better outcome than one that's evenly bright but featureless.
The second mistake is sequencing — brightening before restoring, or colorizing before either. Each tool works better when it's given a cleaner input than the one before it, so damage removal, then exposure correction, then color, then sharpening (as needed) tends to produce the most natural-looking result rather than compounding each problem on top of the last.
- Don't push brightness so far that shadows and texture disappear
- Restore damage before you brighten, not after
- Colorize last, once detail and exposure are already corrected
- Compare before/after at full size, not just a thumbnail, before saving
- Keep the original file untouched in case you want to redo a step
Step by step
- 1
Digitize in even light
Scan or photograph the print in soft, indirect daylight with no glare, holding the camera parallel to the print.
- 2
Restore damage first
If the photo has scratches, tears, or stains, run Restore before adjusting exposure so the AI works from clean detail.
- 3
Run Brighten
Use OldtoLife's Brighten tool to lift shadows and midtones automatically while preserving remaining highlight detail.
- 4
Check the result at full size
Compare before and after with the slider, looking closely at faces and shadow areas for lost texture.
- 5
Sharpen or colorize as needed
Run Enhance if the photo is also soft, and Colorize last if it's black-and-white or sepia, then save the full-HD result.