How to Restore Water-Damaged Photos
Water can warp paper, blur ink, and fuse photos together, but most of the damage is reversible if you act calmly and in the right order.
Key takeaways
- Stabilize first: separate stuck-together photos, dry them flat, and keep them away from any heat source before doing anything else.
- Freeze photos you can't process right away — it halts mold growth and gives you weeks instead of hours to handle them properly.
- Physical intervention has limits; once a print is dry, remaining stains and warping are better fixed digitally than through further handling.
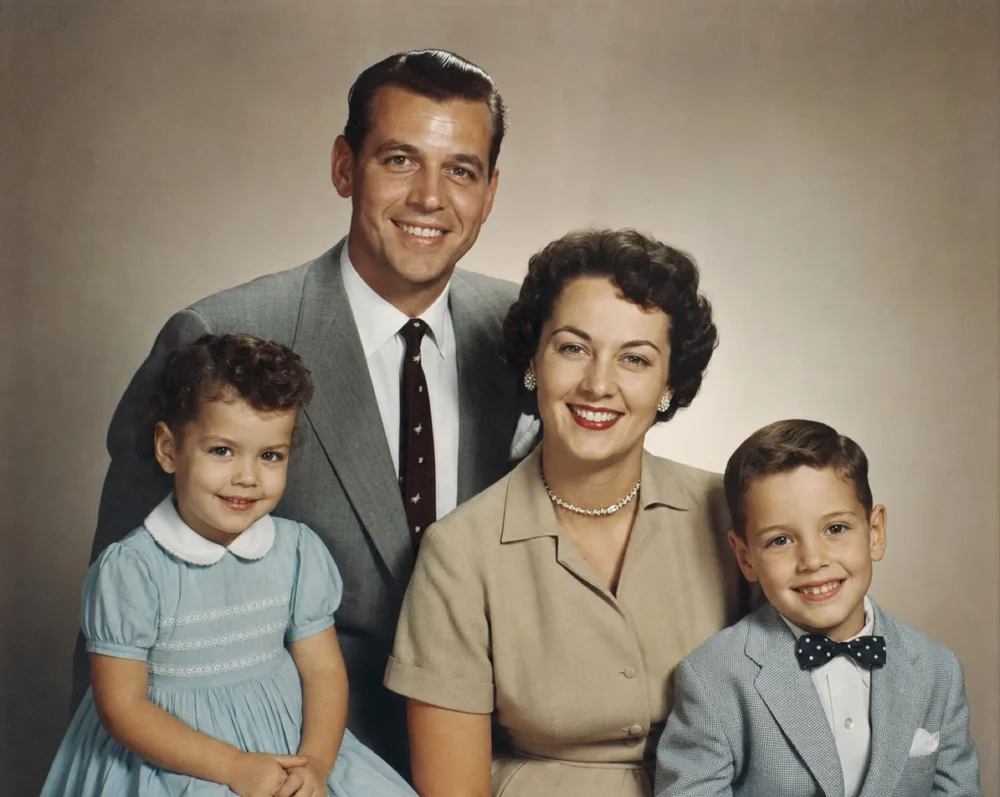
- OldtoLife's Restore tool corrects water stains and discoloration, Brighten fixes fogged exposure, and Recreate rebuilds patches where the image itself is missing.
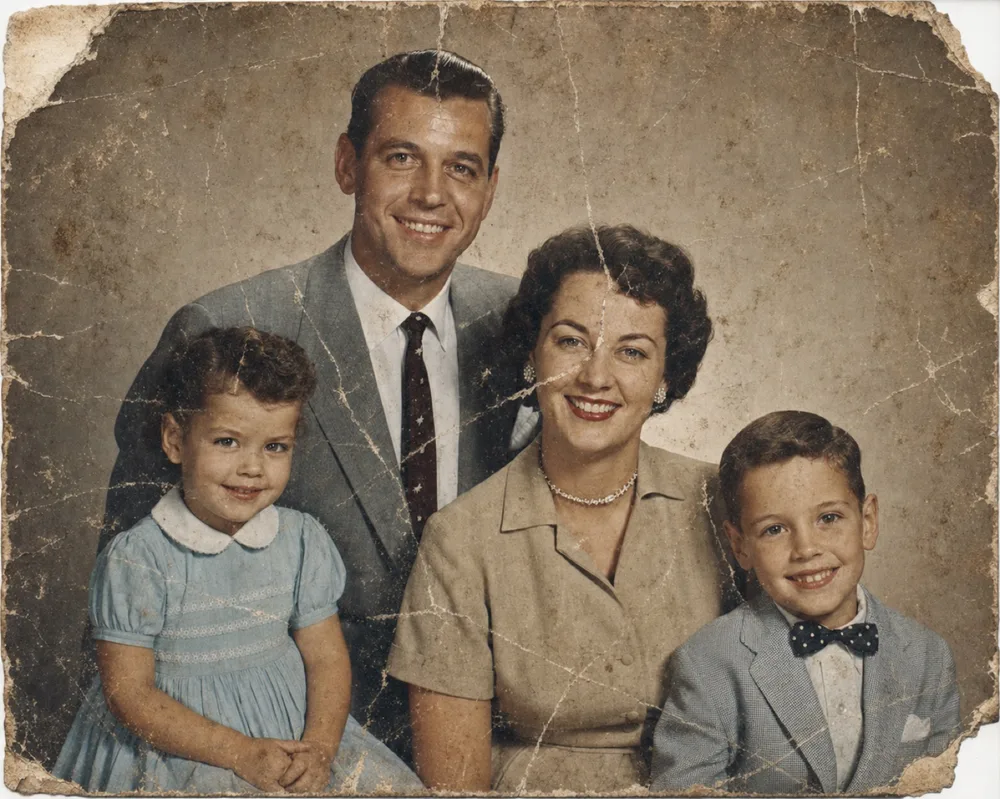
To restore a water-damaged photo, start by stabilizing it while it's still wet or damp: separate it from anything it's touching, lay it flat to air dry away from heat, and resist the urge to pull apart prints that have stuck together. Once the print is completely dry, the surviving image will usually still show stains, warping, discoloration, or foggy patches — and those can be corrected afterward with a clean scan and digital restoration.
Photographic paper is more resilient than people expect. Water rarely destroys the image outright; it displaces dyes, softens the emulsion layer, or leaves mineral rings, but the photograph underneath often survives once it's fully dry. The real recovery work happens in two separate stages: physical stabilization in the hours right after the damage occurs, and digital repair once you have a clean, flat copy of the image to work from.
What Water Actually Does to a Photograph
Most prints, especially anything printed before the 2000s, have a gelatin emulsion layer sitting on top of a paper base. That gelatin is what holds the image, and it absorbs water readily. Once it's wet, it softens, swells, and turns sticky — which is exactly why soaked photos stick to glass, album pages, or each other, and why the surface feels tacky even after it looks dry.
The paper base reacts differently: its fibers expand unevenly as they take on water, which is what causes the cockling and rippling you see once a print dries. Dyes and pigments can also migrate while the emulsion is soft, bleeding outward and leaving faint rings or color shifts around the wettest areas — often the first thing people notice once the photo has dried.
How much damage you end up with depends heavily on how the photo got wet and how long it stayed that way. A quick spill that's caught and dried within an hour usually leaves minor cockling at worst. A flood, a slow roof leak, or photos left in a damp box for weeks invite a second problem on top of the water itself: mold, which can start growing in as little as 48 hours in warm, humid conditions.
The First 24 Hours: Stabilizing a Wet Photo
What you do in the first day matters more than any digital tool later. If a photo is actively wet, don't try to force it apart from whatever it's stuck to, and don't reach for a hairdryer or radiator — heat sets the softened emulsion and can permanently fuse it in place or cause it to blister. Instead, gently rinse off any visible mud or debris under a light stream of cool, clean water, using your fingertips rather than a cloth, since the emulsion is fragile while wet.
Once rinsed, lay the photo face-up on a flat, absorbent, lint-free surface — a clean towel or blotting paper works well — in a room with normal airflow, out of direct sun. Blot gently rather than wiping, and don't touch the image surface itself while it's soft. If you have more photos than you can process in a day, the archival-standard move is to freeze them: seal damp photos flat in a freezer bag with wax paper between layers. Freezing halts mold growth and buys you weeks to deal with them properly instead of hours.
Photos that dried on their own without any intervention, warped and slightly rippled, are still salvageable — that cockling gets addressed later, once you're working from a scan rather than the physical print.
- Do: separate photos from glass, frames, and each other as soon as possible.
- Do: freeze anything you can't fully dry within a day or two.
- Do: air dry flat, away from direct sun or heating vents.
- Don't: use a hairdryer, iron, or any direct heat source.
- Don't: rub or wipe the image surface while it's wet or tacky.
- Don't: force apart photos that are stuck together.
Separating Photos That Are Stuck Together
Photos that have fused together are the trickiest part of water damage, because pulling too soon can tear the emulsion off one or both prints. If they're still pliable, try a brief soak — a few minutes in cool, clean water — to loosen the softened gelatin, then peel apart slowly at a low angle, starting from a corner. If you feel real resistance, stop and re-soak rather than pulling harder.
For photos that dried while stuck together, soaking is still usually the safer route than dry force, though the bond will be harder to break and the odds of losing surface detail go up. This is where triage becomes a real decision: with a badly fused stack, it's sometimes better to accept that you'll sacrifice detail on one print to save the rest intact, rather than risk damaging all of them trying to save every layer perfectly.
Once photos are separated, keep them apart while they finish drying — interleave them with wax paper or parchment paper so they don't restick as any remaining moisture works its way out.
Handling Stains, Warping, and Mold After Drying
A photo that's fully dry but visibly cockled can sometimes be flattened by pressing it under light, even weight between sheets of blotting paper for a few days — not immediately, since a print that's still slightly damp inside can trap moisture and encourage mold if pressed too soon. Mineral rings left by evaporated water are largely a surface issue at this point and generally aren't worth trying to remove physically; they respond much better to digital correction than to any home remedy.
Mold needs separate handling. If you see fuzzy white, gray, or greenish patches, don't wipe it while damp — that smears live mold into the emulsion and spreads spores to anything nearby. Once the photo is bone dry, take it outside, wear a mask, and brush the mold off gently with a soft, dry brush, working away from your body. Keep any moldy photos isolated from your other prints until you're sure the mold is gone, since it spreads easily in storage.
At this stage, the physical print has done what it can. The remaining issues — persistent staining, faded color, blurred or missing detail — are best handled digitally rather than through further physical intervention, which risks doing more harm than good.
Digitally Restoring the Image Once It's Dry
Once the print is dry, flat, and stable, the next step is capturing a clean master copy: a flatbed scan or an evenly lit phone photo taken straight-on, without flash glare or shadows. This becomes the file you actually restore, since it's much easier to correct discoloration and warping artifacts digitally than to keep working on the fragile original.
This is where an app like OldtoLife is useful. Its Restore tool is built for exactly this kind of damage — it's trained to recognize and correct stains, creases, and the discoloration patterns that water damage tends to leave behind, in about ten seconds. If the photo also came out dark or fogged from moisture, the Brighten tool can even out the exposure. And for prints where the emulsion actually lifted or dissolved in patches, leaving genuine gaps in the image, the Recreate tool can reconstruct those missing areas using the surrounding detail as context.
Each result comes back at high resolution with a before/after slider, so you can compare it directly against your scan before saving it — useful for judging whether a second pass or a different tool gets closer to how the photo originally looked.
Step by step
- 1
Stabilize the photo immediately
Separate it from anything it's touching, and freeze it flat between wax paper if you can't dry it properly within a day.
- 2
Dry it fully, away from heat
Air dry face-up on a flat, absorbent surface out of direct sun, blotting gently rather than wiping or rubbing.
- 3
Separate any stuck-together prints carefully
Briefly soak fused photos in cool water and peel apart slowly at a low angle, stopping and re-soaking if you feel resistance.
- 4
Scan or photograph the dried print
Once it's flat and stable, capture an evenly lit, glare-free copy to use as the source file for digital restoration.
- 5
Restore, brighten, or recreate as needed
In OldtoLife, run Restore for stains and discoloration, Brighten for fogged or dark areas, and Recreate for any patches where the image itself is missing, then compare and save the result.